Einleitung

Warning!

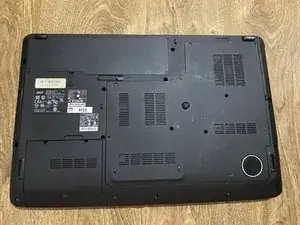
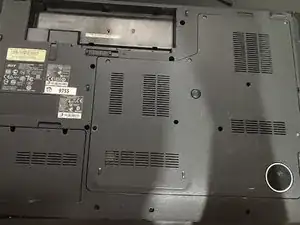
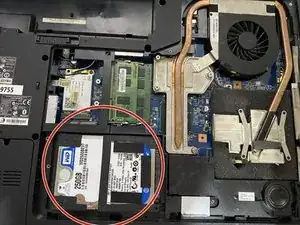
According to the specific model, the hard drive can be located in two different places or there can be two hard drives in the same two places as mentioned in the guide.

  1. ePGUGVEkyoyPZ6NP
    • Before proceeding, power down your Laptop and remove the power cable.

    • Close the display and lay it on a flat surface, top-side down.

  2. fMSuCnJImCxpVRsl
    • Unlock the battery by sliding the battery lock to the unlock part.

  3. Hehci1DyQecOxWJH
    • Slide the middle lock to the right and the battery will pop up.

  4. WKxtfNGbag3PbMe3
    • If you want to replace the battery and nothing else then now is the time to do so.

    • Once the battery hatch unlocked you can now safely remove the battery.

  5. qNCDCcY1My6HfxZv
    • Use a Philips J1 driver to remove two screws securing the hard drive cover.

  6. 2EJlrnkOHC6rBVgN
    • If the hard drive is not located here, then it will be located in the next step.

    • Now you can remove, replace or upgrade the hard drive to an SSD if you need to.

  7. xiKQUjYVKkKerwuv
    • If your hard drive was not located in the previous spot or you have two drives then this one is located here.

    • Use a Philips J1 driver to remove eight screws securing the bottom case.

  8. OKvCXsBgCWwQyHRq
    • After removing the bottom panel cover, then you should spot the hard drive right here.

  9. qcdWVQbSOJJKPDAm
    qcdWVQbSOJJKPDAm
    bJVHOBNjbo6lcM3e
    • While removing the hard drive, try to be gentle.

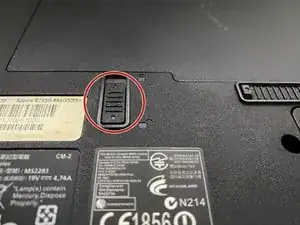
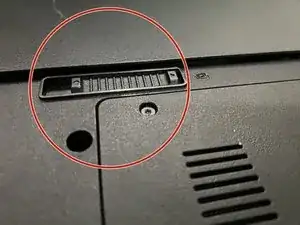
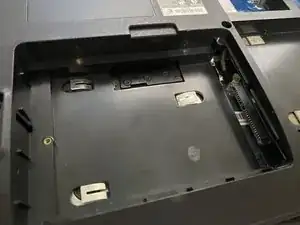
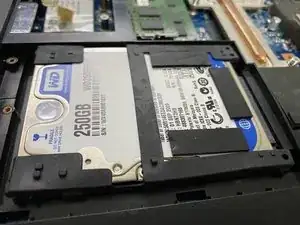
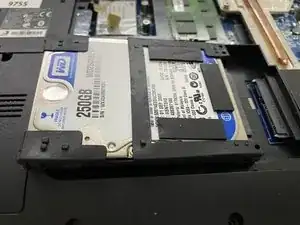
    • Now you can simply upgrade, replace or remove the hard drive right here. To remove it, push it from the two corners and it should come off like in the next picture.

Abschluss

To reassemble your device, follow these instructions in reverse order.

Regome

Mitglied seit: 20/01/23

737 Reputation

0 Kommentare