Einleitung
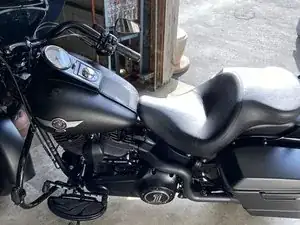
This guide will go through each step required to replace the battery of a Harely-Davidson Fatboy Lo. The vehicle featured in this guide specifically, is a 2011 model. The battery listed is not the only battery that can be used for this replacement. Any 12V motorcycle battery is acceptable, and based on personal preference of the owner.
Werkzeuge
-
-
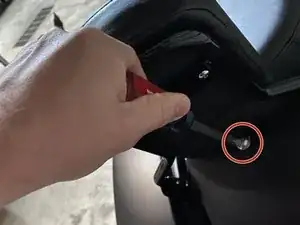
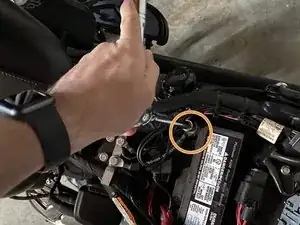
Remove the screw using the flathead screwdriver.
-
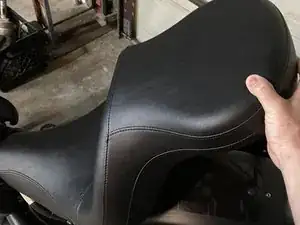
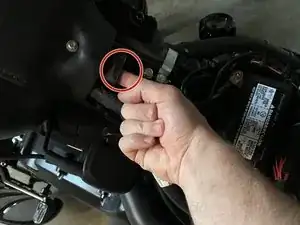
Following removal of the screw, lift the seat from the rear and then carefully pull the seat towards the back of the bike removing it.
-
-
-
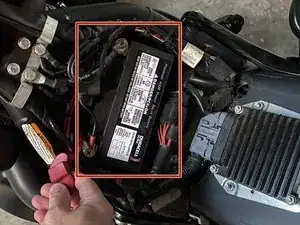
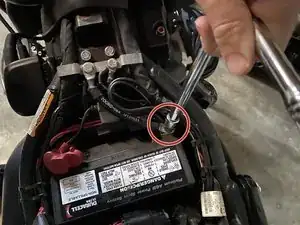
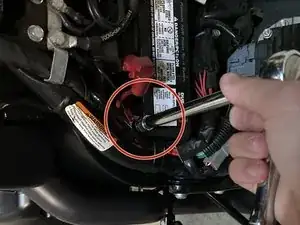
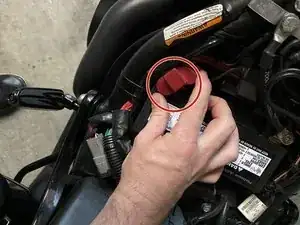
To disconnect the terminals you will use a ratchet and 10mm socket to remove the bolts, then remove the wires from each terminal.
-
-
-
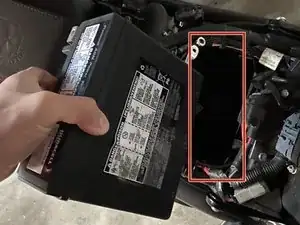
Once the wires are disconnected from the terminals carefully remove the battery, by grasping the battery and gently lifting from its base.
-
-
-
Ensure that the positive terminal is on the left side of the bike and the negative terminal is on the right.
-
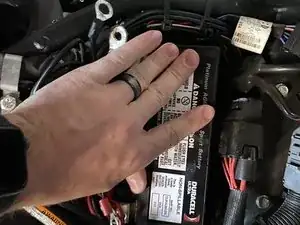
Gently place the battery back onto the base avoiding any wires.
-
-
-
Reconnect the terminals by placing the wires over the designated terminals.
-
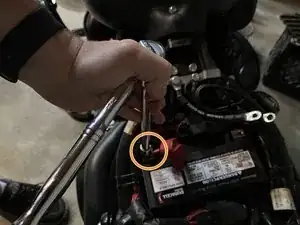
Once the wires are in place tighten the screws back in place using the ratchet wrench and 10mm socket.
-
-
-
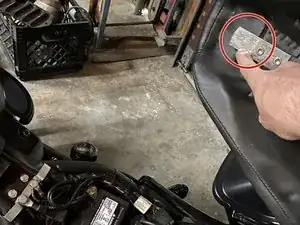
To replace the seat, place the metal tab, on the bottom side at the front of the seat into the slot at the base of the fuel tank.
-
Ensuring the tab is in place, repeat step 1 in reverse to reinstall the seat.
-
This is a comprehensive guide that walks through the removal of the old battery to the installation of the new.
