Einleitung

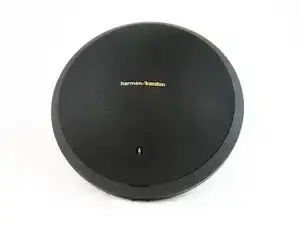
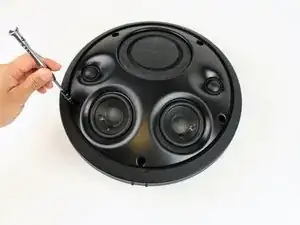
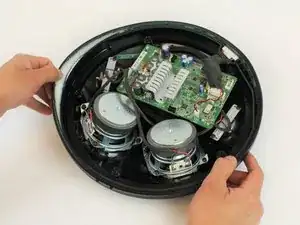
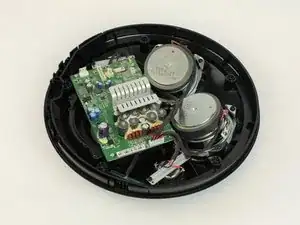
Mit Hilfe dieser Anleitung kannst du einen oder beide Lautsprecher in deinem Onyx Studio 2 austauschen.

  1. dBMtxPy1K1rUnFpu
    dBMtxPy1K1rUnFpu
    iQOTA3V6DRt2d21M
    dQ2kJq1EW24lJYMB
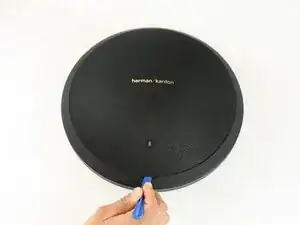
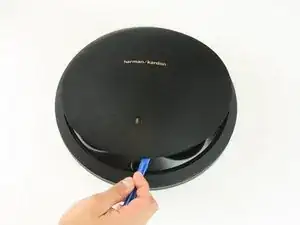
    • Setze ein Plastiköffnungswerkzeug in die Vertiefung an der Vorderseite des Gerätes ein und heble das Lautsprechergitter ab.

    Where can I find a new front panel for my speaker

    consomme69 -

    If I take this off can I put it back on

    Burger King -

  2. o5SWK6TwGvJXXZkQ
    o5SWK6TwGvJXXZkQ
    jqcCAC2kkM2JaaRl
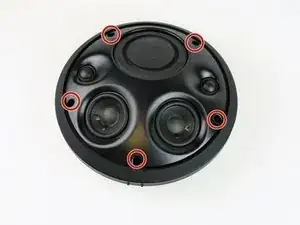
    • Entferne fünf 14,4 mm Torx T10 Schrauben.

    There are NO torxscrews. You have to pull out the rubber grille grips that are inside the screw holes FIRST, then use a regular sized Phillips head screwdriver to remove the cover. No Torxscrewdiver needed. I found this out after I had already purchased one from you guys.

    phillip columbus -

    Mi bocina no tiene los 5 tornillos a la vista,tiene las cavidades ciegas, como lo abro???

    Eduardo Heine -

  3. aLaClpNCSQVOuCfs
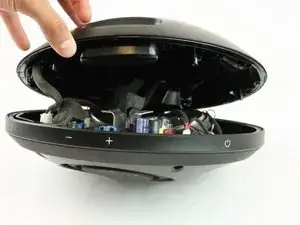
    • Ziehe die Vorderseite vorsichtig von der Rückseite ab.

  4. 1SWuvDl2qU1UaEUc
    1SWuvDl2qU1UaEUc
    yCr1XiiAOCKacJsD
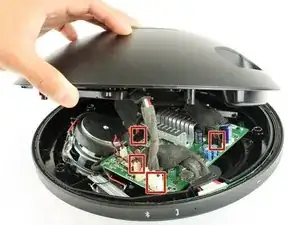
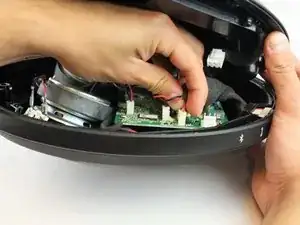
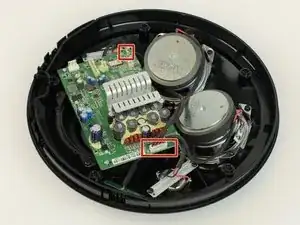
    • Löse die vier Verbindungskabel von Virder- und Rückseite.

    • Drücke die Klinke am Stecker ein und ziehe ihn ab.

    • Wiederhole für die anderen drei Stecker.

    Please can I get a replacement of my panel to the phone

    Chinedu Ogunedo -

  5. MxWnQFehXaDmTplm
    • Ziehe das Silikonband mit den Tasten vom Rand des Lautsprechers ab.

  6. LPmilUqrJAlOHlTy
    LPmilUqrJAlOHlTy
    i3vgKRRIW6feDDuw
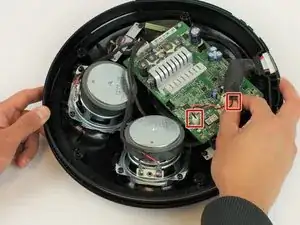
    • Löse die beiden Stecker von der Hauptplatine ab.

  7. ZEkMh32Usjwbdy5U
    ZEkMh32Usjwbdy5U
    nusK3sFgWBOTkjkG
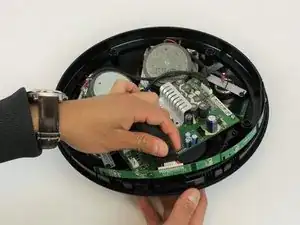
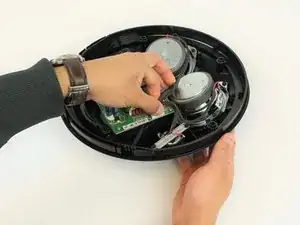
    • Entferne vorsichtig das Band mit den Steuerplatinen . Setze dazu deine Finger in die Öffnungen für die Tasten ein.

    • Arbeite dich von der Außenkante nach innen, so dass das Band nicht so stark verbogen wird.

    From where to buy Control panel

    ali -

    From where to buy this control panel

    ali -

  8. mYOLRBFQcPCPT1oE
    mYOLRBFQcPCPT1oE
    gT4EIp3YMS2Q1Bi1
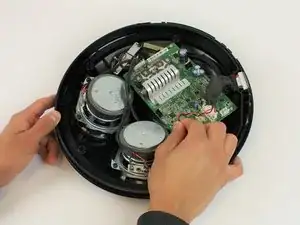
    • Löse die restlichen Stecker von der Hauptplatine ab.

    • Trenne die Bluetooth-Antenne ab.

  9. 6KYrct1kDkhK5dWw
    6KYrct1kDkhK5dWw
    QcCIKnfkO4dULMNm
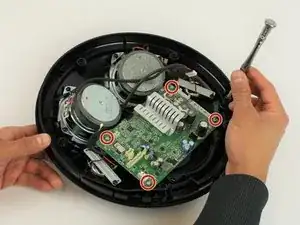
    • Entferne die vier 10 mm Torx T10 Schrauben.

    • Hebe die Hauptplatine aus dem Gerät heraus.

    Bisa di kirim

    Mala Ganni -

    Bisa pesan 1

    Mala Ganni -

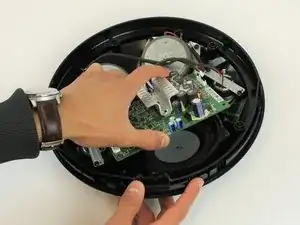
    I own two of these and the both shut down on their own.. where do I buy the replacement boards from?

    Darren Vincent -

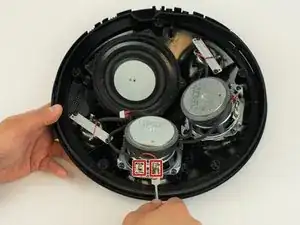
  10. 4GjCkyFRCqGkpgvi
    • Heble mit dem Spudger vorsichtig den roten und den schwarzen Stecker ab.

  11. hpWYTC5ZTdaeollJ
    hpWYTC5ZTdaeollJ
    XDId5ahpKiYrqjyC
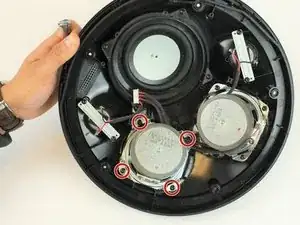
    • Entferne die vier 13,3 mm Torx T10 Schrauben.

  12. BCW31SU2R2HoRl2K
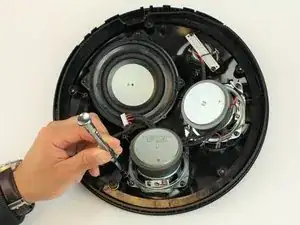
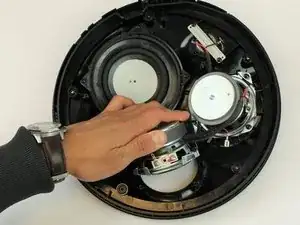
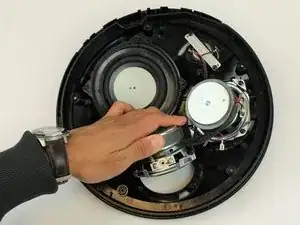
    • Ziehe den Lautsprecher heraus. Wiederhole die Schritte, falls nötig, für den nächsten Lautsprecher.

    Please attach a link where best to buy parts/speakers for this model. I found your step by step instructions very well detailed except for the source of parts

    Bernard Rocha -

Abschluss

Um dein Gerät wieder zusammenbauen, folge den Schritten in umgekehrter Reihenfolge.

Alexandra Achtenberg

Mitglied seit: 02/02/17

1969 Reputation

2 Kommentare

Hi, do anyone know sparepart number for woofer elements?

Mikko Lehto -

Hello.. what is the wattage of the speaker? and where can i get a replacement. how much?
James Santiago -