Einleitung
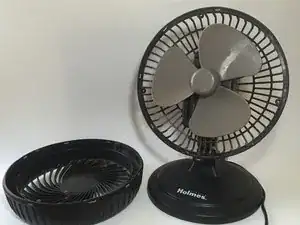
In this guide, you will learn how to disassemble the majority of the Blizzard fan. By following these easy steps, you can clean, service, or replace several components of this fan.
Werkzeuge
Ersatzteile
-
-
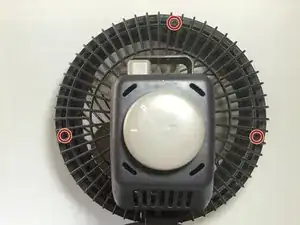
Using a Phillips #2 Screwdriver, remove the 3 screws located on the back of the fan cage.
-
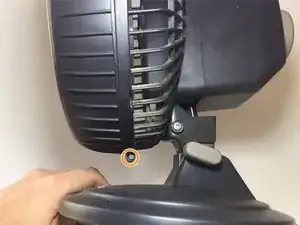
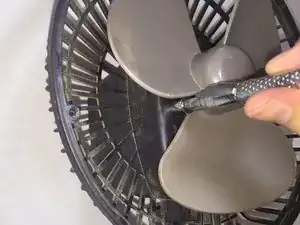
Next, loosen the screw located on the bottom of the fan.
-
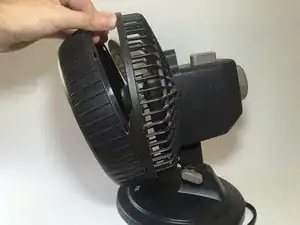
The front of the fan's cage is now able to be removed by prying the front away from the back.
-
-
-
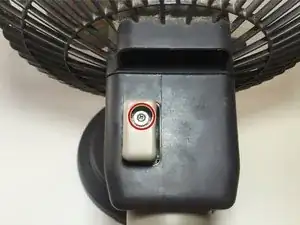
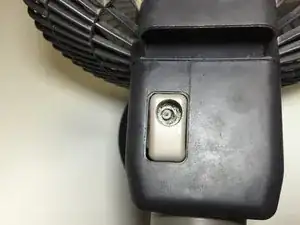
On the top of the fan, there is a screw fastening the oscillation button to the gear train within the housing. Remove this screw with the Phillips #0 Screwdriver.
-
-
-
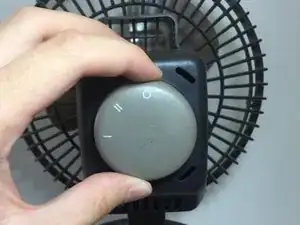
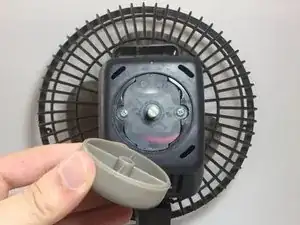
The on/off and fan speed nob can be removed by simply pulling it away from the main housing.
-
-
-
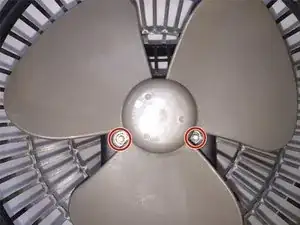
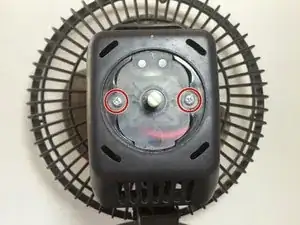
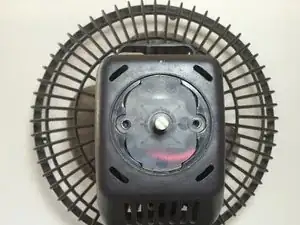
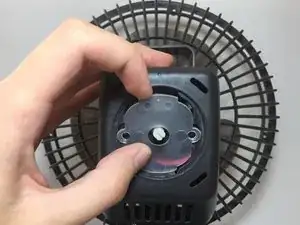
Remove the 2 screws holding the clear plastic plate in place with a Phillips #2 Screwdriver.
-
The plate is now free and can be taken out by hand.
-
-
-
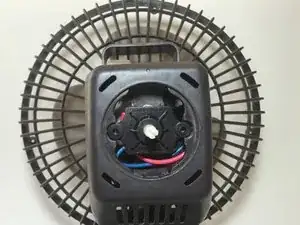
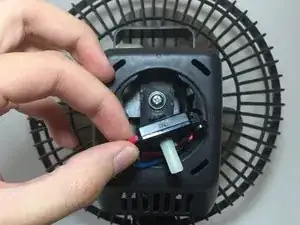
The motor switch is also free and can be removed by hand to reveal a screw holding the housing assembly in place.
-
-
-
Remove the screw that holds the housing assembly in place by using a Phillips #2 Screwdriver.
-
-
-
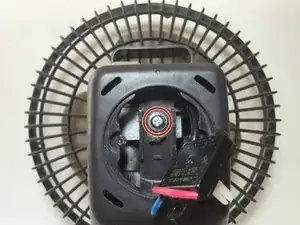
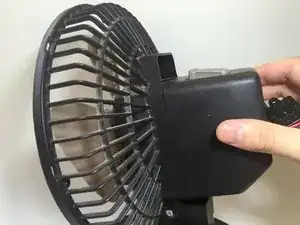
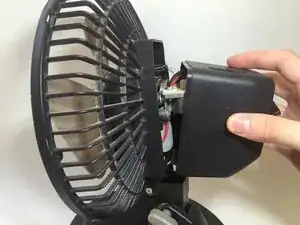
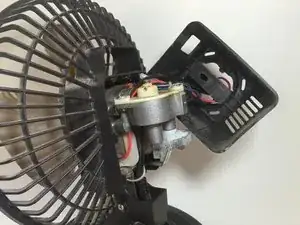
The housing assembly can now be pulled off and pushed to the side to reveal the fan motor and gear train.
-
To reassemble your device, follow these instructions in reverse order.
3 Kommentare
I wanted to let you know how pleasantly surprised I was to find your post when looking for instructions on the oscillation feature of my fan that is just like this one. Thank you for posting.
Thank you for this info. This made it so easy for me to take my fan apart and clean it.
I used this guide to fix a Holmes Air HAOF-7, which is virtually identical. It was seizing and clicking while oscillating. Oiling the gear assembly fixed it right up. Thanks for posting!
