Einleitung
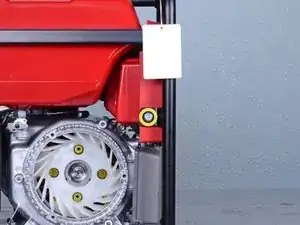
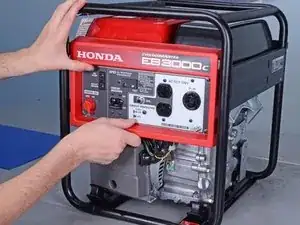
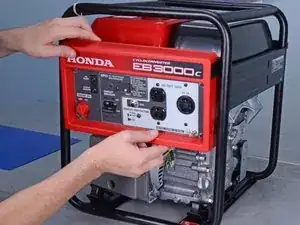
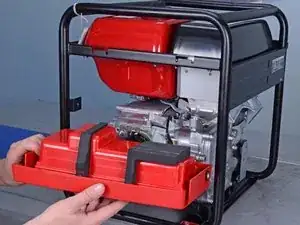
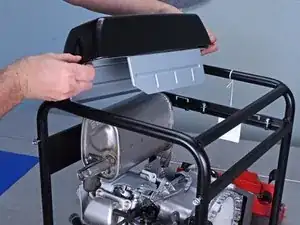
This guide demonstrates how to remove or replace the fuel tank and muffler protector on your Honda EB3000CK2A 3000 Watt Generator.
In this guide, the generator is shown with the recoil starter already removed. It is not necessary to remove the recoil starter to remove or replace the fuel tank and muffler protector.
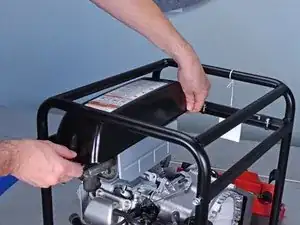
While it is possible to remove the fuel tank without removing the muffler protector, the protector must be completely unfastened to give the tank enough room for removal. If you don’t need to remove the muffler protector, simply skip the last step of this guide.
There are a large number of fasteners on the generator that must be removed for this repair. In order to keep them all organized and accessible, we suggest retaining them by replacing them in/on the same bolt hole or stud they were removed from as you work through the guide.
Drain all fuel from the device before beginning this guide.
Werkzeuge
Ersatzteile
-
-
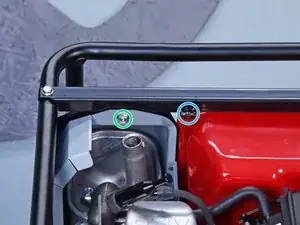
Use a 10 mm socket to remove the two 20 mm-long bolts securing the sides of the control box case.
-
-
-
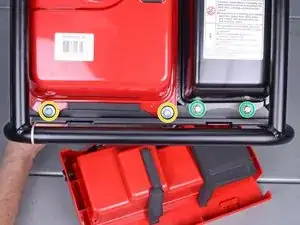
Use a 10 mm socket to remove the five bolts securing the muffler protector and the fuel tank to the frame:
-
Two 25 mm-long bolts
-
Three 15 mm-long bolts
-
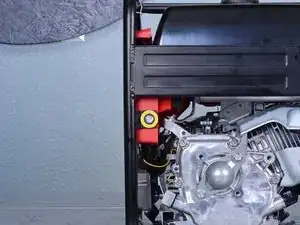
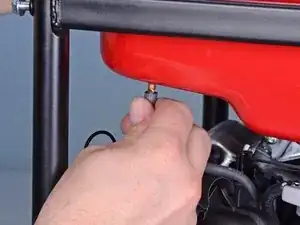
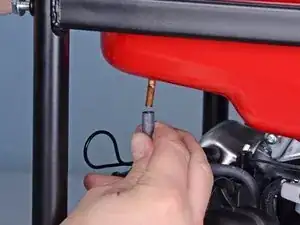
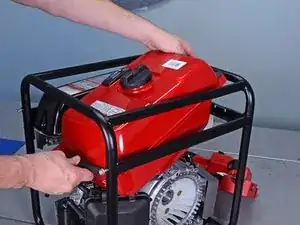
Use a pair of pliers to remove the lock pin and clutch joint securing the fuel tank to the frame.
-
-
-
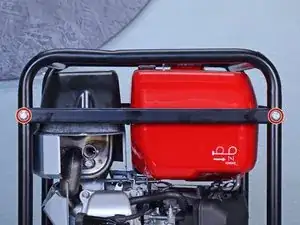
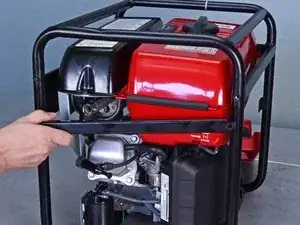
Use a 10 mm socket to remove the two 20 mm-long bolts securing the fuel tank bar to the rest of the frame.
-
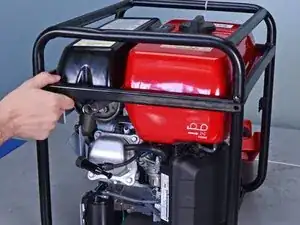
Remove the fuel tank bar.
-
-
-
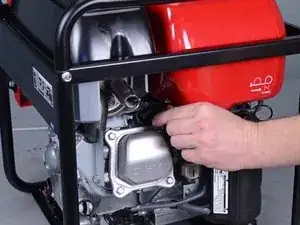
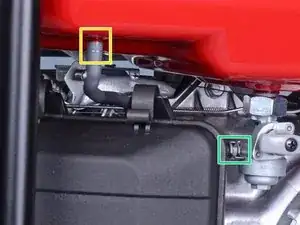
Identify these two tubes and their tube clamps:
-
The tube connected to the bottom of the fuel tank
-
The tube connected to the petcock assembly
-
-
-
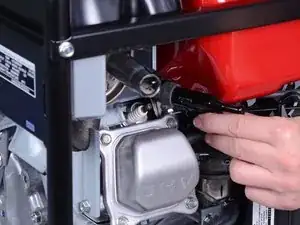
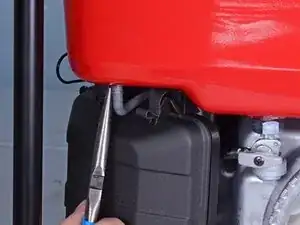
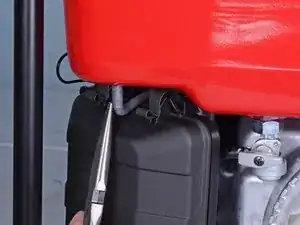
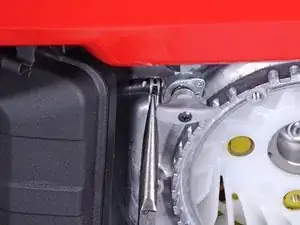
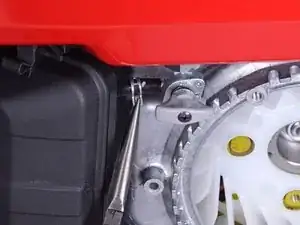
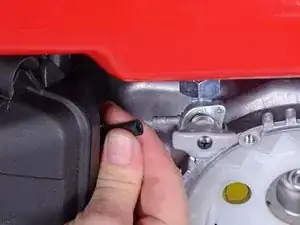
Use a pair of pliers to squeeze and shift the second tube clamp left and away from the petcock assembly.
-
-
-
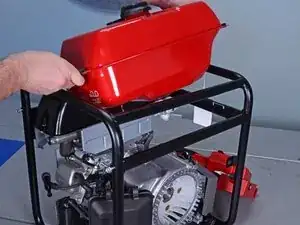
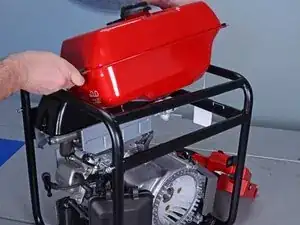
Gently lift one side of the tank and slip it out of the generator frame.
-
Remove the fuel tank.
-
To reassemble your device, follow these instructions in reverse order.
