Einleitung

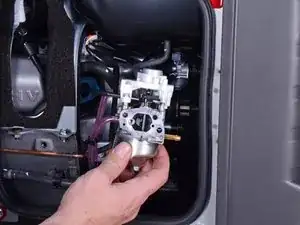
This guide shows how to remove and replace the carburetor for the Honda EU3000IS1AWK 3000 watt generator.

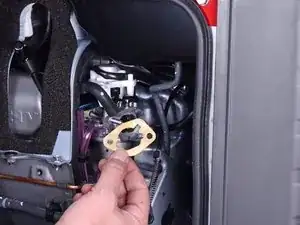
The guide lists all the gaskets encountered during the repair. You should replace any gasket that looks damaged or worn.

  1. UbGMSPUHmu5Emipg
    UbGMSPUHmu5Emipg
    EOqTsUAtCi2KFHFw
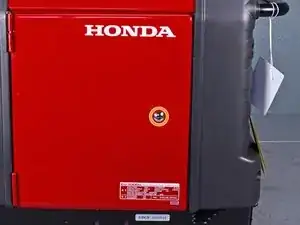
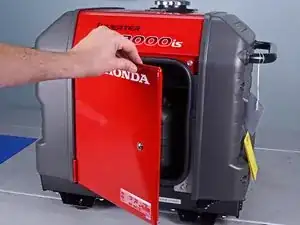
    • Before you begin, make sure the generator is off and cool to the touch.

    • Use a large flathead screwdriver to unlock the maintenance cover.

    • Open the maintenance cover.

  2. sJT2NiSJDvqIrsat
    sJT2NiSJDvqIrsat
    CGOaGS1UbALvMXom
    • Use a Phillips screwdriver to remove the screw securing the spark plug cover.

    • Remove the spark plug cover.

  3. PQCWqaPkWnK4k6CD
    PQCWqaPkWnK4k6CD
    EoOtaOPaXQtnwgWu
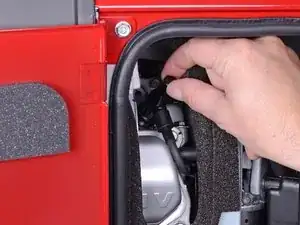
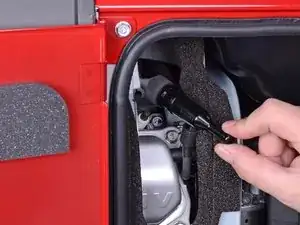
    • Grab the plastic housing at the end of the spark plug wire.

    • Pull firmly to disconnect the wire from the spark plug.

  4. 23thAcA2vMUnJWdU
    23thAcA2vMUnJWdU
    C5yxoojJaXjxcEnE
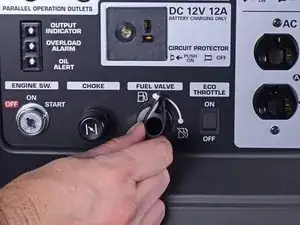
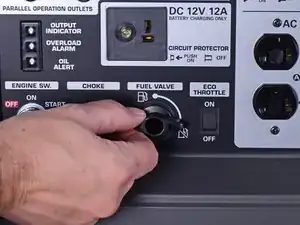
    • Turn the fuel valve to the cutoff position.

  5. aZbFSyElfRAbk4iE
    aZbFSyElfRAbk4iE
    NSU2VO1fI6LQXpdT
    EOtddsjVDpUoDXjj
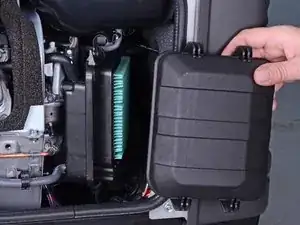
    • Unlatch the four clips securing the air cleaner cover.

    • Remove the air cleaner cover.

  6. r2CUAnagAv4TeIIJ
    r2CUAnagAv4TeIIJ
    iv6VGmToTNHLO2Qt
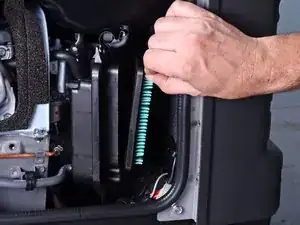
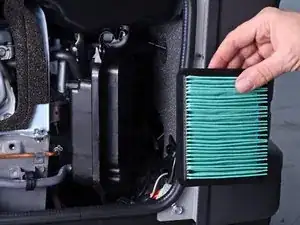
    • Remove the air cleaner filter from the housing.

  7. NRRX2WLmyXFOOINU
    NRRX2WLmyXFOOINU
    JdxoBWLsdCTrgHjb
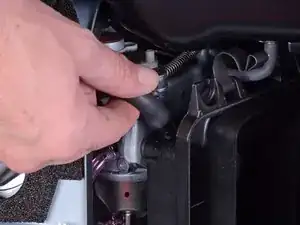
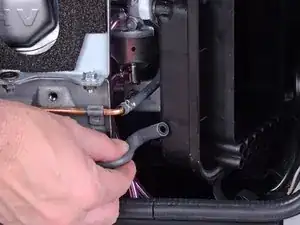
    • Pull and disconnect the breather tube from the top corner of the air cleaner housing.

  8. jJBH12ltYZQji4MO
    jJBH12ltYZQji4MO
    w6Z1feCgClIedueB
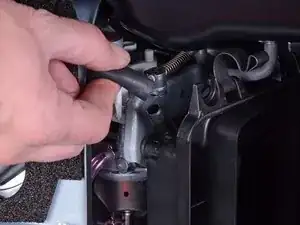
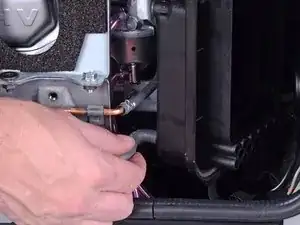
    • Pull and disconnect the lower tube from the bottom corner of the air cleaner housing.

  9. hdCBBWxetmZjJRm4
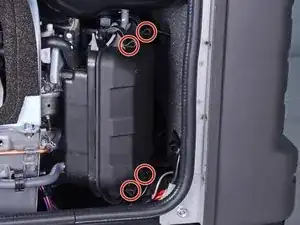
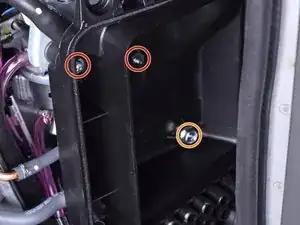
    • Use a 10 mm socket to remove the three fasteners securing the air cleaner housing:

    • Two 10 mm nuts

    • During reassembly, tighten these nuts to 6.3 ft-lb (8.5 N-m).

    • One 10 mm bolt

  10. cWHNJgHfMD4Tqrx3
    cWHNJgHfMD4Tqrx3
    eU3IthgywBNquEqR
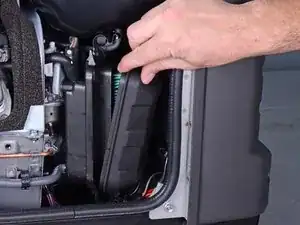
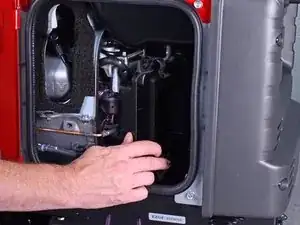
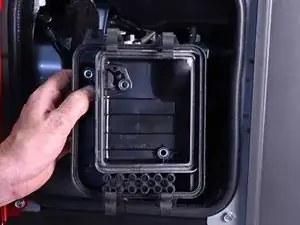
    • Pull the housing out slightly from its recess.

    • The housing still has tubes clipped to it.

  11. eJ6M2sUyK2YStWCk
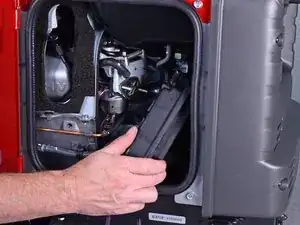
    • Use a flathead screwdriver to pry and unclip the tube from the air cleaner housing.

  12. mWKqHEQm5p2O4Qc5
    • Remove the air cleaner housing.

  13. bRJSCaSMyLJs6WmG
    bRJSCaSMyLJs6WmG
    ELWxATwili2IEepC
    cPuMXUtaacyBg5tn
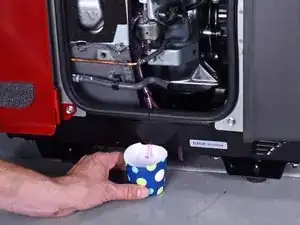
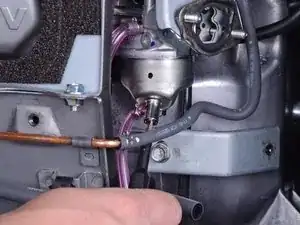
    • Place a container below the carburetor drain tube to catch the excess fuel.

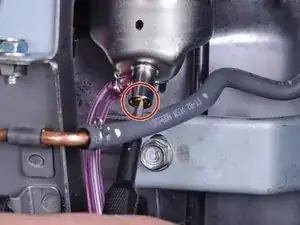
    • The carburetor drain screw is located at the bottom of the carburetor.

    • Use a flathead screwdriver to loosen the brass fuel drain screw until fuel begins to drain out of the carburetor.

    • Once you drain the fuel bowl, re-tighten the fuel drain screw.

  14. MeMfYyGry6KeZLAT
  15. oe1OBL2ECfG4DtlP
    oe1OBL2ECfG4DtlP
    BTZHIsg3sapRcH1Z
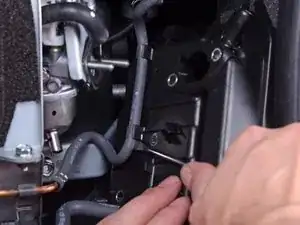
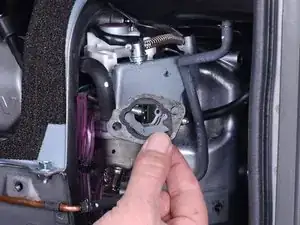
    • Slide the choke stay off the carburetor mounting bolts and move it out of the way.

    • The choke stay will still be attached to the choke cable.

    having trouble getting the choke stay back on the carburetor.

    clyde Hudson -

  16. dGMFA6UyNsgwD2Es
  17. dpNtXbkJYUeZlcpH
    dpNtXbkJYUeZlcpH
    2xwuJs4DSj2cwbBZ
    VdyYKgkuI4MohQb1
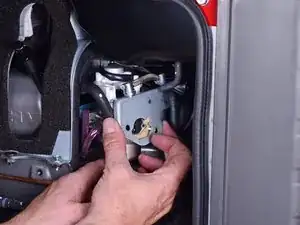
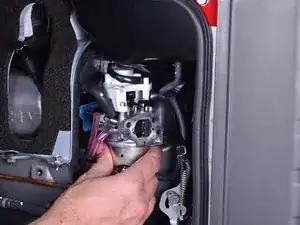
    • Slide the carburetor off the mounting bolts.

    • The carburetor is still attached to the generator with wires and hoses.

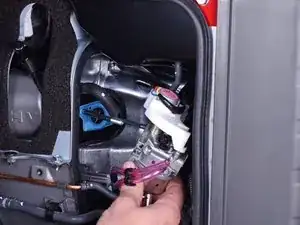
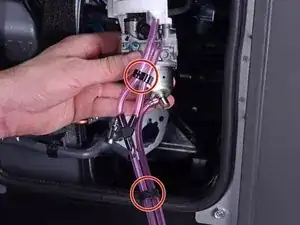
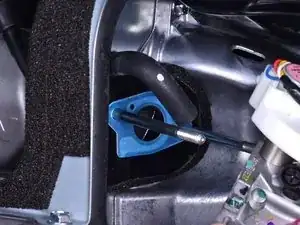
    • During reassembly, use the third photo as a reference for how to route the carburetor tubes.

  18. GHIOiMTPToInXy4Q
    • Disconnect the throttle control connector from the top of the carburetor.

    • Unwrap the throttle control wires from the carburetor.

  19. UsGbrMJ4DOfB4Snw
    UsGbrMJ4DOfB4Snw
    XKB6lGokZxEYsuSs
    IqIFLhASegppjVbG
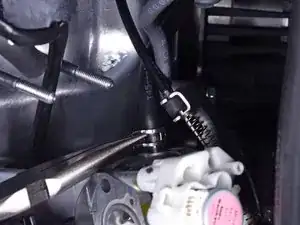
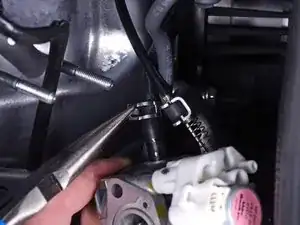
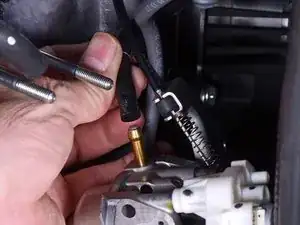
    • Use pliers to squeeze and loosen the hose clamp securing the carburetor fuel hose.

    • Pull and disconnect the fuel hose from the carburetor.

    • Fuel may leak out when you disconnect this hose. Be ready to catch any spillage.

  20. jCqUT6qXC6G5AmMw
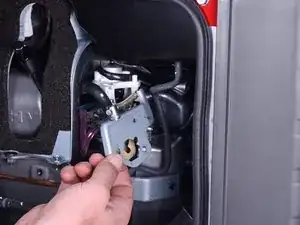
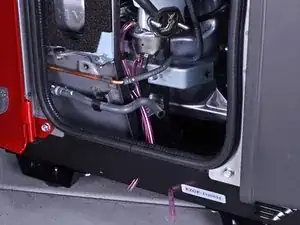
    • Remove the carburetor.

  21. b2JaJjMwVwrEbRik
    • If your replacement carburetor did not come with hose clips, transfer the existing clips onto the new carburetor.

  22. i5Q3BHXDBqmtAMtu
Abschluss

To reassemble your device, follow these instructions in reverse order.
Arthur Shi

Mitglied seit: 03/01/18

218620 Reputation

0 Kommentare