Einleitung

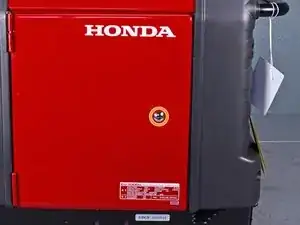
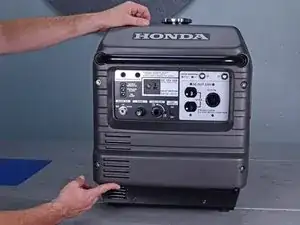
This guide shows how to remove and replace the inverter module for the Honda EU3000IS1AWK 3000 watt generator.

You will need a long shaft (at least 5 inches) Phillips screwdriver in order to complete this guide.

  1. UbGMSPUHmu5Emipg
    UbGMSPUHmu5Emipg
    EOqTsUAtCi2KFHFw
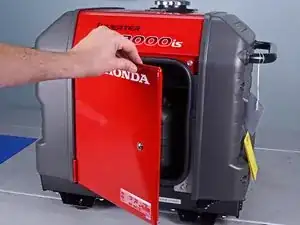
    • Before you begin, make sure the generator is off and cool to the touch.

    • Use a large flathead screwdriver to unlock the maintenance cover.

    • Open the maintenance cover.

  2. sJT2NiSJDvqIrsat
    sJT2NiSJDvqIrsat
    CGOaGS1UbALvMXom
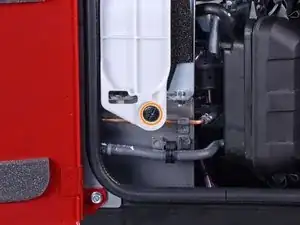
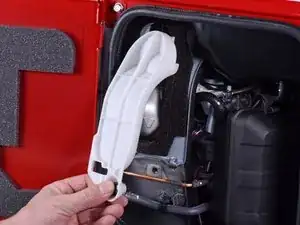
    • Use a Phillips screwdriver to remove the screw securing the spark plug cover.

    • Remove the spark plug cover.

  3. PQCWqaPkWnK4k6CD
    PQCWqaPkWnK4k6CD
    EoOtaOPaXQtnwgWu
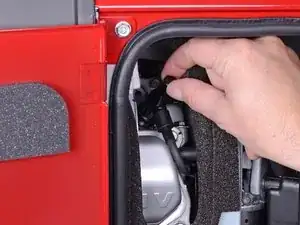
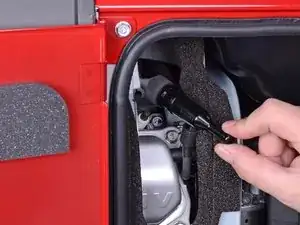
    • Grab the plastic housing at the end of the spark plug wire.

    • Pull firmly to disconnect the wire from the spark plug.

  4. 23thAcA2vMUnJWdU
    23thAcA2vMUnJWdU
    C5yxoojJaXjxcEnE
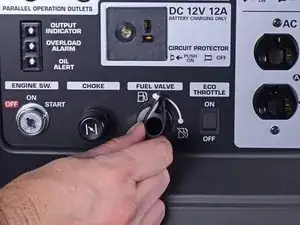
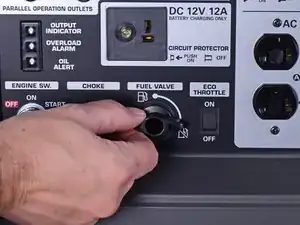
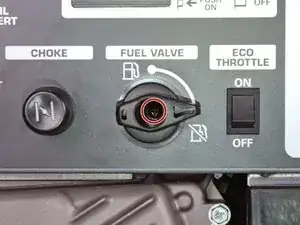
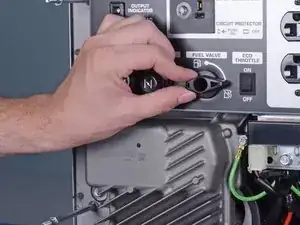
    • Turn the fuel valve to the cutoff position.

  5. iDvNAmrIrrmIpxK6
    iDvNAmrIrrmIpxK6
    P6XwTuMvPDD4ye2E
    F4Ipy2BmDPGU5Ebk
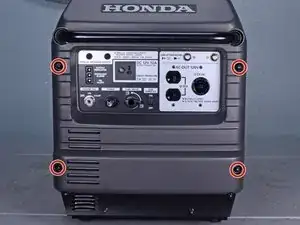
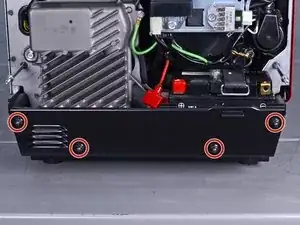
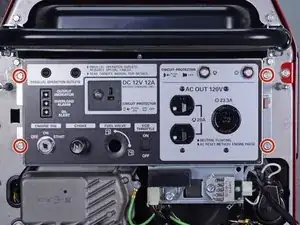
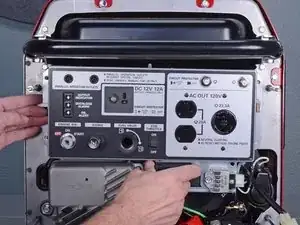
    • Use a 10 mm socket to remove the four capped nuts securing the front cover.

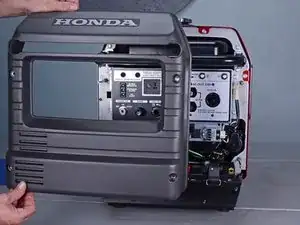
    • Remove the front cover.

  6. B4mZdaK3yv6sOwTA
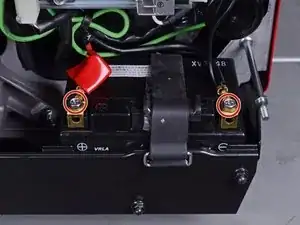
    • Use an 8 mm socket to disconnect the battery wires from the battery terminals.

    • Disconnect the black negative cable first to prevent the risk of shorting the battery.

    • During reassembly, connect the black negative cable first. Make sure you reconnect the wires in the correct polarity.

  7. Rtd2gVSNJQMZfDER
    Rtd2gVSNJQMZfDER
    2VUsPrTZH6UGGAHL
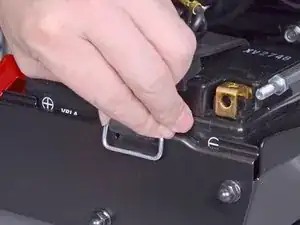
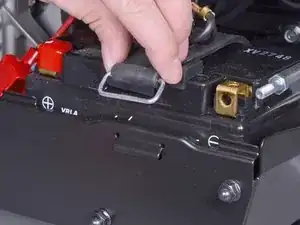
    • Unclip the battery strap from the lower plate.

  8. JUpfTWDkcOFirXJP
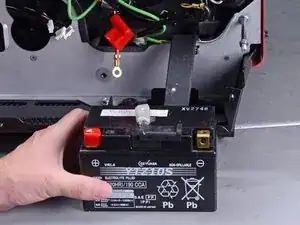
    • Remove the battery.

  9. RDZUVKlwTMFoDWqW
    RDZUVKlwTMFoDWqW
    r4IFmRkNHWogk3sr
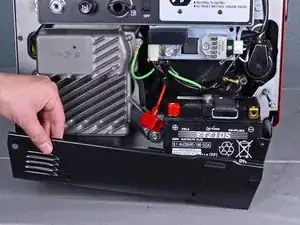
    • Use a 10 mm socket to remove the four capped nuts securing the lower plate.

    • Set these capped nuts apart. They look similar, but are smaller than the front cover nuts.

    • Remove the lower plate.

  10. bsIFORL3CwVedQRS
    bsIFORL3CwVedQRS
    SkSZvRQJ3uLuFixC
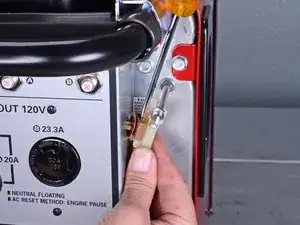
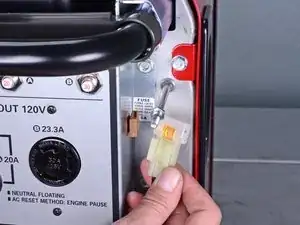
    • Insert a flathead screwdriver into the top of the brown fuse clip in order to release the fuse holder.

    • Detach the fuse holder from the brown clip.

  11. QuHfgHuEQ4VthYnL
    QuHfgHuEQ4VthYnL
    QXdqRVvHKZyuPUNu
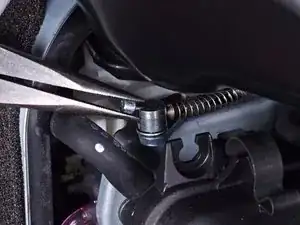
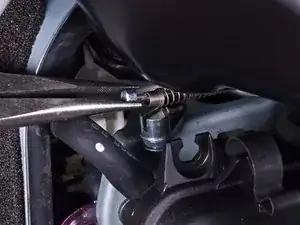
    • Use pliers to lift and disconnect the choke cable from the choke stay.

    • During reassembly, be sure to test the choke to ensure that it is properly connected.

  12. Kr1wUlNnspfySpYL
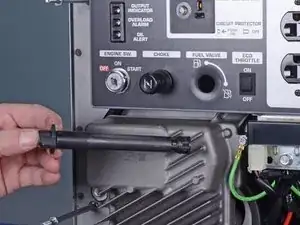
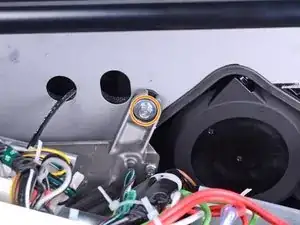
    • Use a long shaft Phillips screwdriver to remove the deeply recessed screw securing the fuel cutoff switch.

    • Be careful not to turn the fuel cutoff switch while you remove the screw.

  13. WxlUVQ2yhw2BNXyB
    WxlUVQ2yhw2BNXyB
    1dkhrTXLElKMKoaR
    • Remove the fuel cutoff switch.

    • During reassembly, be sure to test the switch to ensure that it is properly installed.

  14. RLiROE5UcjRcT6LM
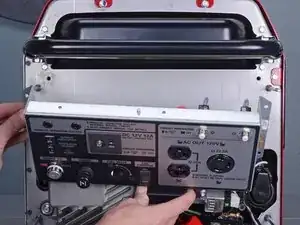
    • Use a 10 mm socket to remove the four bolts securing the control panel.

  15. 2BWAAS6wDiR1qRHQ
    2BWAAS6wDiR1qRHQ
    ToGduqcQLsj2TYUY
    • Carefully tilt the control panel downwards.

    • The control panel will still be connected to many wires and cables. Be careful not to strain any of the connected wires.

  16. yisIoCCa4EQOvp4f
    yisIoCCa4EQOvp4f
    5AWchIdoWZJSdff5
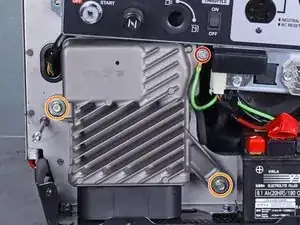
    • Remove the following bolts securing the inverter:

    • One 8 mm ground bolt

    • Three 10 mm bolts (one behind the control panel)

  17. XhIjcjWBGTa1DoD2
    XhIjcjWBGTa1DoD2
    DRNHXClo6UvsENDZ
    ZqiNgEEOEqirHYd2
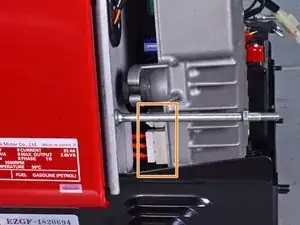
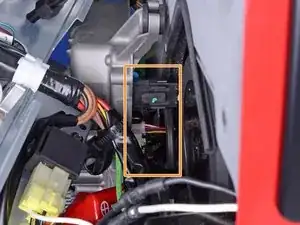
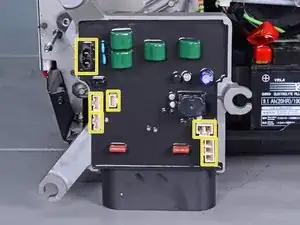
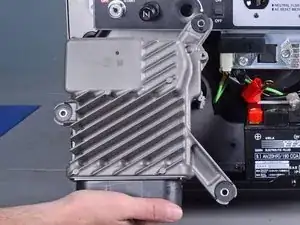
    • Reach behind the inverter along the edges and disconnect the six connectors from the back of the inverter.

    • All the connectors use locking tabs, so you will have to squeeze them in order to release them.

    • The third image shows the locations of all six sockets on the inverter.

    • Reassembly tip: Every socket on the inverter is different, so you can't plug something into the wrong place. Do not force the connectors into their sockets.

  18. KXJh6hti66cTXpwL
    KXJh6hti66cTXpwL
    kxbSKsNJr5IAcah5
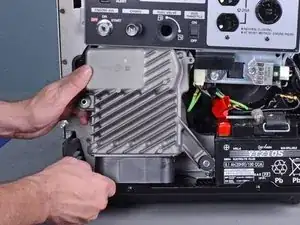
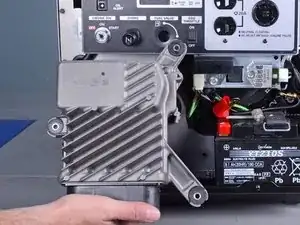
    • Remove the inverter.

  19. 5hFMIbRljs3bKVaC
    5hFMIbRljs3bKVaC
    WfYTfi4RVX2vEJLM
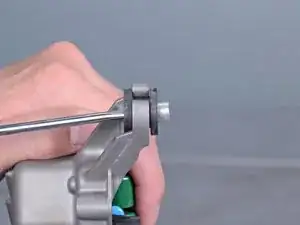
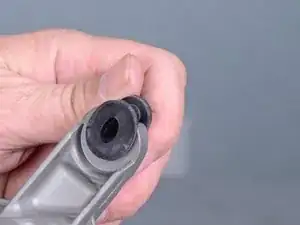
    • If you are replacing the inverter and the replacement did not come with rubber mounts, follow the next two steps to transfer them over.

    • Use a screwdriver to push the metal collar out of the center of the rubber mount.

  20. RUUJZ23DwxTcyEyh
    RUUJZ23DwxTcyEyh
    OLMHZcWsYnYJbDgp
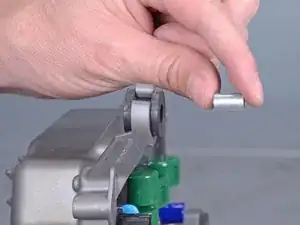
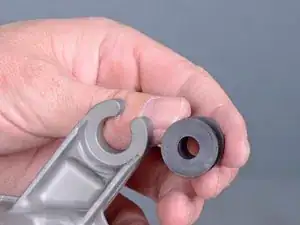
    • Squeeze the mount and remove it from the inverter.

    • Repeat the procedure with the remaining mounts and transfer them to the replacement inverter.

Abschluss

To reassemble your device, follow these instructions in reverse order.
Arthur Shi

Mitglied seit: 03/01/18

218620 Reputation

0 Kommentare