Einleitung
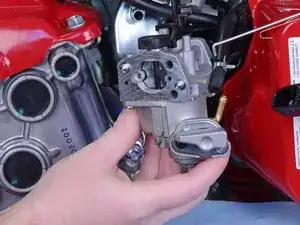
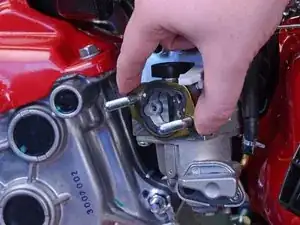
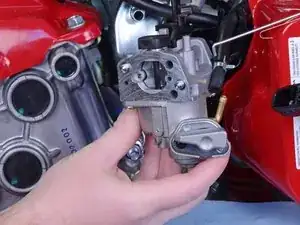
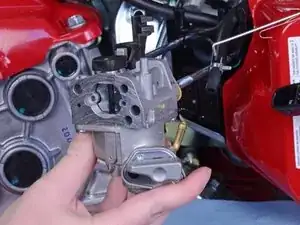
Follow this guide to replace a worn or damaged carburetor on the Honda FC600 tiller.
Werkzeuge
-
-
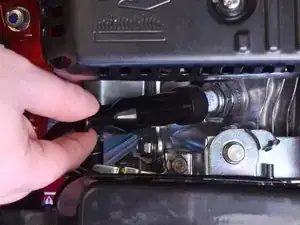
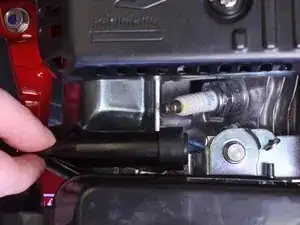
Grab the spark plug cap and pull it straight out to disconnect the spark plug from the engine.
-
-
-
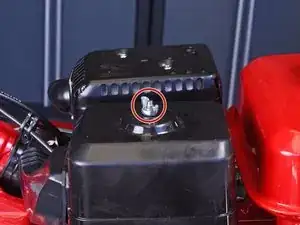
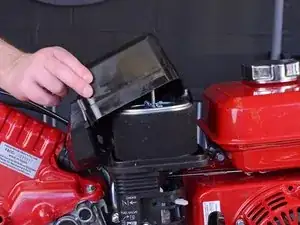
Use your fingers to unscrew and remove the wing nut securing the air filter cover to the air filter elbow.
-
-
-
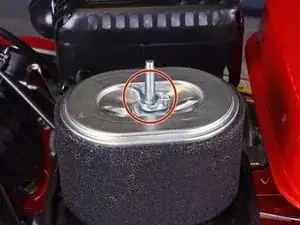
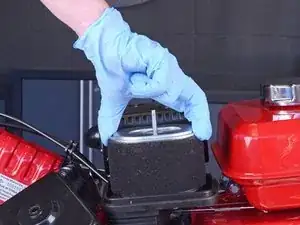
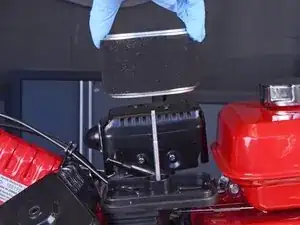
Use your fingers to unscrew and remove the wing nut securing the air filter to the air filter elbow.
-
-
-
Use a 10 mm socket and socket wrench to remove the 25.5 mm-long bolt securing the air filter elbow to the tiller.
-
-
-
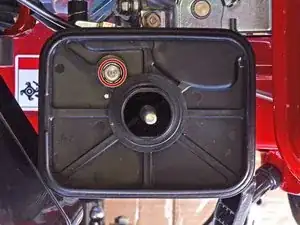
Use a 10 mm socket and socket wrench to remove the two nuts securing the air filter elbow to the carburetor's threaded rods.
-
-
-
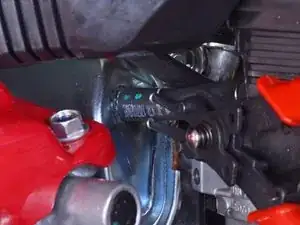
Use a pair of snap ring pliers to loosen the spring hose clamp on the breather tube, pulling it out 2-3 cm so it's not clamping onto the end of the tube.
-
-
-
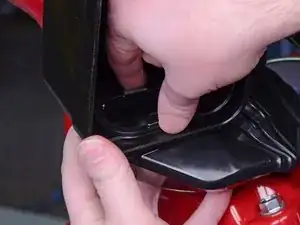
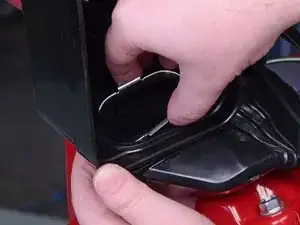
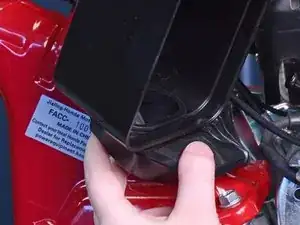
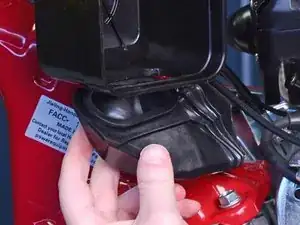
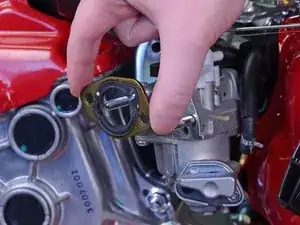
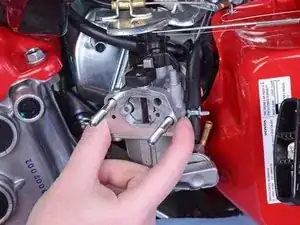
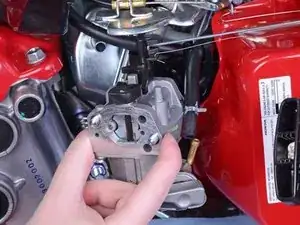
Pull the air filter elbow straight off, making sure it clears the carburetor's threaded rods.
-
-
-
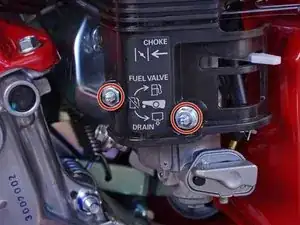
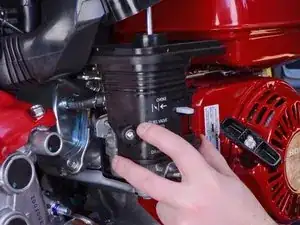
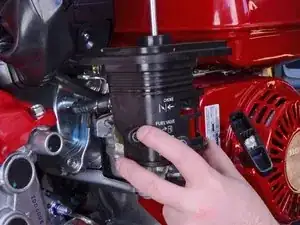
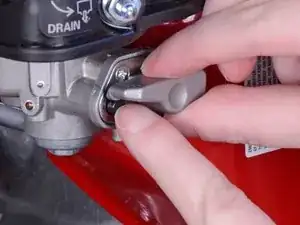
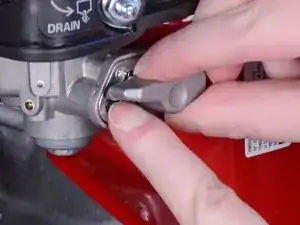
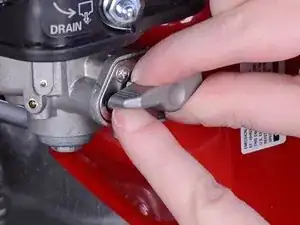
Press and hold down the fuel valve's safety lock button.
-
Begin to turn the fuel valve knob counter-clockwise, continuing to hold down the safety lock button until the knob clears the button.
-
-
-
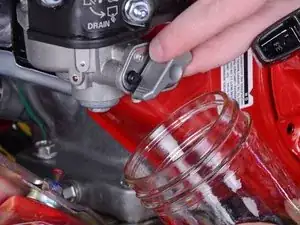
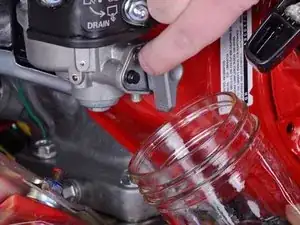
Place a small gasoline-safe container under the drain spout.
-
Turn the fuel valve knob counter-clockwise until it faces downward to drain any gasoline that may be remaining in the carburetor.
-
-
-
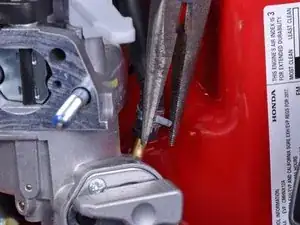
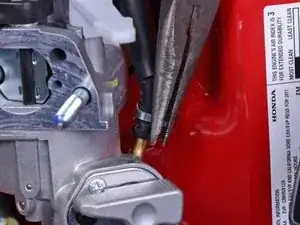
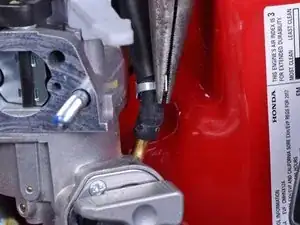
Use a pair of needle nose pliers to squeeze and loosen the spring hose clamp on the fuel supply hose.
-
Move the clamp up 2-3 cm so it's not clamping down onto the end of the tube.
-
-
-
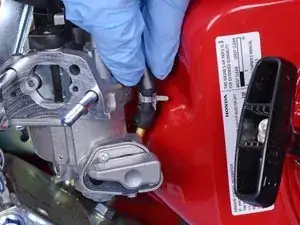
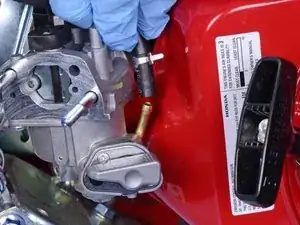
Grab onto the end of the fuel supply hose and pull it straight up to disconnect it from the carburetor.
-
-
-
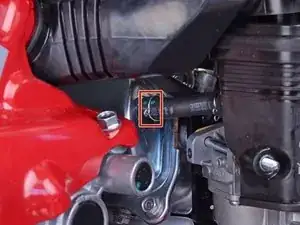
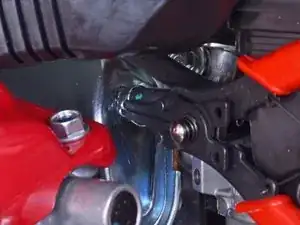
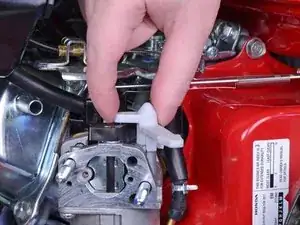
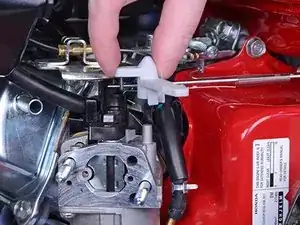
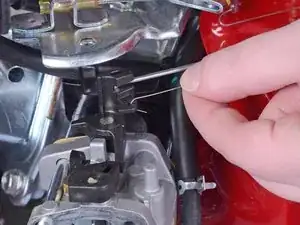
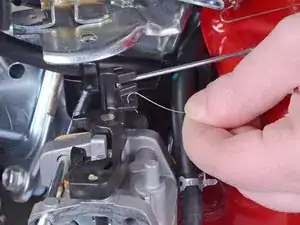
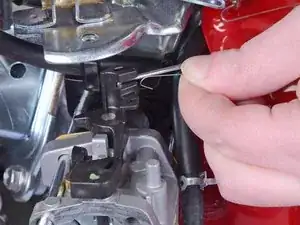
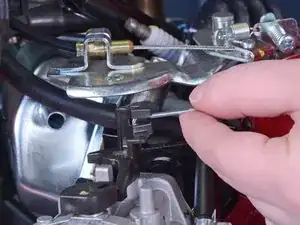
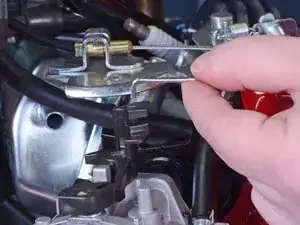
Grab the throttle return spring and push it down to point the tip of the hook downward.
-
Apply an upward motion to lift the tip of the hook out of its connector on the carburetor.
-
To reassemble your device, follow these instructions in reverse order.
