Einleitung

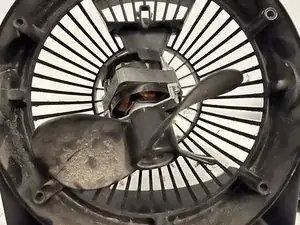
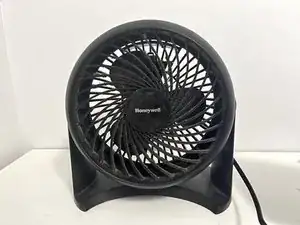
There are a number of potential causes if your Honeywell HT900C fan does not start when you turn it on, including the fan motor being damaged from overuse, the fan being misaligned, etc. The fan motor is the most common culprit because it drives the rest of the fan. Our instructions will guide you through disassembling the old motor and installing the new one. All that is required is a screwdriver and some lubricant, both of which can be found in almost every home.

  1. TKjPXJ4NkT6Xrc5x
    TKjPXJ4NkT6Xrc5x
    aSKpXGog2jaSIKjl
    XVIBbJWNSNbWWPAt
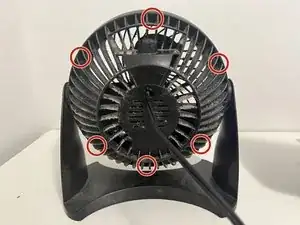
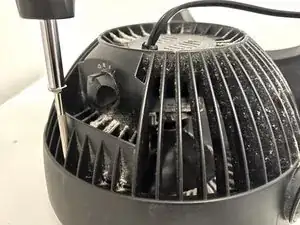
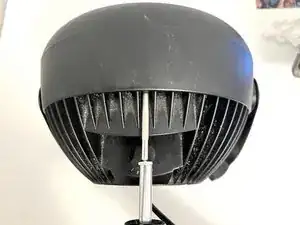
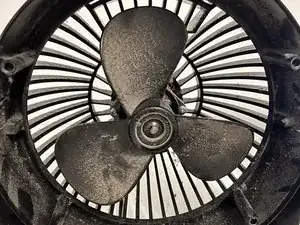
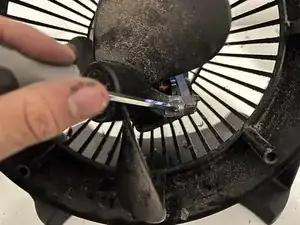
    • Remove the six 15 mm screws securing the fan's frame to its outer ring on the back using a Phillips #1 screwdriver.

    • Due to the small size of the screw holes, a long and thin screwdriver may be necessary.

  2. Uf2qycH4HRF2ieFg
    Uf2qycH4HRF2ieFg
    jUxA2gBv21msRGhn
    6tdoLHdnHitTMBlq
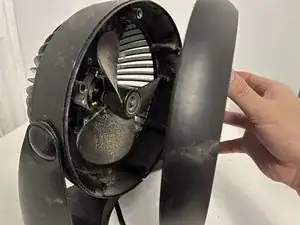
    • To gain access to the fan's inner workings, gently pull the blade cover away from the main body.

  3. aRVOQOTALPoKISCY
    aRVOQOTALPoKISCY
    nLugIDj2kJVrOXuA
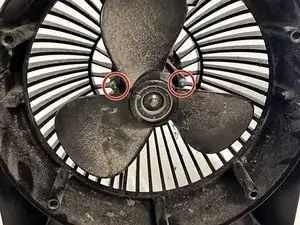
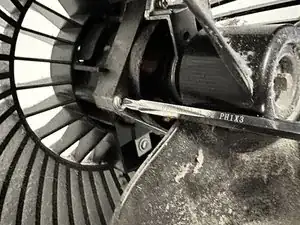
    • Remove the two 36 mm screws from the metal plate located behind the blades using a Phillips #1 screwdriver.

    • The screws can be hard to remove so you may need to twist the screwdriver harder and screws can be removed easily.

  4. 4KfaIRIAWZxtdk1y
    4KfaIRIAWZxtdk1y
    BEbpYTYjscsMFHdn
    GIRuKEu1Fs1cAMqS
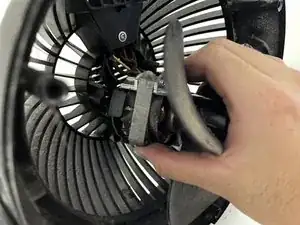
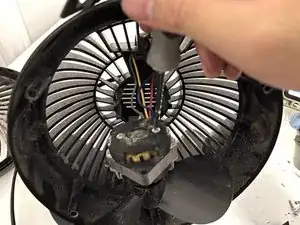
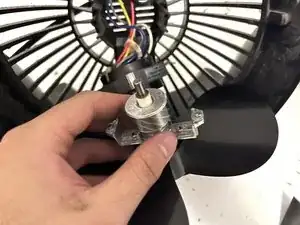
    • Carefully pull the motor it out of its resting position and tilt it forward to access the back of the motor.

  5. iAALYhxkLNhLv5Ht
    iAALYhxkLNhLv5Ht
    K6PFTqyW1vcaZ3Cy
    6fNnZJRiGAcFT3m2
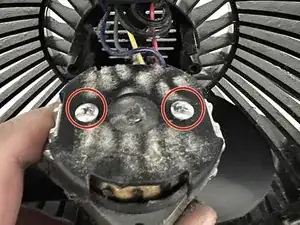
    • Remove two 10 mm screws from the motor's back using a Phillips #1 screwdriver.

  6. Rygt6Pm2VUhQJHXf
    Rygt6Pm2VUhQJHXf
    XGwAMTKWqWNdAQ6e
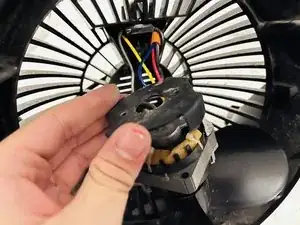
    • Remove the 20 mm screws beside the fan blade using a Phillips #1 screwdriver.

    • The screws are attached to two parts of the motor so it can easily fall off after removing the screws.

  7. qVWZS5KqDybsYJAP
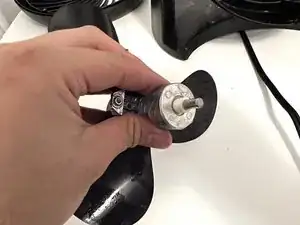
    • Carefully remove the circular motor from the square holder.

    • The circular motor is still connected to the fan blades.

  8. vMbwQ2dkZ5r43sjr
    vMbwQ2dkZ5r43sjr
    rGCQSp1or4rfhECx
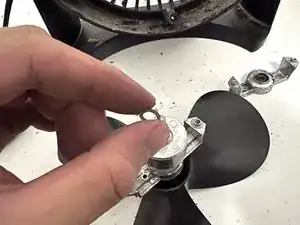
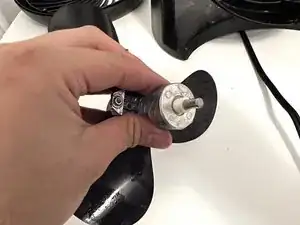
    • Remove the metal washer from the axle.

  9. CaCKIVxYaAUMJ5Jn
    • Replace the old motor with a new one, and you're done!

    • Using the lubricant to easily put the new motor back.

    • Always double-check that the screws are securely in place.

Abschluss

To reassemble your device, follow these instructions in reverse order.
Duy Anh Nguyen

Mitglied seit: 17/09/22

169 Reputation

0 Kommentare