Einleitung

This guide will help you remove the belt the drives the brush.

  1. RTPcTuWI5vuqV4YT
    RTPcTuWI5vuqV4YT
    oavhpJmrwkpkHG3E
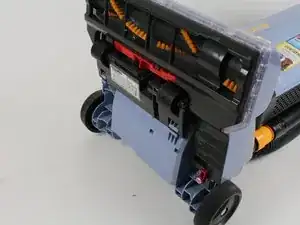
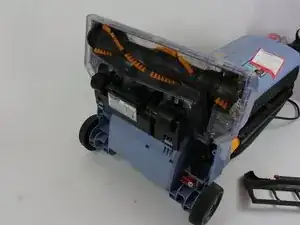
    • Place the vacuum on its back.

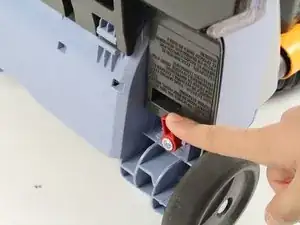
    • On the bottom right side, push the red lever to the left.

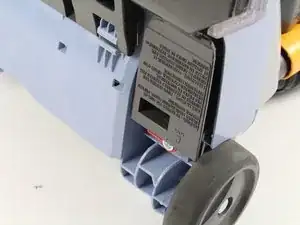
    • Remove the plastic cover.

  2. ckiDuxxdFlmVPQbY
    ckiDuxxdFlmVPQbY
    HfFiRSuSZqLSfpmk
    OKcITRAUfyGHrM5f
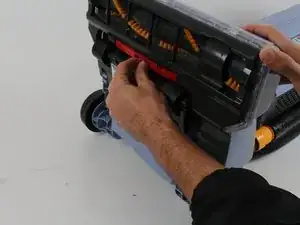
    • Grab the red switch under the brush and push left.

    • Then remove the plastic base plate.

  3. BvgZPynO15IBAvBx
    BvgZPynO15IBAvBx
    LApRKuNnPpFgwLfT
    Ze3oLijdwClfOpAh
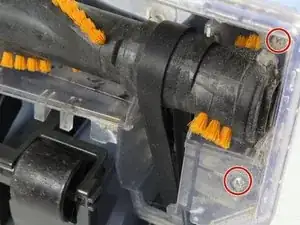
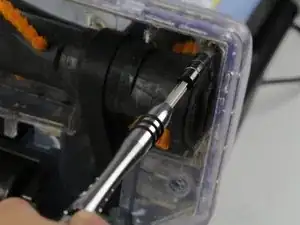
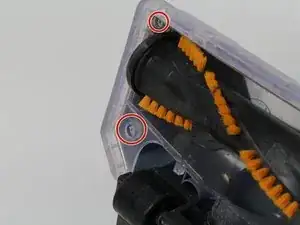
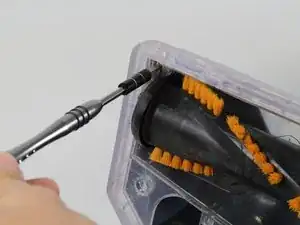
    • Use a Phillips #1 screwdriver to remove the two screws on the right side of the brush.

  4. onPED6XQnsbmgfqN
    onPED6XQnsbmgfqN
    vYjvhhMFsAeLtRjX
    wQwwFCRnLyaMMFg4
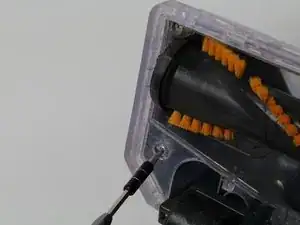
    • Remove the two screws on the left side of the brush.

  5. 3JI6OUDgRgSVbGJI
    3JI6OUDgRgSVbGJI
    MCCfZhJODg3bdHkE
    aA2JYmlOcF5qEN2Z
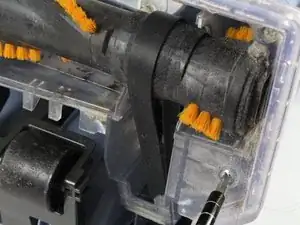
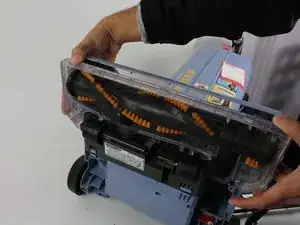
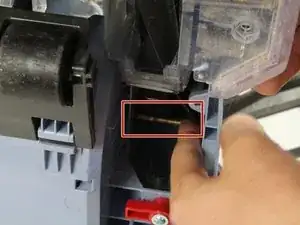
    • Pull the clear plastic away from the head of the vacuum.

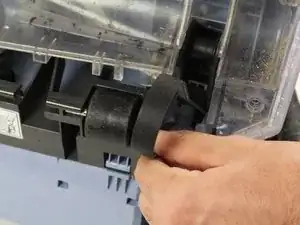
    • Slide the belt off the metal rod with your finger.

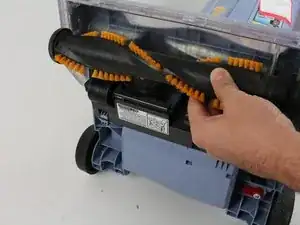
    • Pull the brush free.

  6. hhlYfvQHnMuRKoKD
    • Removal of the brush will also remove the belt.

Abschluss

To reassemble your device, follow these instructions in reverse order.
Erik Ingels

Mitglied seit: 19/01/18

193 Reputation

0 Kommentare