Einleitung
This guide will walk you through replacing the battery in your Hott T725-8G.
Werkzeuge
Ersatzteile
-
-
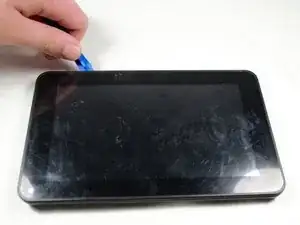
Remove the back of the device using the Plastic Opening tool by placing it between the front and back panel and gently prying them apart.
-
-
-
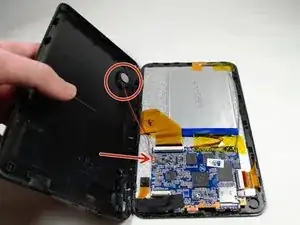
Once the Plastic Opening tool has separated the halves, use your hands to pull them completely apart.
-
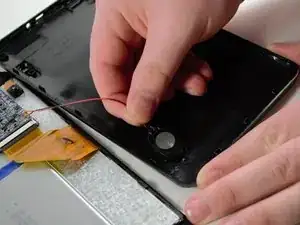
Be careful when doing this - the speaker is attached to the back panel and has wires running to the motherboard in the front panel.
-
-
-
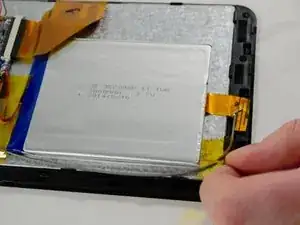
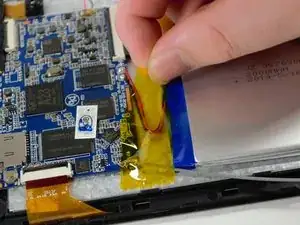
Remove the yellow tape holding the wire connecting the battery to the motherboard with your fingers.
-
-
-
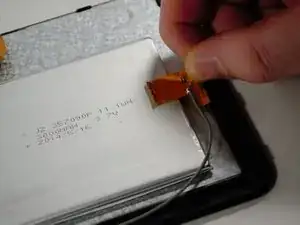
Use your fingers to separate the ribbon wire from the battery and the back of the display.
-
-
-
Use your fingers to remove more yellow tape holding down the wire connecting the battery to the motherboard.
-
-
-
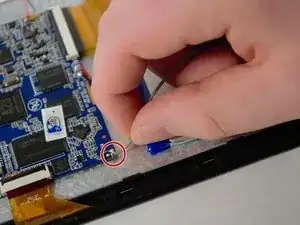
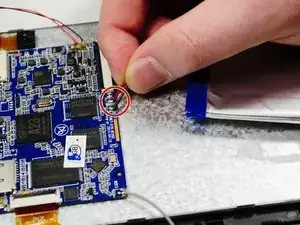
You can check one of the connection points between the battery and the motherboard to see if it is firmly connected (which it should be) using the plastic Spudger. It is not necessary to remove this wire to replace the battery.
-
-
-
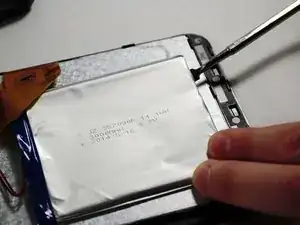
Use a Plastic Spudger to separate the adhesive side of the battery from the back of the display.
-
The adhesive is extremely sticky, but will separate. Ensure that the battery doesn't bend or fold while removing it.
-
-
-
You may use the plastic Spudger to separate the connections between the battery and motherboard. The new battery is now ready to be soldered on.
-
To reassemble your device, follow these instructions in reverse order.
