Einleitung
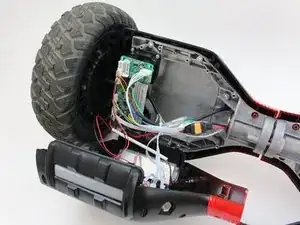
If the outer shell of your Hover-1 Charger (H1-COL) is damaged, it may have to be replaced. This guide details instructions to completely remove the outer shell.
In this guide, the right or left cover refers to the portion of the outer shell that contains the LED headlights. The right or left foot pad refers to the portion of the outer shell that the user places their foot on.
Make sure to wear an anti-static wrist strap to protect the electronics against buildup of static electricity. Some screw housings are fragile; they may fall apart when the screw is removed.
Werkzeuge
-
-
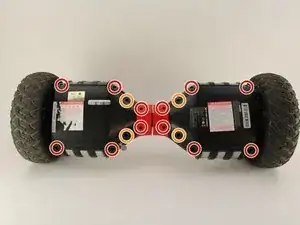
Flip the hoverboard over so that the warning label is facing up.
-
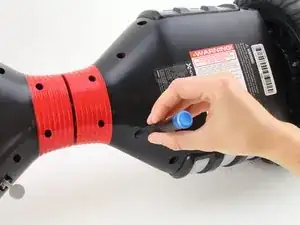
Remove the twelve 12 mm screws with a Phillips #2 screwdriver.
-
Remove the four 10 mm screws with a Phillips #2 screwdriver.
-
-
-
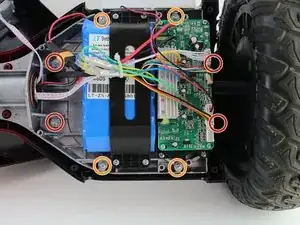
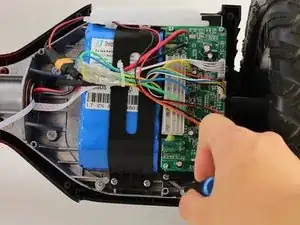
Unscrew four 12 mm screws that hold the right foot pad with a Philips #2 screwdriver.
-
Unscrew the four 18 mm screws with a Philips #2 screwdriver.
-
-
-
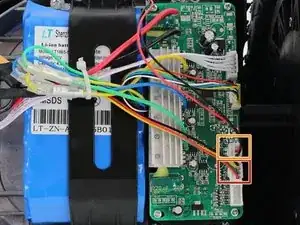
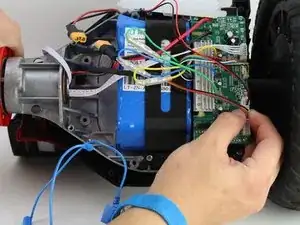
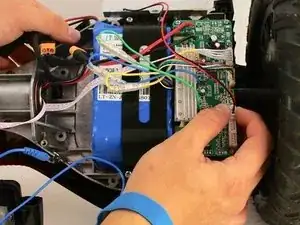
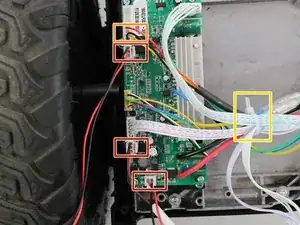
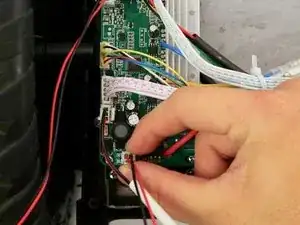
Unplug the black, yellow, green and red four pin connector from the circuit board.
-
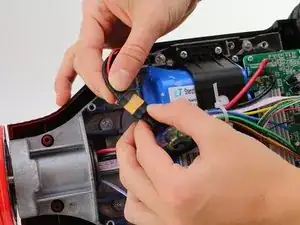
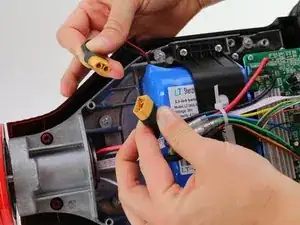
Unplug the red and black two pin connector from the circuit board.
-
-
-
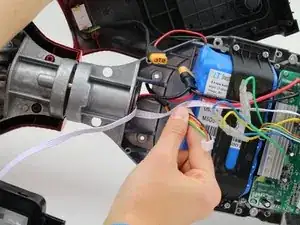
Thread the black, yellow, green, and red four pin connector through the opening to the left of the battery.
-
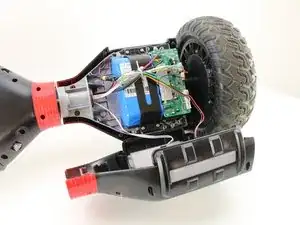
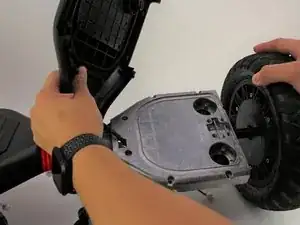
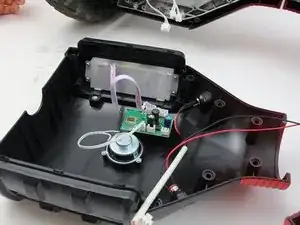
Remove the right foot pad from the hoverboard.
-
-
-
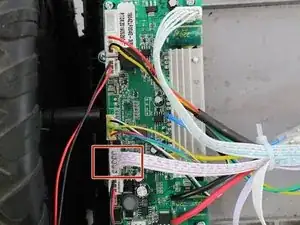
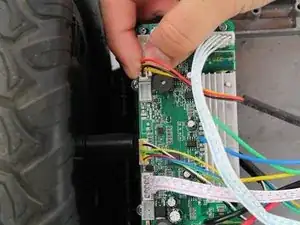
Unplug the red and white five pin connector from the circuit board.
-
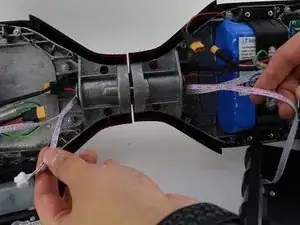
Thread this connector through the middle cylinder.
-
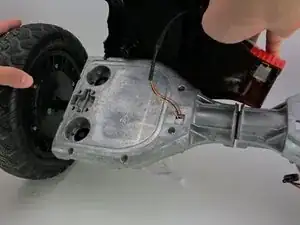
Remove the right cover from the hoverboard.
-
-
-
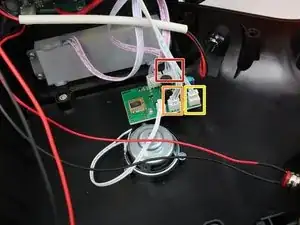
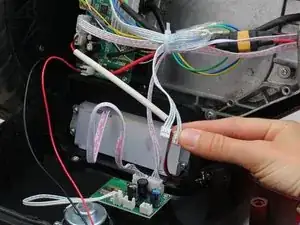
Unplug the red and white four pin connector from the speaker circuit board.
-
Unplug the blue and white three pin connector.
-
Unplug the blue and white two pin connector. This is photographed as an example.
-
-
-
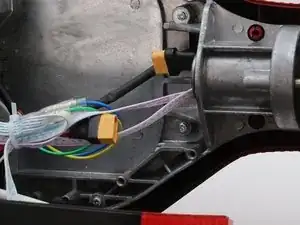
Remove three black and red two pin connectors from the left circuit board.
-
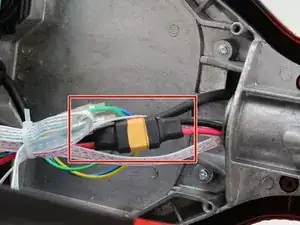
Remove the red, yellow, and black three pin connector.
-
Remove zip tie if present.
-
-
-
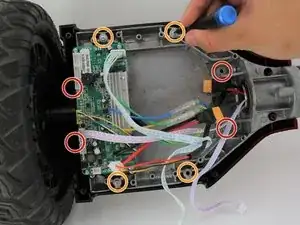
Unscrew four 12 mm screws from the sides holding the left foot pad with a Phillips #2 screwdriver.
-
Unscrew four 18 mm screws with a Phillips #2 screwdriver.
-
To reassemble your device, follow these instructions in reverse order.
Ein Kommentar
Where do I buy the shell their website doesnt have it
