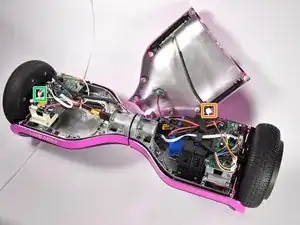
Einleitung
You will need a Phillips #2 screwdriver and a soldering iron.
Werkzeuge
-
-
Flip the Hover-1 Chrome upside down.
-
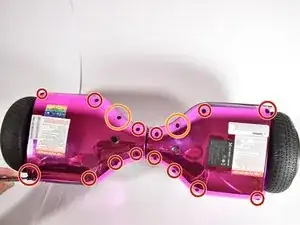
Use a Phillips #2 screwdriver to remove the fourteen 14 mm screws from the bottom of the Hover-1.
-
Break the two black tape circles, and remove the two 15 mm Phillips screws underneath.
-
-
-
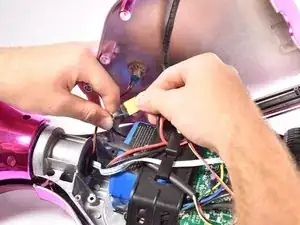
Lift the shell with the speaker grille.
-
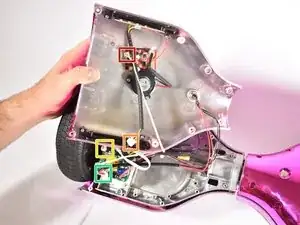
Unplug the speaker.
-
Unplug the LEDs.
-
Unplug the power button
-
Unplug the charging port.
-
-
-
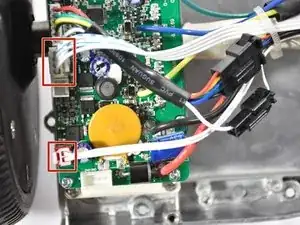
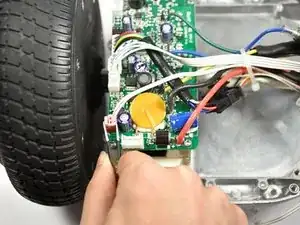
Disconnect the speaker cable.
-
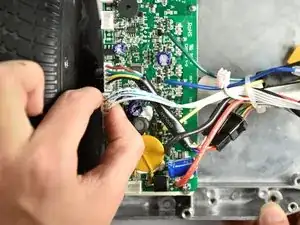
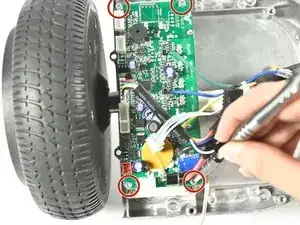
Disconnect the cable that travels to the other sensor board.
-
-
-
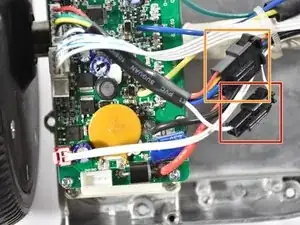
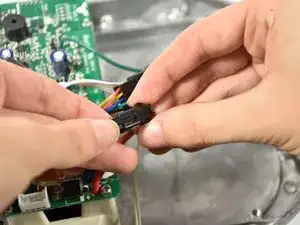
Disconnect the smaller connector midway on the cable.
-
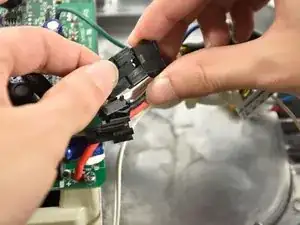
Disconnect the larger connector midway on the cable.
-
-
-
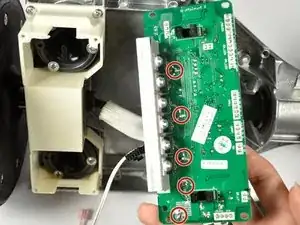
Locate the five solder locations on the underside of the gyroscope sensor board.
-
Plug in soldering iron and wait for the tip tip to reach its target temperature.
-
Rest the tip of the iron on the solder and wait for the solder to melt. The wire will drop out of the sensor board.
-
To reassemble your device, follow these instructions in reverse order.
