Einleitung

Are you riding with risk because your brake no longer slows down your scooter? Learn how to replace your brake pad to make your scooter safe to ride again.

  1. 1mjfeAVWE3xPQoU3
    1mjfeAVWE3xPQoU3
    ZnAN2xCVbsIGhSSx
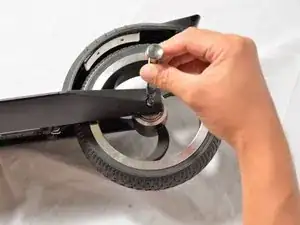
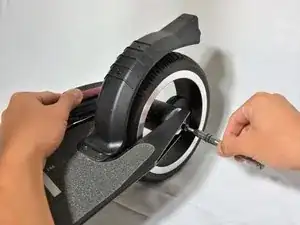
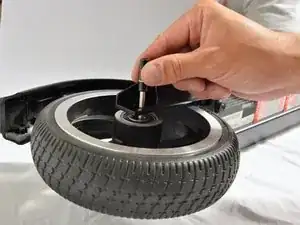
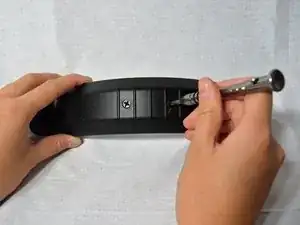
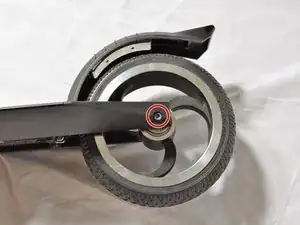
    • Remove either of the two 0.2 mm axle screws by using a hex bit 4.0 by turning clockwise.

    • The two screws are the same thread so find the screw that has the least torque. Only that screw will be able to removed in this step.

    • Turn the hex bit 4.0 counterclockwise to reassemble the axle screws.

  2. 4s5RWN5vRnJLpSP3
    4s5RWN5vRnJLpSP3
    tAZYD32KHU6jNfTF
    VGx22kUTTphCeqos
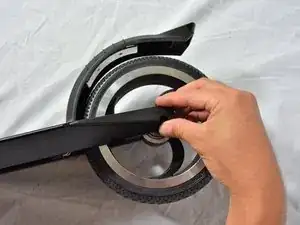
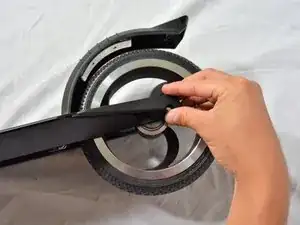
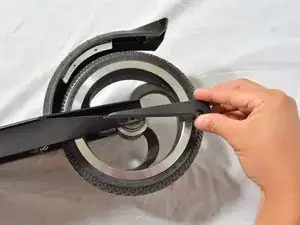
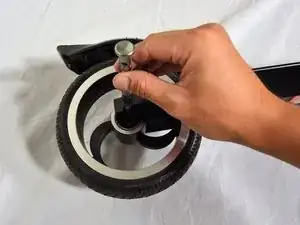
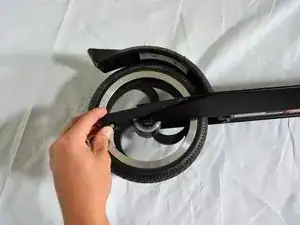
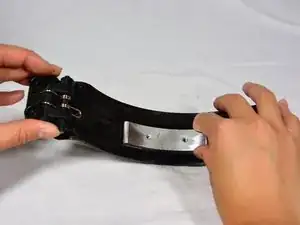
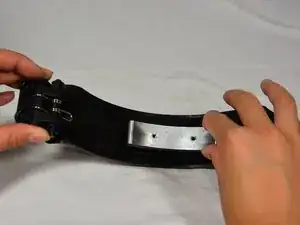
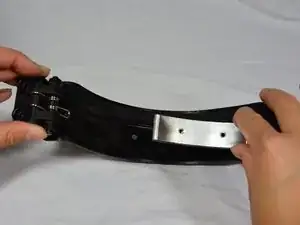
    • Slide off the plastic side panel.

    What is the Pat number of this plastic side panel?

    bobdub -

  3. MBWbBg3s4trjfhEv
    • Use a hex bit 4.0 to screw back in the 0.2 mm screw as tightly as possible by turning clockwise.

    • You will need to hold the other screw you are not replacing with an additional hex bit 4.0, so that the screws don't spin freely.

  4. OANoFASwOVUsgXDN
    • Flip over the scooter and use the hex bit 4.0 to remove the other 0.2 mm screw.

  5. 3qJ5B6mFOUiPmCrf
    3qJ5B6mFOUiPmCrf
    AbnChPKh3WYJGigs
    mXfrHDqIjevkf522
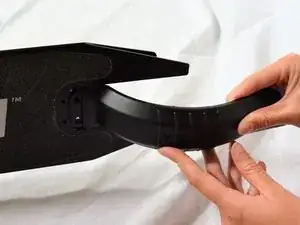
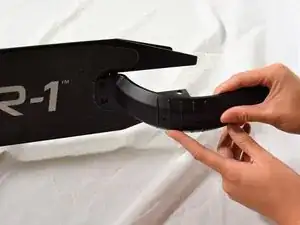
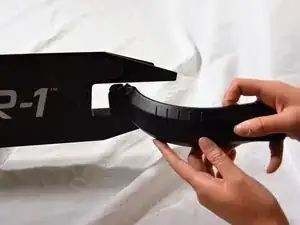
    • Slide off the other plastic side panel.

  6. AMIL5eV1TTnLBIqA
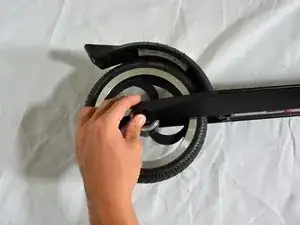
    • On the same side you removed the screw, use the bit extender to push down on the axle inside the wheel.

    • The axle pops out and the wheel easily comes off.

    • Two washers will pop out with the axle.

  7. xvf4ttbyCPan6sYX
    xvf4ttbyCPan6sYX
    cELBCNQZNtMvbIcc
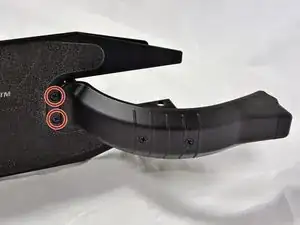
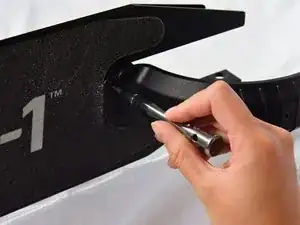
    • Remove the two 25mm screws by twisting a Phillips #2 screwdriver counterclockwise.

    • Twist the screwdriver clockwise to reassemble.

    • There are also two nuts that secure the screws.

  8. ILxqGqRhDMMDZCEH
    ILxqGqRhDMMDZCEH
    G4Shkn4ZqEWvQdsR
    XeB2CVhNvJklYcj1
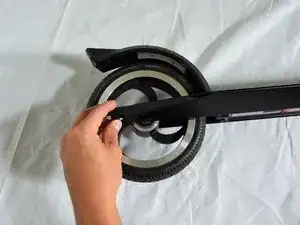
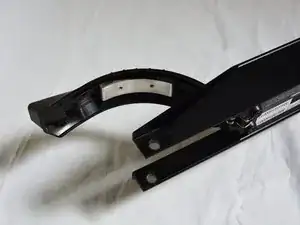
    • Wobble to remove the brake step.

  9. dgIugrSkKMY6vyC5
    dgIugrSkKMY6vyC5
    oDR2LU6r4eXWkRfR
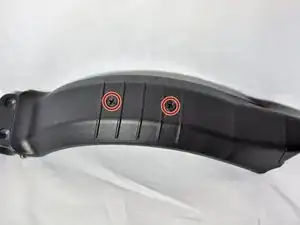
    • Remove the two 8 mm screws by twisting a Phillips #2 screwdriver counterclockwise.

    • Twist the screwdriver clockwise to secure the screws.

  10. xYcADTm1Fy4yaHEs
    xYcADTm1Fy4yaHEs
    nFbryJONZTbYBW25
    rjCFKoFRhFxc5WMO
    • Remove the brake pad.

Abschluss

To reassemble your device, follow these instructions in reverse order.

Meagan Chan

Mitglied seit: 08/10/18

112 Reputation

Ein Kommentar

Hello, I have a hoverboard 1 scooter and I've charged it and it started going a couple days ago and then I came home and put it up and plugged it up for a couple hours and went to take off on it yesterday to go to a couple appointments and it would not go when I pushed off on it i only weight 128lbs so I know it's not my weight but how long do I normally charge it or should charge it without messing the battery pack up because I took it to a friend who is an electrician that I bought it from and he said he didn't know what could be wrong with it for me to call around to the scooter shops but no one has returned my calls and I need help with this matter asap if someone could please help me oh and also the scooter cuts on and shows 13 on the screen and as I push it it'll change to 94 like how am I walking 94mph I don't get it but the headlight works cause when I cut it on its bright and it cuts off when I hold the button but I also wanted to know if there was a reset button on this hoverboard 1 scooter
Olivia Joshua Samuel-Bolt -