Einleitung
Replacing the charging port of your Hover-1 H1 hoverboard will help to solve charging problems.
Werkzeuge
-
-
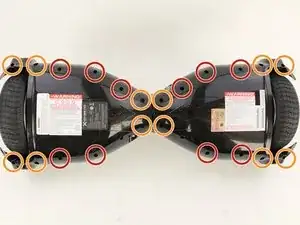
Remove the ten 9mm machine screws by using a long Phillips #2 screwdriver to rotate the screws counterclockwise.
-
Remove the twelve 9mm sheet metal screws by using a long Phillips #2 screwdriver to rotate the screws counterclockwise.
-
-
-
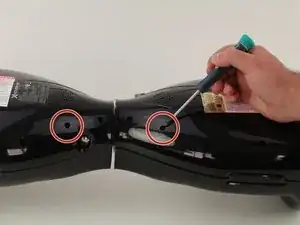
Puncture the two black stickers by using the tip of a screwdriver.
-
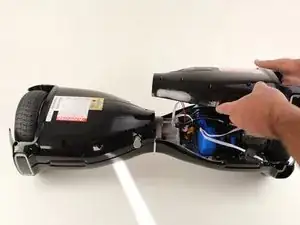
Remove the two 9mm machine screws by using a long Phillips #2 screwdriver to rotate the screws counterclockwise.
-
-
-
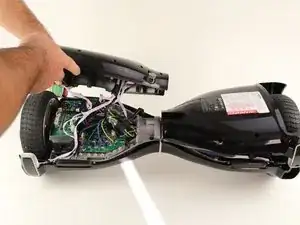
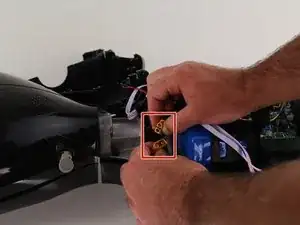
Using a utility knife, scratch off the hot glue from the connector attaching the red and black wires to the motherboard.
-
-
-
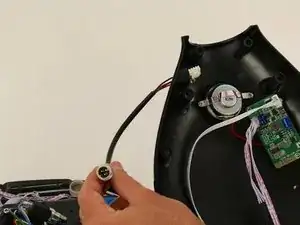
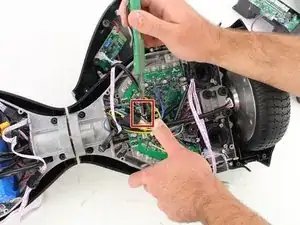
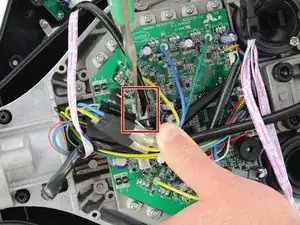
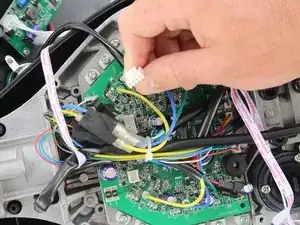
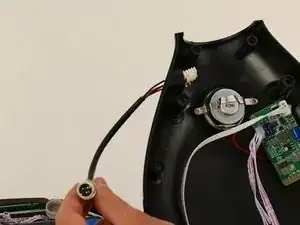
Remove the charging port connector from the motherboard by squeezing the connector and pulling the connector up.
-
-
-
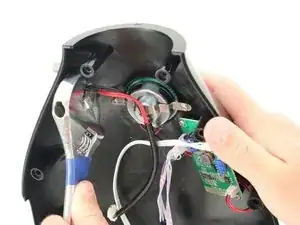
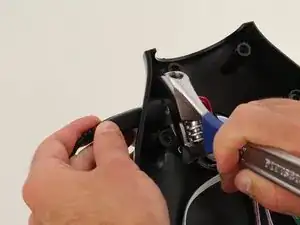
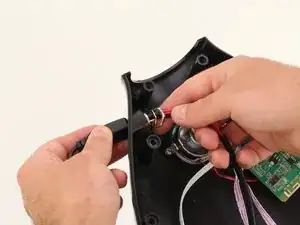
Using an adjustable wrench, unscrew the nut that is attaching the charging port to the bottom shell.
-
To reassemble your device, follow these instructions in reverse order.
Ein Kommentar
I need to replace the charging port on my H1 hoverboard. Can you share the link for the actual replacement part.
prdrngga -
