Einleitung

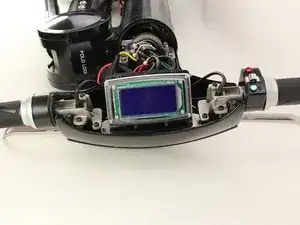
The LCD Screen displays the status of the bike and is a clear indicator if your bike is on or off. Before beginning this replacement, you should know that it is a prerequisite to get to the ignition off. To get to the ignition, follow the ignition guide. You should also be able to solder. If you don't know how to solder, just follow the soldering guide in iFixit.

  1. J4QORQnPhTXLxU4h
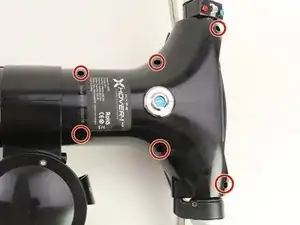
    • Remove the six 16mm #3 Hex head screws located on the front panel.

    • The screws are held in with Teflon tape, so use a chemical remover like B'laster to loosen the screws.

  2. 1ABEjf1GdGwtVUMq
    1ABEjf1GdGwtVUMq
    pYrJSDQFYpoMyr14
    JZHaRJpH2MVedjXK
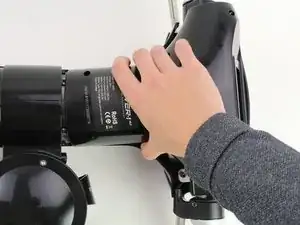
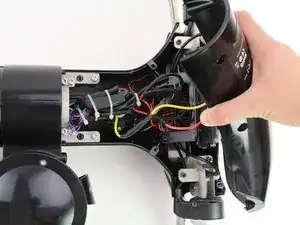
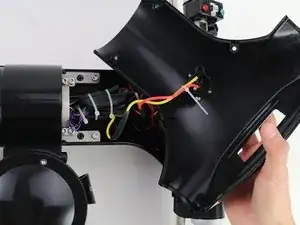
    • Grab the front panel and gently lift it up to the side.

    • The front panel is connected to the ignition, so don't pull too hard or the wires will get damaged.

  3. JcSUKoqciYUmy4kE
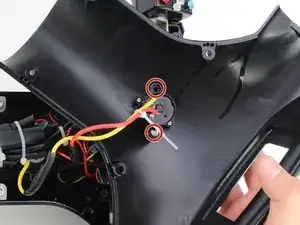
    • Remove the two, 19 mm Phillips #2 screws holding the ignition.

    • Remove the yellow and red wires that are connected to the ignition. To remove them, look at the soldering guide provided by iFixit.

  4. 6Rf16uKYEThIINod
    6Rf16uKYEThIINod
    dj4M2H3nImfwuRrO
    euYEykRZdExKMVXe
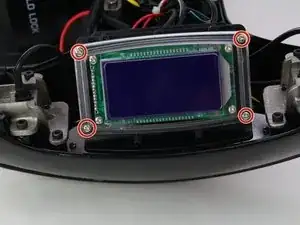
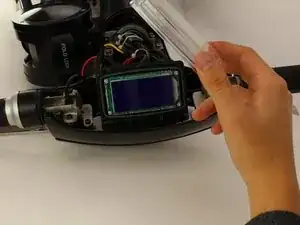
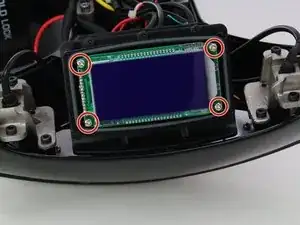
    • Remove the four 10mm Phillips #2 screws holding the casing of the LCD.

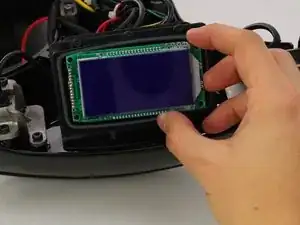
    • Remove the casing on the LCD.

  5. WT5YOHhWfv4rBeEM
    WT5YOHhWfv4rBeEM
    KQMYOLqCDjjAHCRo
    JifQKQfjg2M213Ei
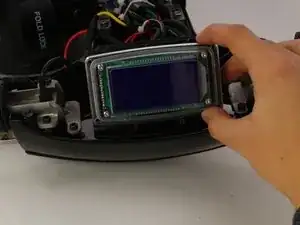
    • Remove the four 10mm Phillips #2 screws holding the LCD onto the bike.

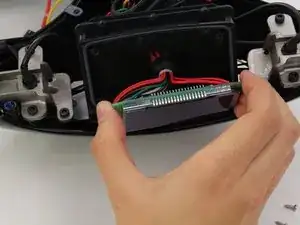
    • Gently lift off the LCD screen.

    • Follow iFixit's soldering guide to remove the LCD screen.

Abschluss

To reassemble your device, follow these instructions in reverse order.
Jonathan Hidalgo

Mitglied seit: 24/01/19

575 Reputation

0 Kommentare