Einleitung

Due to wear and tear or extreme cold weather, it is very common for garden hoses to burst, often somewhere in the middle of the hose. For those with little technical know-how, this may be frightening, however, there is an easy way to reattach the hose and make it as good as new without purchasing a new one.

Before starting the guide, be sure to measure carefully the dimensions of the hose. This will be important - note that the steel pipes used in this guide should be about 1/8th inch less in diameter than the hose and the hose clamps used should be about the same size as the pipes or slightly larger (1/8th inch diameter as well) is fine. Steel pipes should be also be about 3-4 inches in length.

Prior to beginning this repair, remember to turn off the attached water tap. If not, it can result in further damage to the hose or even damage or injury to nearby persons.

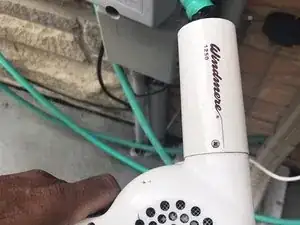
Step 3 requires the usage of a hair dryer. Most hair dryers do require an electrical outlet. If yours does, there should be an outdoor plug somewhere to attach it to. If it is not possible to reach the hose, try to unravel the hose to bring it as close as possible to the outlet or use extension cord to lengthen the distance so you can bring the hair dryer out.

  1. GXKkZwKiK3a5dpVF
    GXKkZwKiK3a5dpVF
    vQHPyARHwl1vBOMH
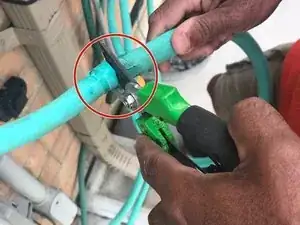
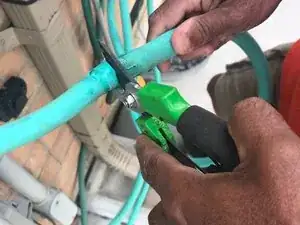
    • Cut the hose in half from the burst part.

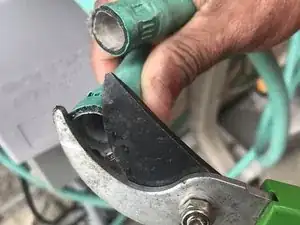
    • When cutting, aim to be as straight as possible, removing all irregularities on both sides. Therefore, make sure when you are finished there are no mangled parts on either side of the newly cut hose.

    • Be careful when using heavy duty scissors. Watch the finger placement and don't cut anything too swiftly. Slow and steady wins the race and also prevents finger damage.

  2. HAoXlSBBXtsBFTQV
    HAoXlSBBXtsBFTQV
    eVarKBQg4XG1dxxB
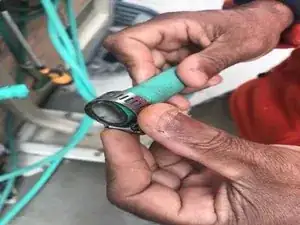
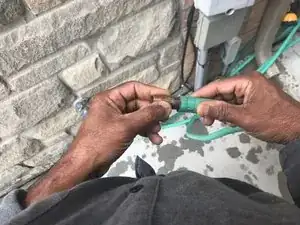
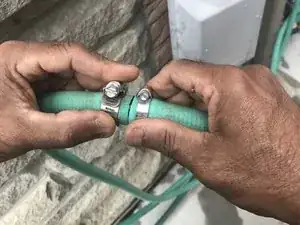
    • Before inserting the hose clamp, make sure it is the appropriate size. For example, if the diameter of your hose is 3/4 inch, the hose clamp should be the same.

    • Now, insert the hose in the hose ring.

    • Though not needed, you can already use your screwdriver to tighten it up to prevent them from falling all the way to their opposite ends.

  3. habuUVcAxJBMBvhn
    habuUVcAxJBMBvhn
    VrDLkT5RdDyXbJLT
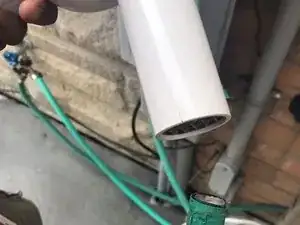
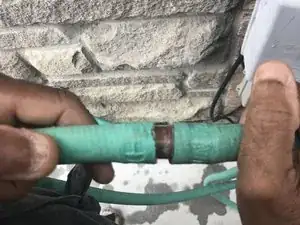
    • Warm up both ends of the hose using a hair dryer.

    • Apply the heat liberally for 5-10 seconds.

    • It is an important step - it helps expand the hose, making it easier to insert the pipe - which is the next step.

  4. GVrQpKhasQf3IFQN
    GVrQpKhasQf3IFQN
    LWEg2aWKE5ZsN3eX
    rMGIweCSVtDAYTq6
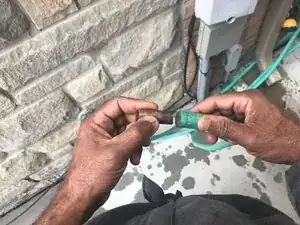
    • Insert the copper, steel or plastic pipe into both sides of the ruptured hose after it has cooled down from the previous step.

    • This step should be done as gently as possible to prevent it from further internal damage which will make it more susceptible to bursts in the future.

  5. 1IGTKsyTwkVlinHj
    1IGTKsyTwkVlinHj
    OMbbKAqFA5LRDQZR
    CiatYd5To3xpRHLd
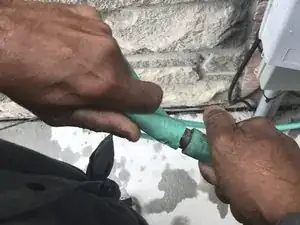
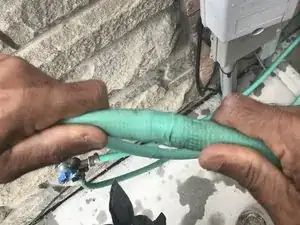
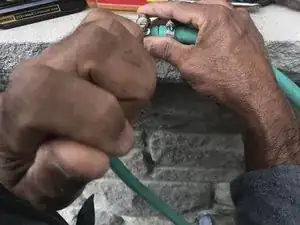
    • Push both ends as close as possible together.

    • Do it in a controlled, circular manner, turning the wrists inwards as seen in the photo above.

    • Failing to insert the pipes gently and executing the step roughly can lead to further internal ruptures. Therefore, try to be as slow as possible.

  6. nggRuM4v1ogsQ5oT
    nggRuM4v1ogsQ5oT
    lwIDEAmToXOlKscI
    mFsOQv5eWmQxDOmN
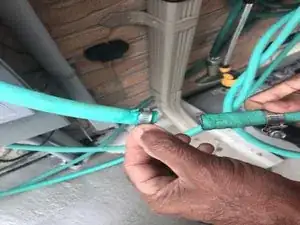
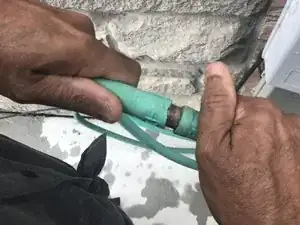
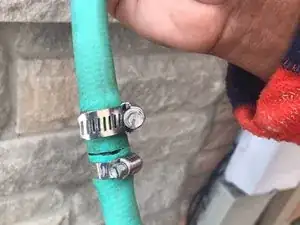
    • Move the ring clamps inwards towards the middle, aiming to keep a 1 inch distance between each other.

    • Use the flathead screwdriver to tighten the hose clamps as much as possible.

    • Not firmly lodging the clamps will make the hose still susceptible to further bursts.

Abschluss

To reassemble your device, follow these instructions in reverse order.

Swaren Balakrishnan

Mitglied seit: 17/09/21

157 Reputation

Ein Kommentar

I wished I had seen this tutorial before throwing away two water hoses.

Jeff -