Einleitung

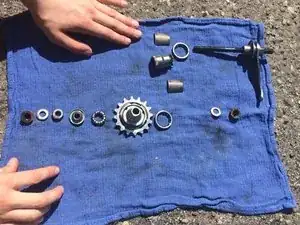
This guide will walk you through removing, cleaning, lubricating, and reassembling an older model coaster brake.

  1. doblAv1VBUtZPS1d
    doblAv1VBUtZPS1d
    eDuXh3bVQJnb2PQE
    64Z2bOOGRPNXj5L4
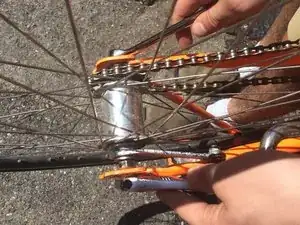
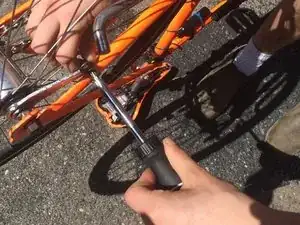
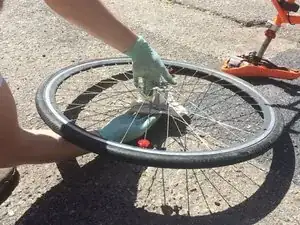
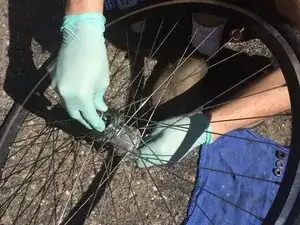
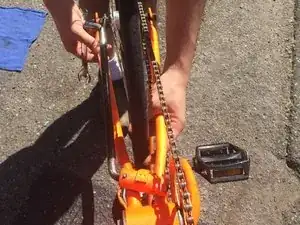
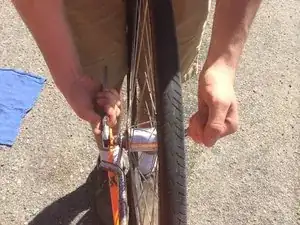
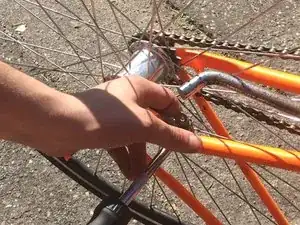
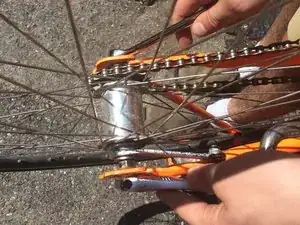
    • This step will be easier if you flip your bicycle upside down, and balance it on the seat and handlebars.

    • Loosen the nuts holding the axle in place using the two wrenches.

    • Unscrew the brake arm from the frame of the bicycle using the screwdriver.

    Do you mean "through axle" instead of "quick release axle?"

    Ryan Mostofi -

  2. sx1pJVXpxMeRuHLN
    sx1pJVXpxMeRuHLN
    yMbt6unbhcTNHBy5
    2XCXVDSqQVURr5Wd
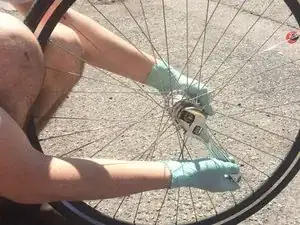
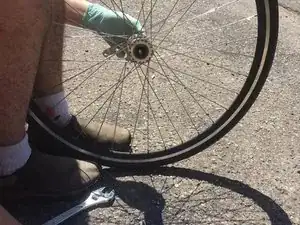
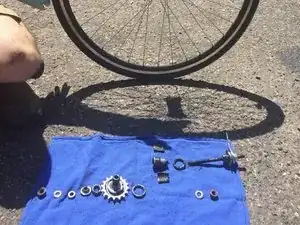
    • Loosen the nuts holding the axle in the wheel using the wrenches. Unscrew the axle, and remove the bearings and brake assembly. Set them off to the side on a rag.

    • When pulling the parts out, arrange them in the order in which you took them out. This way, you don't forget the order.

    Switches from removing wheel to brake assemble rather quickly.

    Ryan Mostofi -

  3. BLFBIGZkThnDrApW
    BLFBIGZkThnDrApW
    1qwP2UUbWZnDQXMU
    KpJDdtmKMMrKDRyU
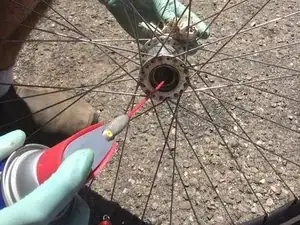
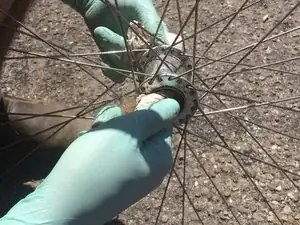
    • Clean the inside of the wheel hub using a paper towel and some WD-40.

    • Be sure to wipe out excess grease and grit.

    • When done, set the wheel off to the side.

  4. IfimNLC5IjpuLmwa
    IfimNLC5IjpuLmwa
    ysJNwulXhcCmSMIZ
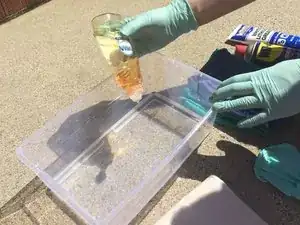
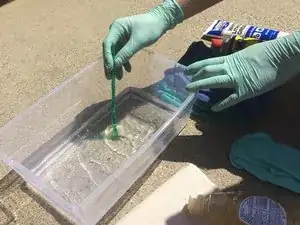
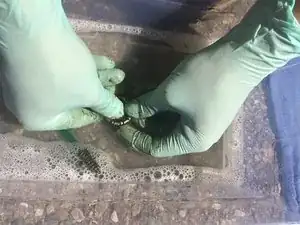
    • Add some soap to the water in the plastic tub, and mix it around

    • A small squirt of soap will do. Too much soap, and you'll have to deal with excess bubbles.

    Would kerosene be better than water+soap? I would be concerned about the risk of rust, that’s all.

    I’ve found that I can re-use kerosene many times; even though it looks “dirty” it’s still effective as a degreaser.

    Matt Signorini -

  5. rhYfeXgyscAjwKUH
    rhYfeXgyscAjwKUH
    Mxh6qKPlUANLCS51
    nfPM4qeKS4jhfJDP
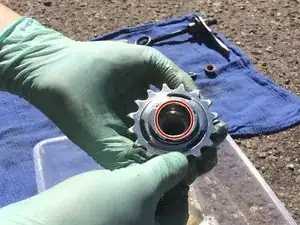
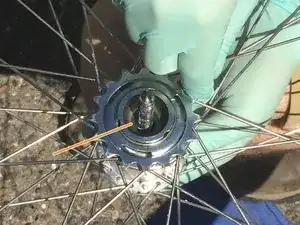
    • Clean all of the internal parts in the tub using the toothbrush.

    • You may occasionally have to wipe excess grease and grit off of the toothbrush with a paper towel.

    • Be sure to get all of the areas where the bearings will sit (see red circles)

    • Also scrub the threads on the sprocket (see orange line)

  6. tKkJtBuGq2RRWelS
    tKkJtBuGq2RRWelS
    iHwTfwaXOleCAEpg
    FFFQx3UHIiaVFuga
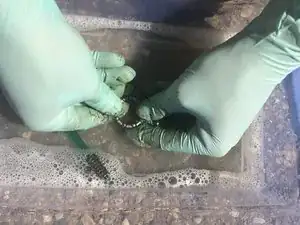
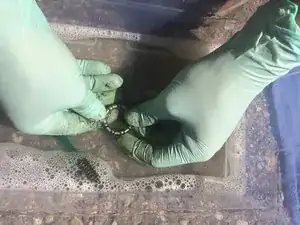
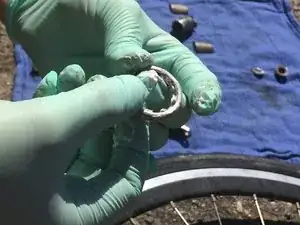
    • When cleaning the bearings, spin the balls to help remove grit from inside.

  7. JMS4GYRSwHZacMM4
    JMS4GYRSwHZacMM4
    J6b3ZyG2STjjAnSn
    eHxQhLjEPsc62sr6
    • Dry the parts using a paper towel.

    • When dry, set them off to the side on a rag.

    • Be sure to keep them in order

  8. Jj66JUpvFwuSRRSQ
    Jj66JUpvFwuSRRSQ
    YAQblQs6n2BJukEO
    YrfdYfvx5psd3AS2
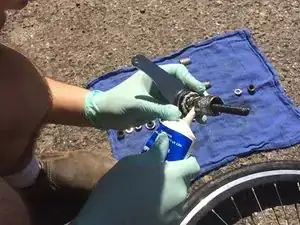
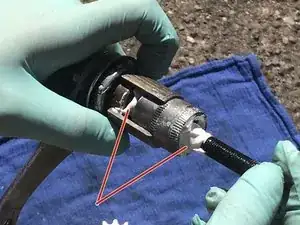
    • Reassemble the parts of the bearing and axle assembly which go on the opposite side of the hub from the sprocket. This includes the brake pads and the cone

    • Using your fingers, make sure the bearings are well coated with grease.

    • Make sure to add some grease at key points shown (red lines).

  9. GrHxvCFRYjCjYWCc
    GrHxvCFRYjCjYWCc
    tZHYKOmUd4IIPkAP
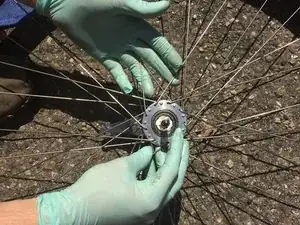
    • Put the axle and bearings back into the cleaned hub.

    • Make sure that you put the axle in from the side opposite where the sprocket is.

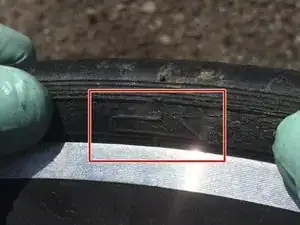
    • If you don't remember, look at your tire. Most tires have an arrow pointing in the direction the wheel turns when you go forward. The axle should go in from the side where the arrow points counter-clockwise

    Good pointing out tire direction.

    Ryan Mostofi -

  10. bmYVVAVJpuNZMLN3
    bmYVVAVJpuNZMLN3
    auSSa12ivPEwONFK
    Mis5uDaHHW1WGvWa
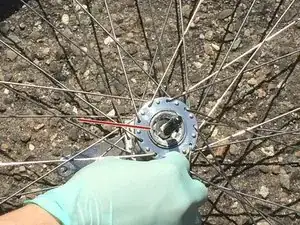
    • Gently screw the sprocket into the hub.

    • Screw the bearing race on. Make sure not to tighten too much. The sprocket and wheel should still spin easily.

    • Remember to place the bearings in the right spot. The large one is placed as shown by the red line, and the small one as shown by the orange line.

  11. FAViX3eUNNcopsR5
    FAViX3eUNNcopsR5
    iohTRV6eNQ3aiAGr
    blsodPPxfOZuunOg
    • Replace the wheel onto the bicycle.

    • Don't forget to put the chain around the sprocket!

    • Make sure the wheel is straight relative to the bicycle, and that the chain is relatively taut.

    • Tighten the nuts to hold the wheel in place.

    • Before continuing, spin the wheel and crank the pedals to make sure everything spins smoothly. If not, check to make sure the axle nuts aren't too tight.

Abschluss

Congratulations! You've finished cleaning your coaster brake. Test-ride the bicycle. Listen to make sure that there are no grinding noises. Be sure to test the brake several times. When you're done, make sure all the nuts are still tight.

Jacob Reiter

Mitglied seit: 09/04/15

366 Reputation

2 Kommentare

I have Huffy coaster bike 26”, i’m trying to change the rear tire bearing but I don’t know the size of it. the outside ones are 3/16 X9, but I need to know the size of the small inner one at the gear it was 7 balls.

abdelrahman -

Can you explicitly say which order the parts go back in?

It should be easy, but I can't quite get it straight.
Ethan Miller -