Einleitung
Sometimes, the LCD screen on Sony Handycam camcorders, can start wiggling. Essentially, what happens is that the hinge gets unscrewed from the rest of the camera, making the screen not be firmly attached to it.
Werkzeuge
-
-
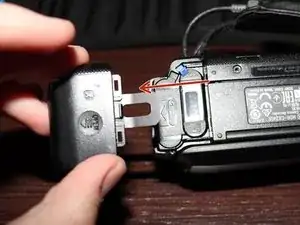
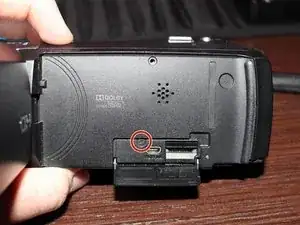
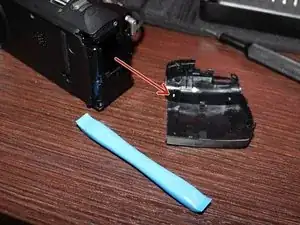
Remove the battery compartment cover by pulling it while "wiggling" it. It is works like a hook.
-
-
-
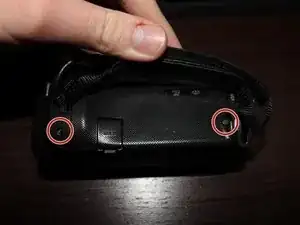
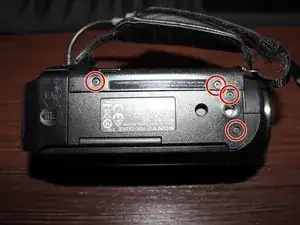
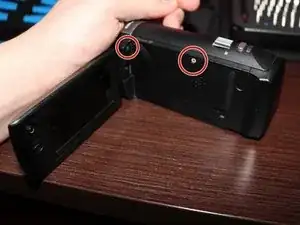
Unscrew the 2 Phillips #00 screws from the left side.
-
Unscrew the Phillips #00 screw from the small SD and HDMI compartment on the left side.
-
-
-
Pry the right side panel off of the rest of the camera body, then remove the small USB cable from the strap, so you can completely remove the panel.
-
-
-
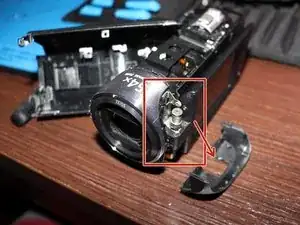
Pry the tiny panel off of the left side of the lens, between the lens and the screen hinge, revealing the hinge.
-
-
-
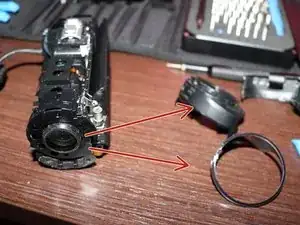
Remove the "sliver" colored ring from around the lens, and then remove the thick black ring of the lens that also contains the lens protector.
-
-
-
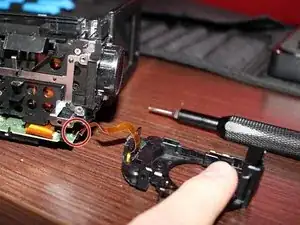
Remove the last ring from around the lens, CAREFULLY since the microphone is attached to it, which is connected with a ribbon cable to the motherboard of the camera.
-
Then, use your tweezers to carefully disconnect the ribbon cable from the motherboard.
-
-
-
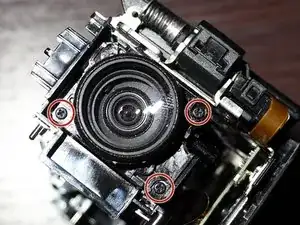
Unscrew the 3 Phillips #00 screws from around the lens of the camera.
-
Then, remove the lens using your tweezers.
-
-
-
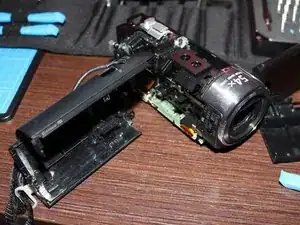
Use your hand to make some space between the screen side and the body of the camera.
-
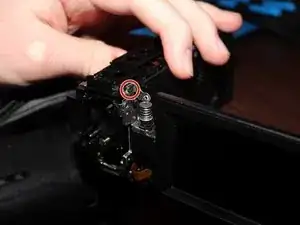
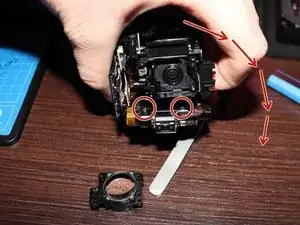
Using your Phillips #00 screwdriver, carefully screw tightly the 2 screws that hold the hinge on the camera.
-
To reassemble your device, follow these instructions in reverse order.
