Einleitung
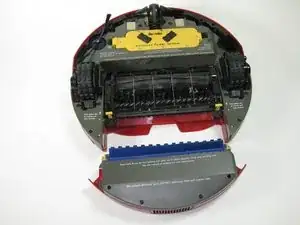
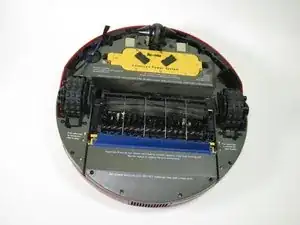
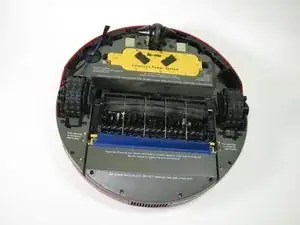
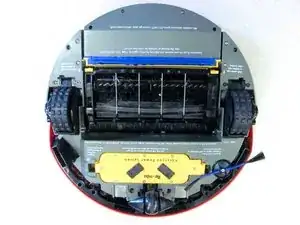
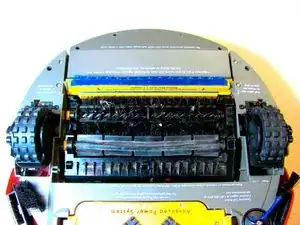
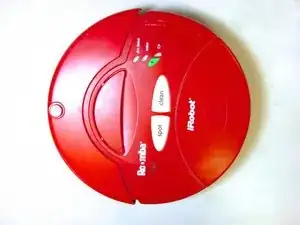
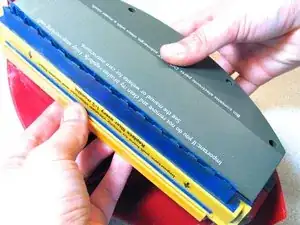
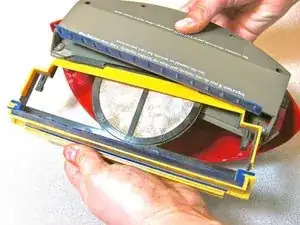
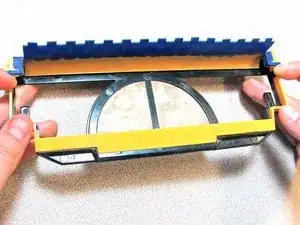
If your iRobot Roomba 4100 does not clean as effectively as when it was new, the brush underneath the machine may be clogged.
This guide will take you through the steps to remove, clean, and re-assemble key components of your iRobot Roomba 4100 in order to unclog the brushes with detailed steps and visual representation.
There are no tools needed for this project.
Roomba’s brushes need to be cleaned regularly, especially if the space it is cleaning is shared with furry animals.
-
-
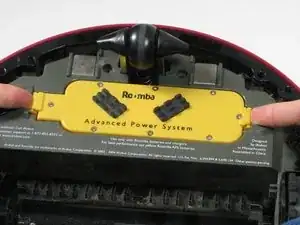
Remove the battery by placing your fingers into the two holes and firmly press your fingers against both sides of the battery.
-
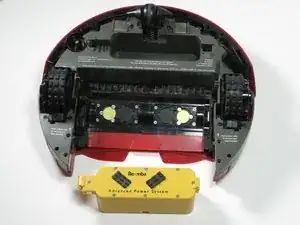
Lift the battery directly up and out of the device.
-
-
-
Insert the replacement battery into the empty space and firmly press down onto the battery until two audible clicks are heard.
-
-
-
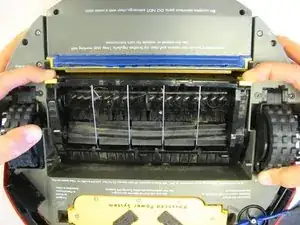
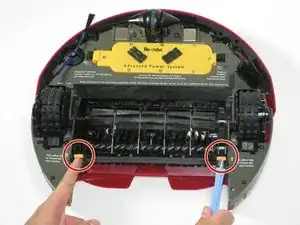
Use your index fingers to pull the yellow tabs towards you.
-
While still pulling the yellow tabs with your index fingers, tilt up the brush guard.
-
-
-
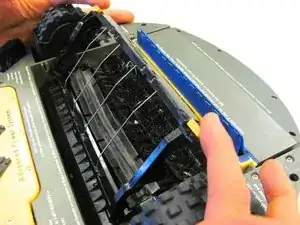
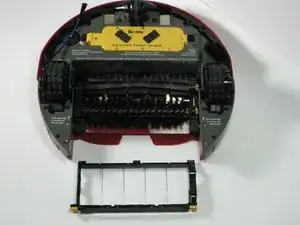
Pull back the brush guard to unhook it from the latches.
-
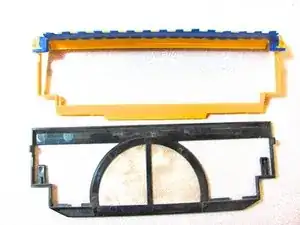
Remove the brush guard by lifting it up and out of the Roomba.
-
-
-
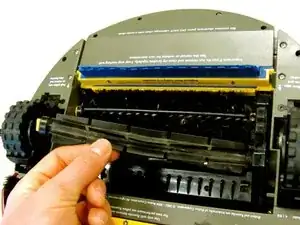
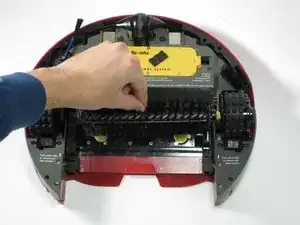
Remove the flexible rubber brush by grabbing it and pulling it up and out of the Roomba.
-
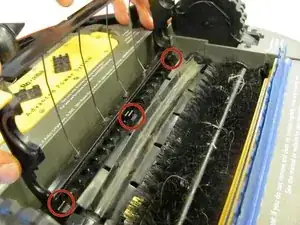
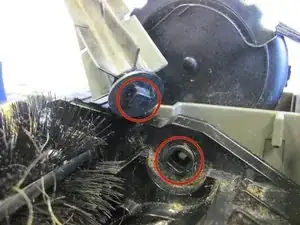
First, insert the black end of the flexible rubber brush into the black square opening on the right side.
-
Second, lay the flexible rubber brush back into place.
-
-
-
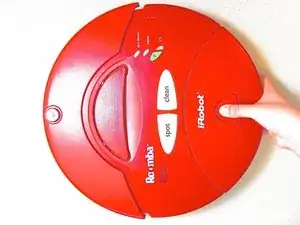
Push in the red, gumdrop-shaped button with your thumb.
-
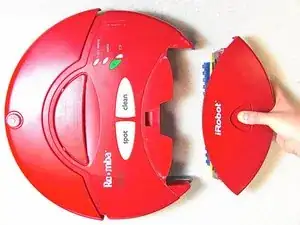
While holding in the button, slide the back piece away from the main body of the Roomba.
-
-
-
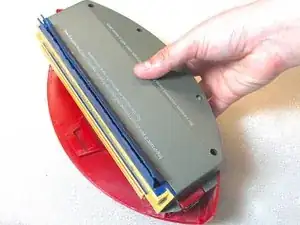
Flip the back piece over in your hand.
-
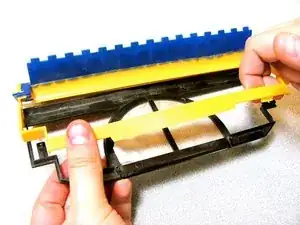
Using your other hand, grab the yellow tab and pull it away from the back piece.
-
-
-
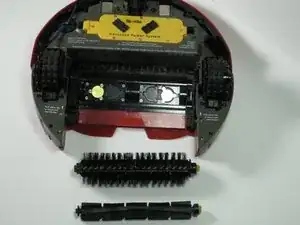
Remove the two brushes from the iRobot Roomba 1400.
-
Completely remove any debris or tangled hair around the brushes when cleaning.
-
To reassemble the iRobot Roomba 4100, follow the stated instructions in reverse order.
Ein Kommentar
looking for user Manual for Welch A;;yn EKG CP10
