Einleitung

  1. 4k4c4mTDmnSOiwT5
    4k4c4mTDmnSOiwT5
    vWyKCMhGAUqwJr4j
    AgfQrgxDUXOMUqje
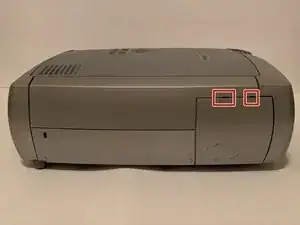
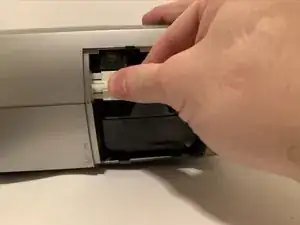
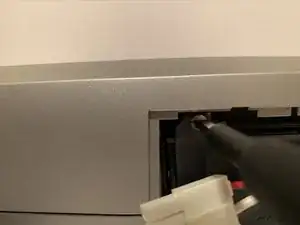
    • Be sure that the projector is turned off, unplugged, and has cooled for at least 30 seconds.

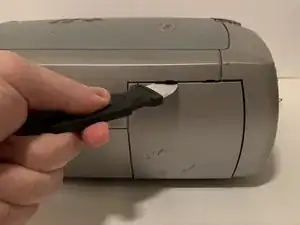
    • Insert the Jimmy into one of the two notches on the lamp door's top edge.

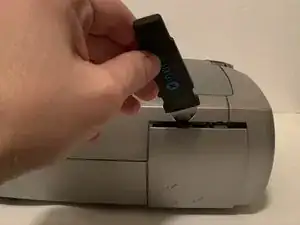
    • Then use light force on the Jimmy to pry the latch away from the door.

    • If necessary, insert the Jimmy into the second latch and separate it from the projector.

    • Remove the door away from the projector by hand.

  2. MEQTHLGN3p5SCJ2W
    MEQTHLGN3p5SCJ2W
    NCUASiU4fkFFBl2H
    53QbEpxl4hXU1GoD
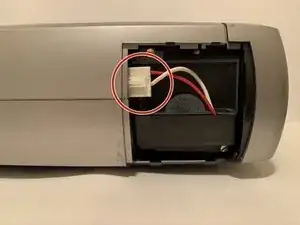
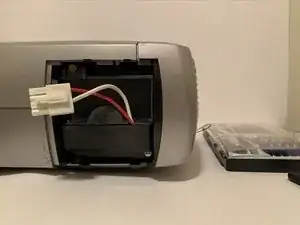
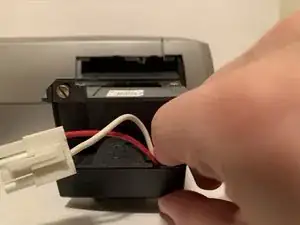
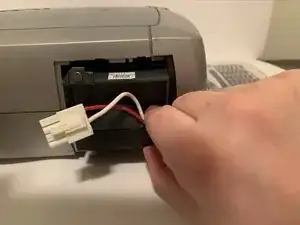
    • Gently disconnect the lamp from the projector by using your thumb and forefinger to pinch on the white tab on the plug.

    • Then pull the plug away from the projector.

  3. GyRZ6LVHDeGDGHVO
    GyRZ6LVHDeGDGHVO
    NKJQYTVIvMJmQQWl
    RQC6bgkEU1yAA5cY
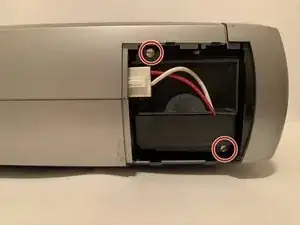
    • Use a Phillips #4 screwdriver or driver with the Phillips #4 head to unscrew the two 0.6 mm diameter brass screws from the lamp's housing.

    • For the lower screw, ensure it remains in the hole in the lamp assembly and it does not fall into the projector. If it falls in the projector, use a magnetized screw bit or a small magnet to pick it up and remove it.

  4. 6OrMbAbiKigjcPV4
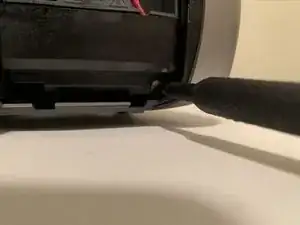
    • Pull on the bottom plastic tab and remove the lamp by hand.

  5. 3qPBeE2r3fAojfn6
    • Insert the replacement lamp into the projector.

  6. UFu2NQoceEKGvkxs
    UFu2NQoceEKGvkxs
    lKwnLg2lCpbbASKS
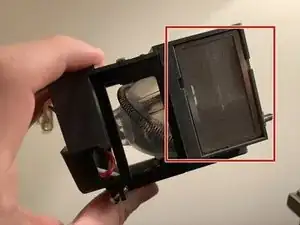
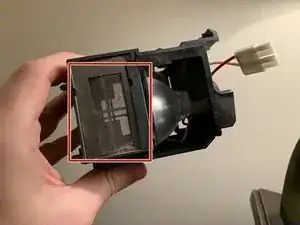
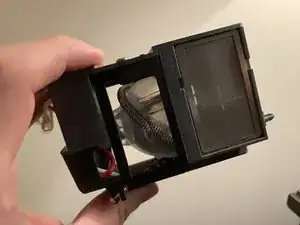
    • Use a vacuum cleaner to gently suck up the dust on the front and the back Lamp Housing screens.

Abschluss

To reassemble your device, follow these instructions in reverse order.
Paulina Duarte

Mitglied seit: 20/09/13

541 Reputation

0 Kommentare