Einleitung

This is a prerequisite guide! This guide is part of another procedure and is not meant to be used alone.

Use this guide to disconnect the battery in the Xiaomi Redmi Note 10 5G.

  1. yqiUllHDrFAZUa5H
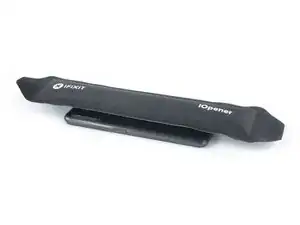
    • Prepare an iOpener and apply it to the back cover for at least two minutes to loosen the adhesive underneath.

    • A hair dryer, heat gun, or hot plate may also be used, but be careful not to overheat the phone—the display and internal battery are both susceptible to heat damage.

  2. bUvZ2efgH24TCsYD
    bUvZ2efgH24TCsYD
    L1KUbgU4c4UILvDd
    MlT4qEWnBPCYfAh1
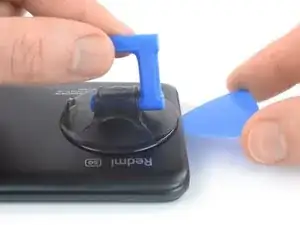
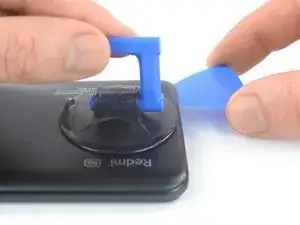
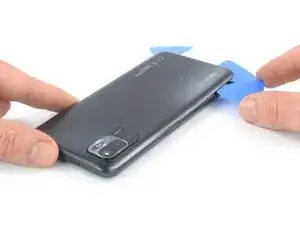
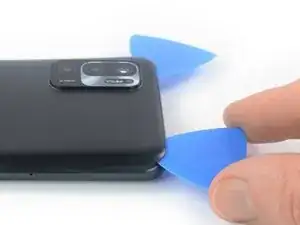
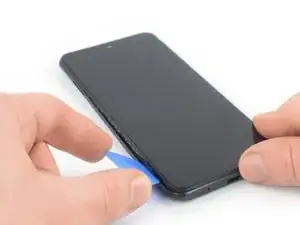
    • Secure a suction handle to the bottom edge of the back cover, as close to the edge as possible.

    • If the back cover is cracked, the suction handle may not stick. Try lifting it with strong tape, or superglue the suction handle in place and allow it to cure so you can proceed.

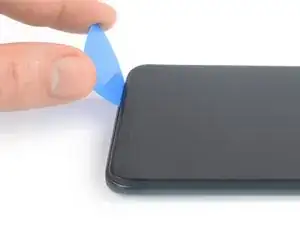
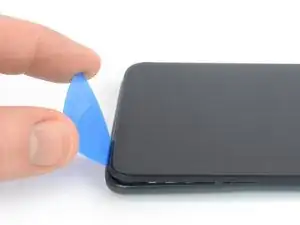
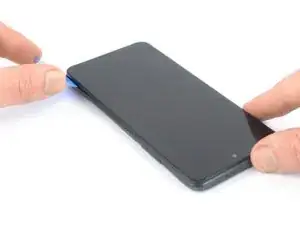
    • Lift the back cover with the suction handle to create a small gap between the back cover and the frame.

    • If you have trouble creating a gap, apply more heat to further soften the adhesive. Follow the iOpener instructions to avoid overheating.

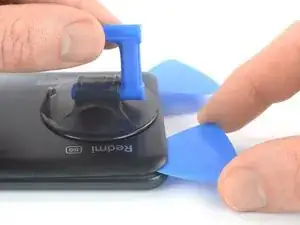
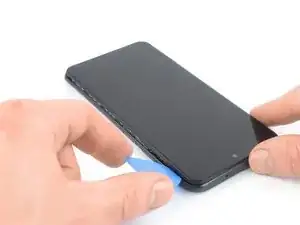
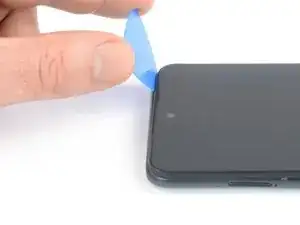
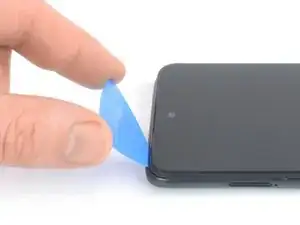
    • Insert an opening pick into the gap you created.

    • Slide the opening pick to the bottom right corner to slice the adhesive.

    • Leave the opening pick in place to prevent the adhesive from resealing.

  3. T2XAGTPIWwVhKkey
    T2XAGTPIWwVhKkey
    QFsNrjjdw2YIbacx
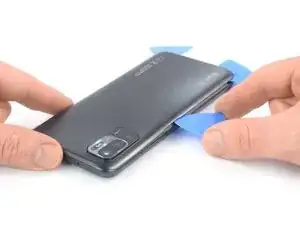
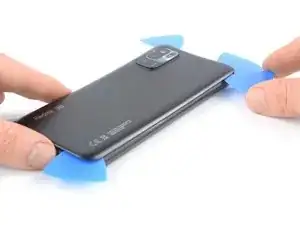
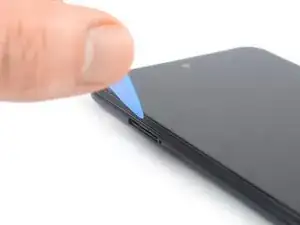
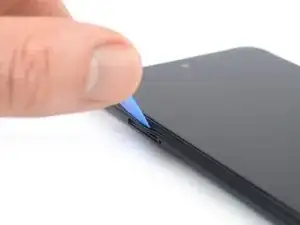
    • Insert a second opening pick at the bottom edge of your phone.

    • Slide the opening pick to the bottom left corner to slice the adhesive.

    • Leave the opening picks in place to prevent the adhesive from resealing.

  4. FVYwmWnq5bJ2pcDd
    FVYwmWnq5bJ2pcDd
    gXPjwkE2QJU2l6VK
    oHYomXm3TIkPbWEu
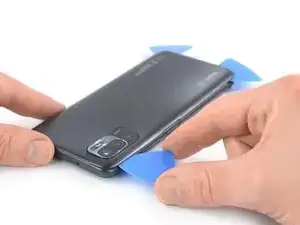
    • If the adhesive becomes hard to cut, it has most likely cooled down. Use your iOpener to reheat it.

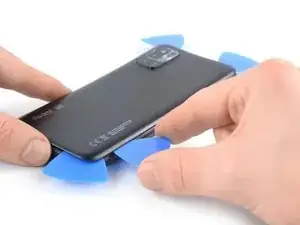
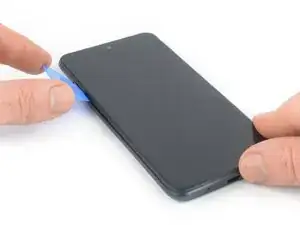
    • Insert a third opening pick at the bottom left corner of your phone.

    • Slide the opening pick along the left edge of your phone to slice the adhesive.

    • Leave the opening pick in the top left corner to prevent the adhesive from resealing.

  5. ZZOIybMcOd3UjfuX
    ZZOIybMcOd3UjfuX
    v6Cf4BmQMQHev2jM
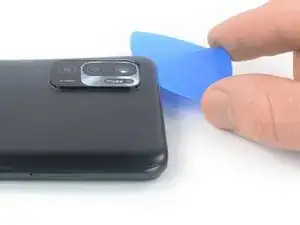
    • Insert a fourth opening pick underneath the top left corner of your phone.

    • Slide the opening pick along the top edge to slice the adhesive.

    • Leave the opening pick in the top right corner to prevent the adhesive from resealing.

  6. WGRBLvDP6XCYYndW
    WGRBLvDP6XCYYndW
    OgahCAL6OAiYueCX
    • Insert a fifth opening pick underneath the top right corner.

    • Slide the opening pick along the right edge of the back cover to slice the remaining adhesive.

  7. 3mRErkMYi515EtlD
    3mRErkMYi515EtlD
    r3xrElTItlhgMMV1
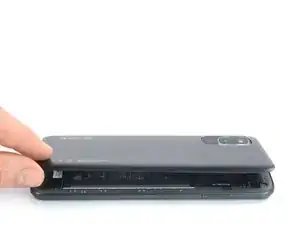
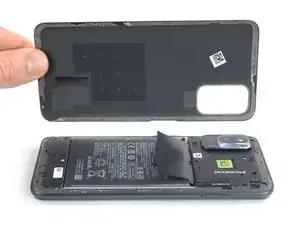
    • Remove the back cover.

    • Apply new adhesive where necessary after cleaning the relevant areas with isopropyl alcohol (>90%).

    • Secure the new rear glass with pre-cut adhesive or double-sided adhesive tape. After installing the rear glass, apply strong, steady pressure to your phone for several minutes to help the adhesive form a good bond—a stack of heavy books works well.

  8. mQEUqAOCmmJBNLta
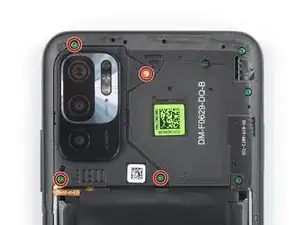
    • Use a Phillips screwdriver to remove the four 3.9 mm-long screws securing the camera cover.

  9. aJLFnDelqysFDpK1
    aJLFnDelqysFDpK1
    mLDyGUCWYBUIlpgQ
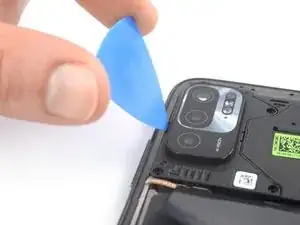
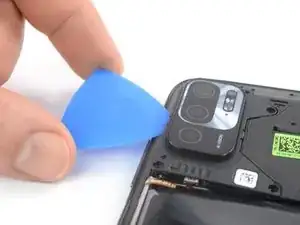
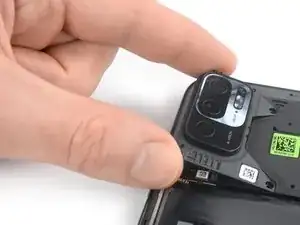
    • Insert an opening pick into the gap between the left edge of the camera cover and the midframe.

    • Use your opening pick to pry up the camera cover by tilting it downwards.

  10. 5XQDlM1cONEj431y
    5XQDlM1cONEj431y
    OHyUl3fNSl5bDPhJ
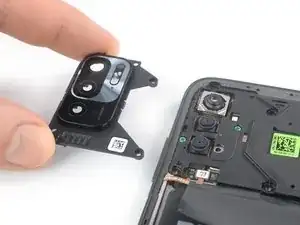
    • Remove the camera cover.

  11. LkJZufWHJXbQRSRv
    LkJZufWHJXbQRSRv
    NBiFHpFpHFih6udq
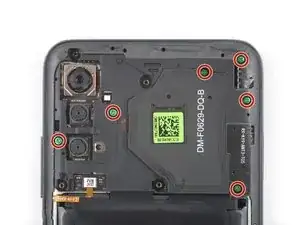
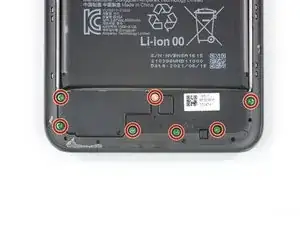
    • Use a Phillips screwdriver to remove the thirteen 3.9 mm-long screws securing the midframe.

  12. S3tjsn5GoJjeNOGV
    S3tjsn5GoJjeNOGV
    QwklpDQPKGIcEVaT
    vQXtQDcBZ5CYHAVj
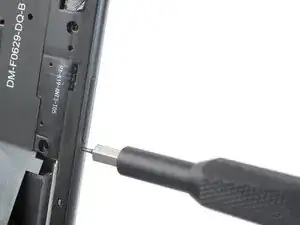
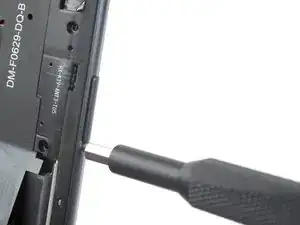
    • Insert a SIM card eject tool, a SIM eject bit, or a straightened paper clip into the hole on the SIM tray located at the left edge of the phone.

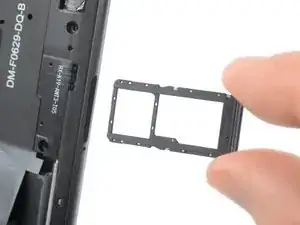
    • Press directly into the hole to eject the SIM card tray.

    • Remove the SIM card tray.

  13. JDrmYWKIhou5hxid
    JDrmYWKIhou5hxid
    6GyIdgEJgc1qqAET
    • Use a spudger to disconnect the power and volume button flex cable by prying the connector straight up from its socket.

  14. 4gpnHLPmuE1odKEs
    4gpnHLPmuE1odKEs
    BwYrWpuSYhmKTK1y
    • The midframe of the Xiaomi Redmi Note 10 5G is held in place by plastic clips.

    • Insert an opening pick between the midframe and front panel assembly on the left edge of the phone where the SIM tray slot is located.

  15. paiWu2MmDSHWlepN
    paiWu2MmDSHWlepN
    cn1rKpNgv2yYTFlm
    • The plastic clips of the midframe are sitting in place tightly. Releasing them might require some force.

    • Slide the opening pick along the left edge of the phone to release the plastic clips.

  16. 6RJf4Tsf2cRdYm5b
    6RJf4Tsf2cRdYm5b
    hkXT5gb2ONcCOWaK
    • Slide the opening pick along the bottom edge of the phone to release the plastic clips.

  17. gg6FRPuRqgrFAAB6
    gg6FRPuRqgrFAAB6
    gXFSpRFkKTdKPqxB
    • Slide the opening pick along the right edge of the phone to release the plastic clips.

  18. aOFSXmegPIUg1ebW
    aOFSXmegPIUg1ebW
    oOrZpJdRMMguDSoO
    • Slide the opening pick along the top edge of the phone to release the remaining plastic clips.

  19. SDrGoLGCXJTuZEby
    SDrGoLGCXJTuZEby
    UpZRHXFAH4BJfLIq
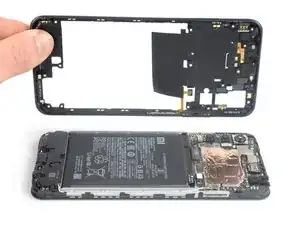
    • Before removing the midframe make sure the power and volume button flex cable is freed and not tangled with the motherboard to avoid tearing it.

    • Remove the midframe.

  20. MHlMHw4uprq6hWAc
    MHlMHw4uprq6hWAc
    wUVHCf1yFGBoCFjC
    VvrKZeWIU2NuUaU2
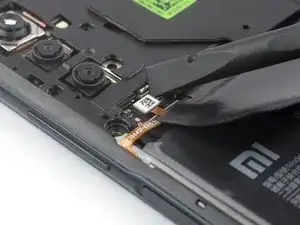
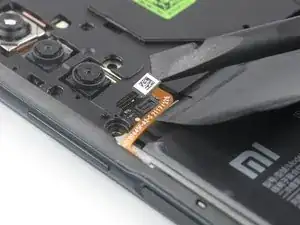
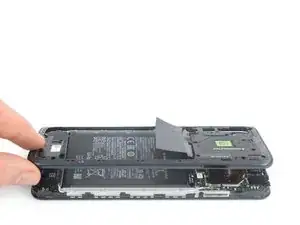
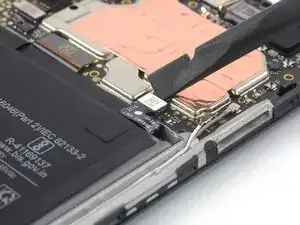
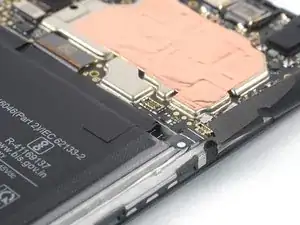
    • Use a spudger to disconnect the battery flex cable by prying the connector straight up from its socket.

    • Fold the battery cable to the side to get free access to the battery pull-tab.

Abschluss

To reassemble your device, follow these instructions in reverse order.
Dominik Schnabelrauch

Mitglied seit: 23/11/16

167866 Reputation

0 Kommentare