Einleitung

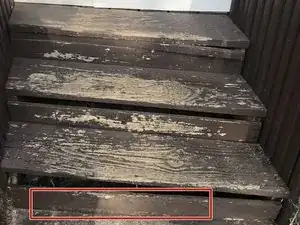
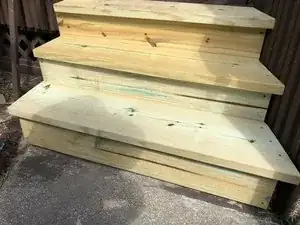
This guide will walk you through removing old or deteriorated treads and risers from a set of stairs. It will also teach you how to bring your stairs back to life by replacing them with new weather treated wood pieces. There are only 11 required steps to this guide which makes it not only cost effective but also time efficient. This fix will allow you to be a part of a community that fixes things instead of contributing to our throwaway economy and causing havoc on our environment. It is important to focus on safety throughout this fix because there will be power tools and manual labor involved.

  1. cmlVBELIMloxVIQJ
    cmlVBELIMloxVIQJ
    qSDTAvjSviu24DPs
    ifBOJwupxIS261YS
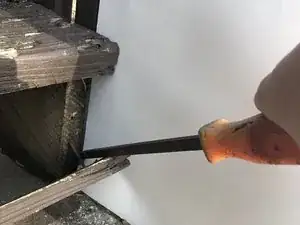
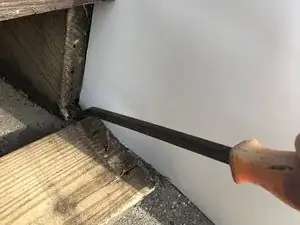
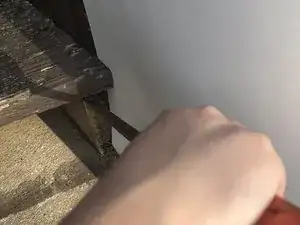
    • Use a pry bar to remove the pre-existing damaged wood pieces.

    • Start with the riser first.

    • Be mindful of possible rusted screws/nails.

  2. sdW5cQ2JmQOptmW6
    sdW5cQ2JmQOptmW6
    s2jYQvbHVYsk4wwg
    tR2yryILDO6jvkRG
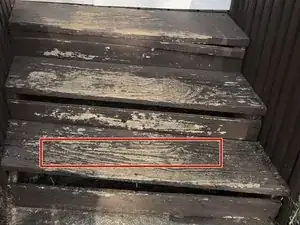
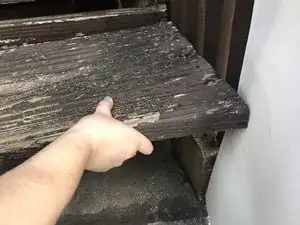
    • Use a pry bar to remove the pre-existing damaged wood pieces.

    • Remove the treads on the stairs.

    • Be mindful of possible rusted screws/nails.

  3. Oe2vTpGEnriXLRnm
    Oe2vTpGEnriXLRnm
    wI5hdgpLxEXdFFEt
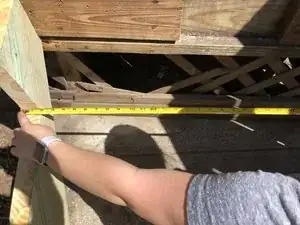
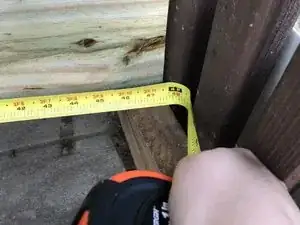
    • Use a measuring tape to measure the foundation where the new steps will be placed.

    • To ensure accurate measurements, make sure to repeat this step twice.

  4. PNCUAhMt6SsxMWUj
    PNCUAhMt6SsxMWUj
    riQVJ2WnnZv3cIKU
    PReNWEVCJQgJJHCQ
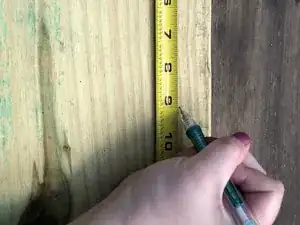
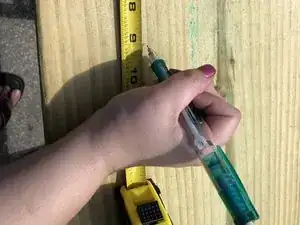
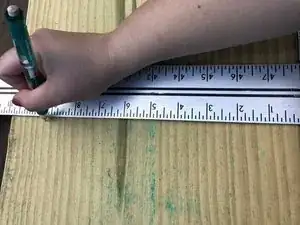
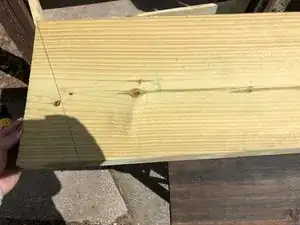
    • Mark your measurements on both ends of your new weather treated wood using a measuring tape and a pencil.

    • For the best results, use a ruler to connect your marks into a straight line.

  5. MMTRACSHATObSvPE
    • Place the new piece of wood onto the end of a sturdy table.

    • Make sure the marked end is hanging off the edge by at least a foot.

  6. TE2SNZIgElmbyVki
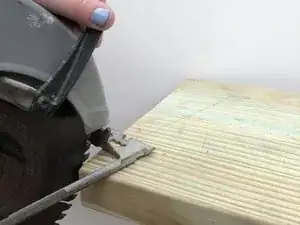
    • Use a circular saw to cut across the straight line marked on the new piece of wood.

    • Make sure the wood is secure by holding the end resting on the table the entire time.

    • Safety glasses should be worn during this step.

  7. yypfGuACigawMyL3
    yypfGuACigawMyL3
    nExxj2sTv3ZDGCgR
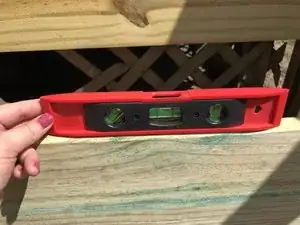
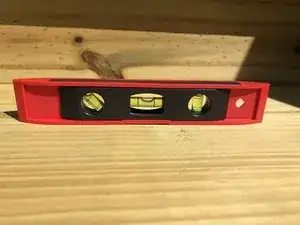
    • Place the new piece of wood (riser) on the steps to ensure that it fits.

    • Use a leveler to make sure that it is level.

  8. yhHNV6bVQVlvht55
    yhHNV6bVQVlvht55
    461MYMxXwrsQFfib
    6mUD1GKSOrnkHVvr
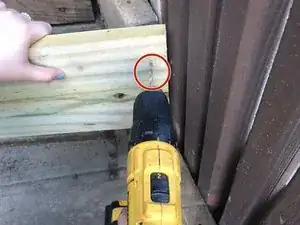
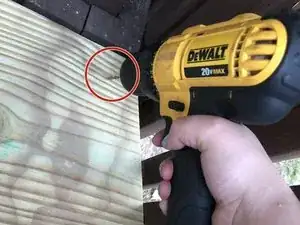
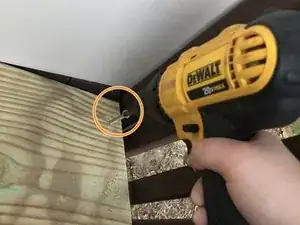
    • Secure your wood piece (riser) into place using a drill and galvanized screws.

    • Create two pilot holes with the correct drill bit.

    • Secure the wood (riser) into place by drilling 2" galvanized Phillips head screws into the pilot holes.

  9. dKTAVmRp4kIZ1B4q
    • Make sure your wood piece (tread) fits into place and is level.

    • For the most accurate results, it is important to use a large level.

  10. DnbrqWcGN2t6UfMV
    DnbrqWcGN2t6UfMV
    LvPP6a3AJD56jmEx
    JaFHWnX3AJpGZXeM
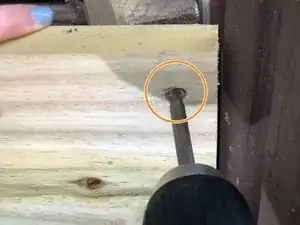
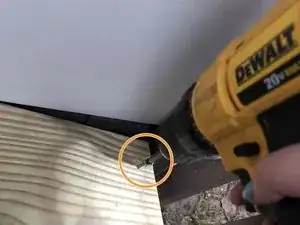
    • Secure your wood piece (tread) into place using a drill and galvanized screws.

    • Create three pilot holes with the correct drill bit.

    • Secure the wood (tread) into place by drilling 2" galvanized Phillips head screws into the pilot holes.

  11. xjAPXpWOHlTgZT5c
    • Repeat steps 8-10 for the remaining stairs.

    • For the best results, follow this guide thoroughly for each stair.

Abschluss

To reassemble your old stairs, follow these instructions in reverse order.
Kayla Unsworth

Mitglied seit: 19/01/18

240 Reputation

0 Kommentare