Einleitung
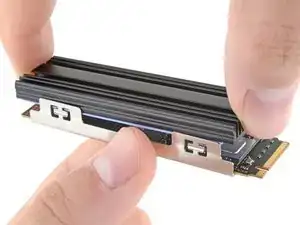
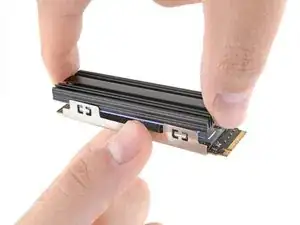
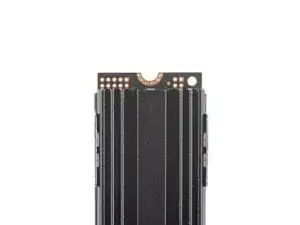
Use this guide to install a heatsink onto an M.2 2280 blade-style SSD.
If you plan on using your SSD in a PlayStation 5, make sure it’s compatible with Sony’s specifications.
Werkzeuge
Ersatzteile
-
-
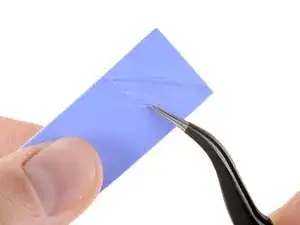
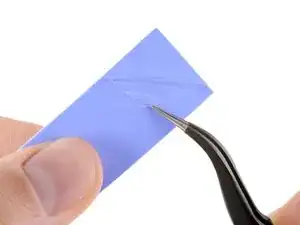
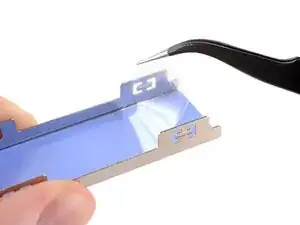
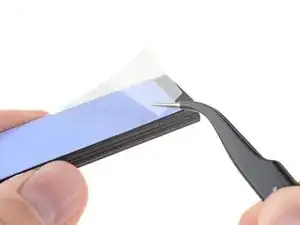
Use a pair of tweezers to peel one side of protective film away from one of the thermal pads.
-
-
-
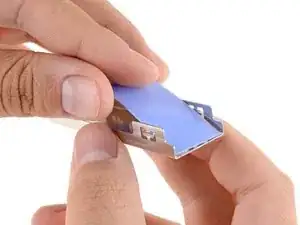
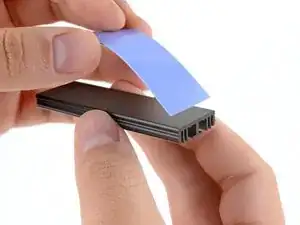
Align the exposed side of the thermal pad with the bottom tray section of the heatsink assembly.
-
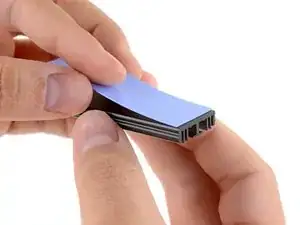
Lay the thermal pad down so it covers the tray evenly.
-
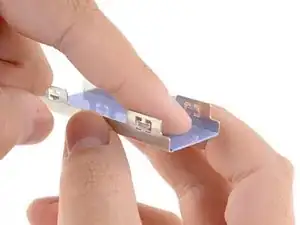
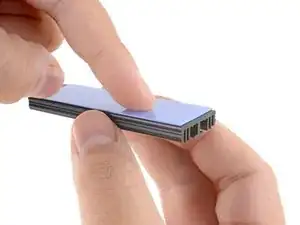
Use your finger to lightly press down on the thermal pad to adhere it to the surface.
-
-
-
Use a pair of tweezers to peel one side of protective film away from the remaining thermal pad.
-
-
-
Align the exposed side of the thermal pad with the top section of the heatsink.
-
Lay the thermal pad down so it covers the top section evenly.
-
Use your finger to lightly press down on the thermal pad to adhere it to the surface.
-
-
-
Use a pair of tweezers to remove the plastic liner from the thermal pad on the heatsink's top section.
-
-
-
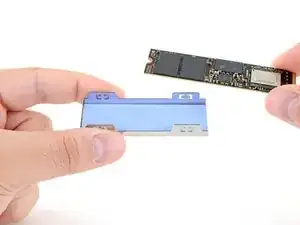
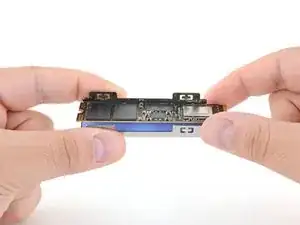
Align the top heatsink section over the SSD and the tray.
-
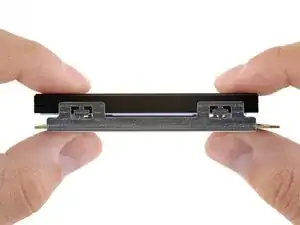
Firmly press the two halves together. You'll feel it "snap" into place.
-
-
-
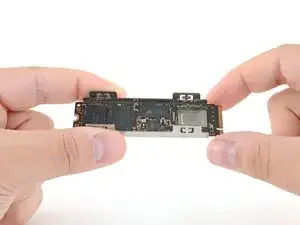
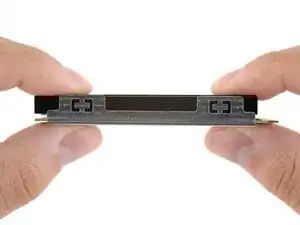
Make sure that the heatsink is close to the screw cutout but doesn't overhang it.
-
If you're having trouble installing your SSD, you may have to slightly adjust the heatsink's position.
-
Use your fingers to slide the SSD between the two halves of the heatsink assembly until fitment is just right.
-
Take your e-waste to an R2 or e-Stewards certified recycler.
Installation didn’t go as planned? Check out our Computer Hardware Answers community or PlayStation 5 Answers community for troubleshooting help.
