Einleitung
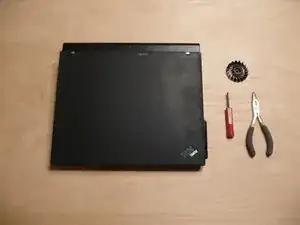
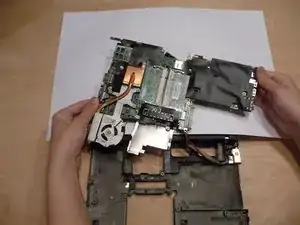
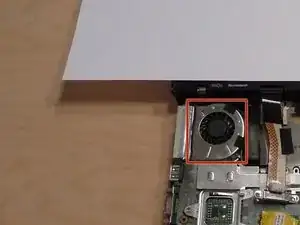
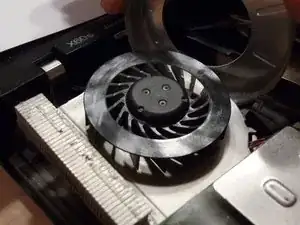
This guide details how to replace the rotating spindle piece inside of the fan. Replacing this piece can solve cooling and noise problems associated with a broken fan. The fan spindle is only accessible after exposing the bottom of the motherboard and removing the fan housing.
Werkzeuge
Ersatzteile
-
-
Turn the laptop upside-down, with the battery oriented away.
-
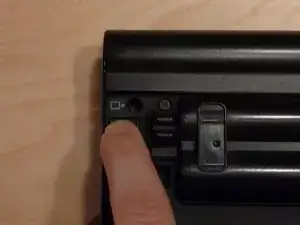
Slide the battery lock switch to the left.
-
-
-
Simultaneously complete the following:
-
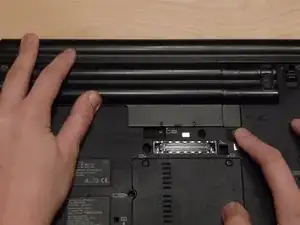
Slide and hold the battery release switch to the right.
-
Push the battery away from you, out of the back of the laptop.
-
-
-
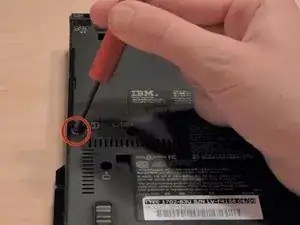
Unscrew the black 4mm Phillips #2 screw securing the hard drive enclosure cover.
-
Pull the hard drive enclosure cover up and to the left to expose the hard drive caddy.
-
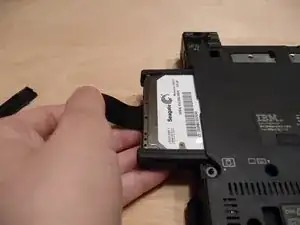
Pull the hard drive caddy out by the plastic pull tab.
-
-
-
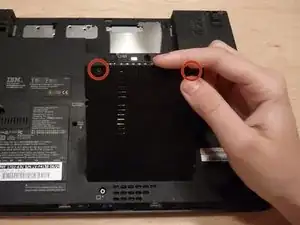
Unscrew the two black Phillips #1 screws securing the RAM cover plate.
-
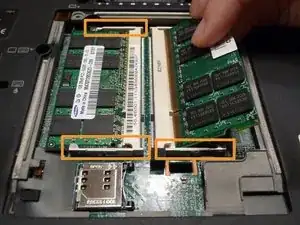
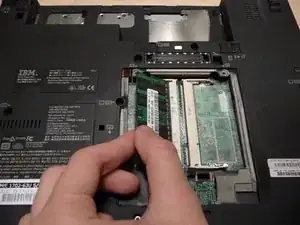
Remove the exposed RAM sticks by prying outward (away from the edges of the RAM sticks) on the securing tabs.
-
-
-
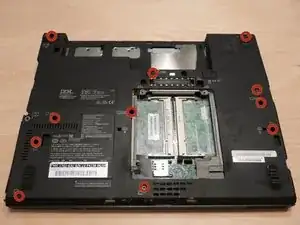
Unscrew the eleven black 6mm Phillips #1 screws securing the keyboard and palmrest.
-
Flip the laptop over.
-
-
-
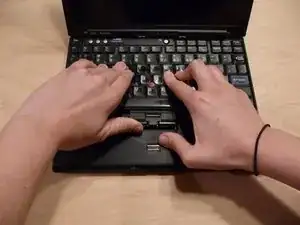
Simultaneously complete the following:
-
Push the keyboard backwards (away from yourself) with both hands.
-
Pry your thumb under the mouse buttons to lift the keyboard upwards (away from the work surface).
-
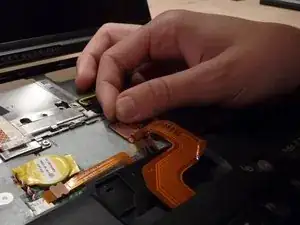
Pull up to detach the keyboard ribbon tab.
-
-
-
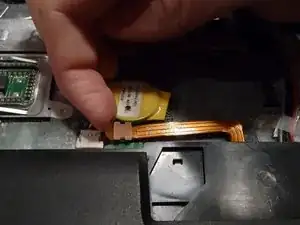
Pull up to detach the fingerprint scanner ribbon tab.
-
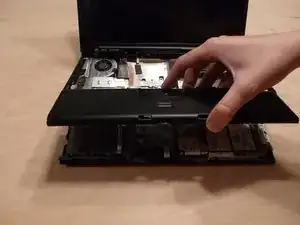
Lift up on the faceplate to remove it.
-
-
-
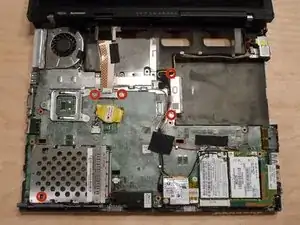
Unscrew the five silver 3mm Phillips #1 screws securing the motherboard.
-
Unscrew the silver 7mm Phillips #1 screw securing the motherboard.
-
-
-
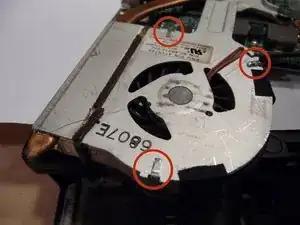
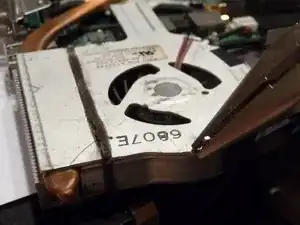
Pry back the three metal tabs on the now-exposed underside of the fan housing with needle-nose pliers.
-
Flip the motherboard back over.
-
To reassemble your device, follow these instructions in reverse order.
