Einleitung
In this guide, we will be demonstrating the repair of a support bracket that has detached from the moving bracket assembly in a Hamilton Beach toaster. When you are finished with this repair, your toaster will be fully functional again.
The support bracket is the part of a toaster that holds the bread. If the support bracket is broken, you will not be able lower bread into the toaster or lift it out using the toasting lever.
This repair requires very little background knowledge or repair experience. However, you will need some patience and a steady hand. It might be helpful to have an assistant help you complete this repair.
Werkzeuge
-
-
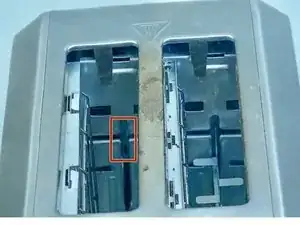
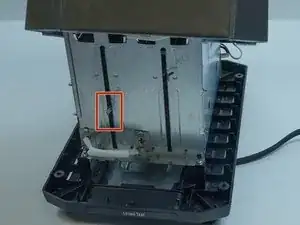
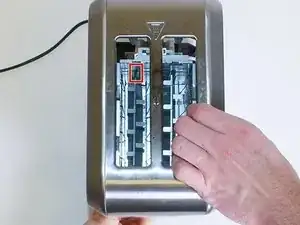
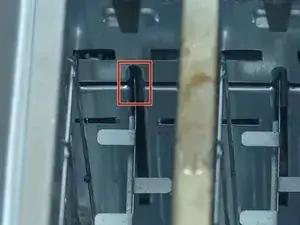
Look into the toaster and locate the two divots that the support bracket has detached from.
-
-
-
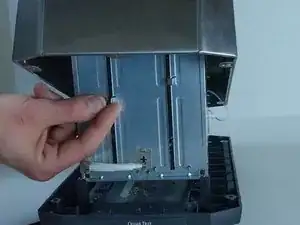
Use the portion of the bracket that is sticking out of the back of the toaster to move the support bracket.
-
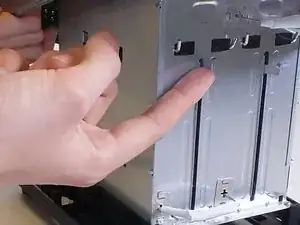
Align the support bracket with the two divots on the moving bracket assembly.
-
-
-
Using moderate force, push the teeth of the support bracket into the divots on the moving bracket assembly.
-
-
-
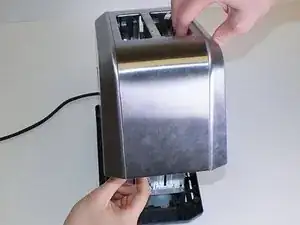
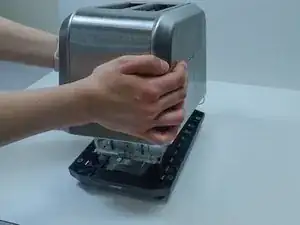
Carefully lower the shell of the toaster back down to its base.
-
Lift and lower the toasting lever a few times to ensure that the support bracket is firmly in place.
-
Follow these steps and your toaster will be as good as new!
