Einleitung
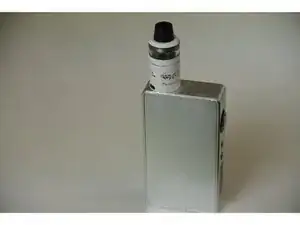
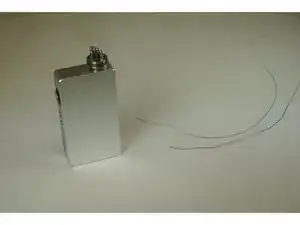
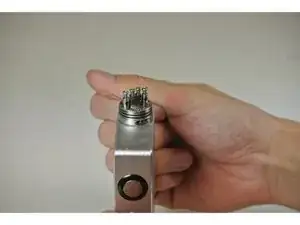
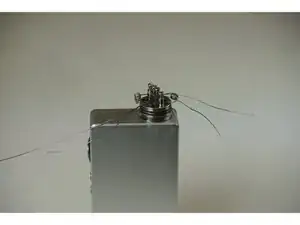
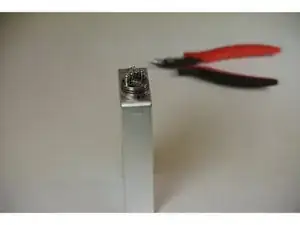
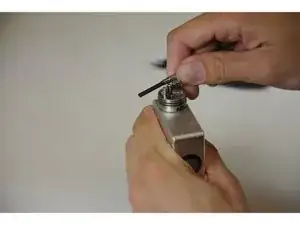
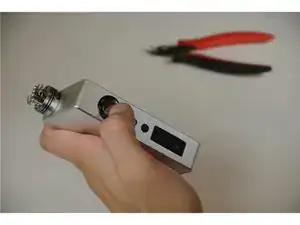
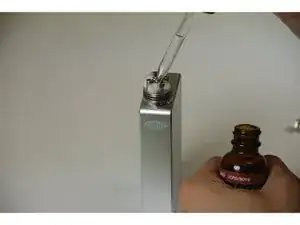
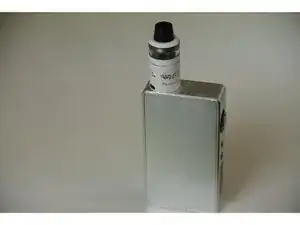
After vaping on the cotton and coils currently in use, they will start to get a burnt taste. This is when the cotton and coils need to be replaced (rebuilt). If this is not done every other week or so, you will not get as much out of your vape and could ultimately end up burning the back of your throat. The guide will teach you how to rebuild the cotton and coils so this can be avoided.
Werkzeuge
Ersatzteile
-
-
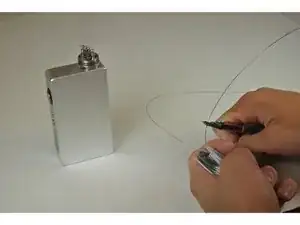
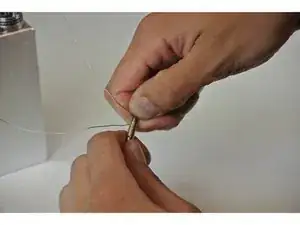
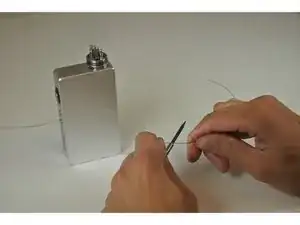
Hold the screwdriver and the wire end in one hand (non dominant) and the loose end of the wire in the other hand (dominant).
-
-
-
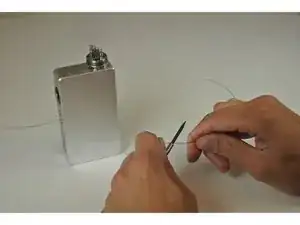
Using the loose end of the wire, wrap 4-8 times (depending on desired ohms) around the screwdriver.
-
-
-
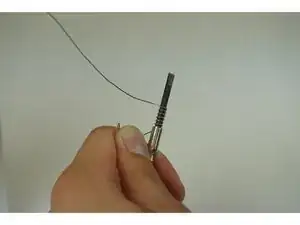
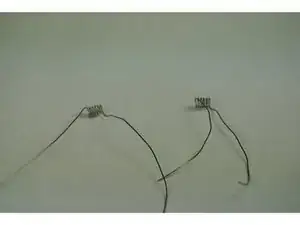
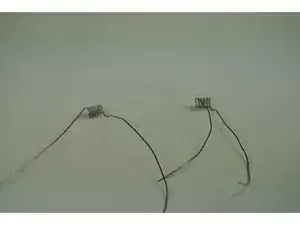
Leave wire wrapped around screwdriver and use fingernails to push the coil down towards base of screwdriver.
-
-
-
Repeat steps 3-6 with the other piece of wire, making sure to have the same amount of loops in both coils.
-
-
-
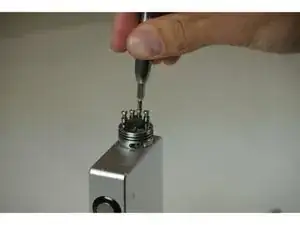
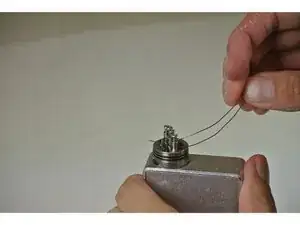
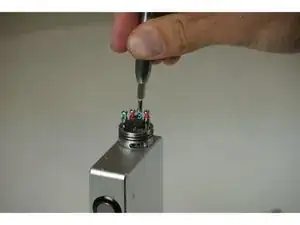
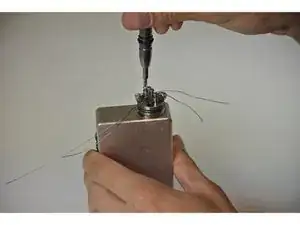
Put one end of the coil in an outermost hole on side of screw and other end in one of the inner holes.
-
-
-
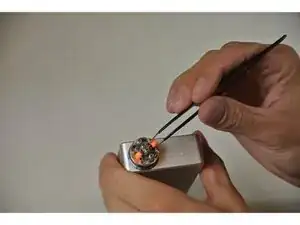
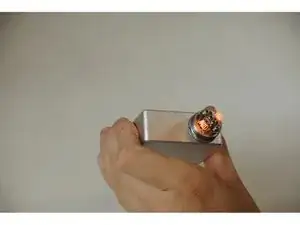
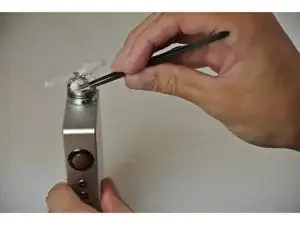
Use tweezers to compress the coils, being careful not to touch the tweezers to the coils while the button is being pressed.
-
-
-
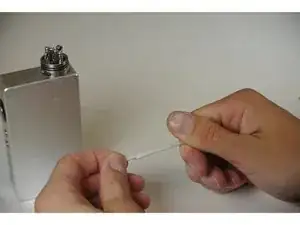
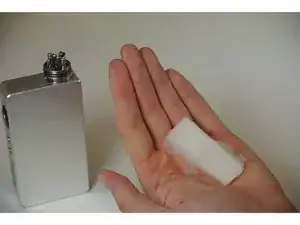
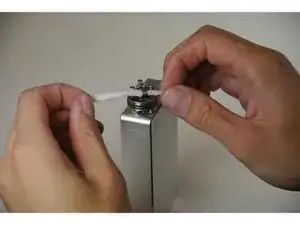
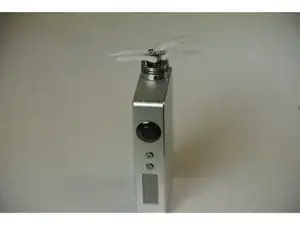
Once coils are cooled, tear a cotton strip from the large square and roll it with your hands until you have a tight but long strand.
-
-
-
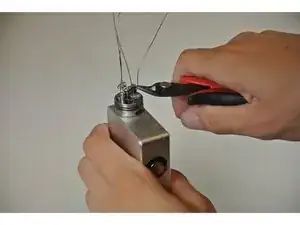
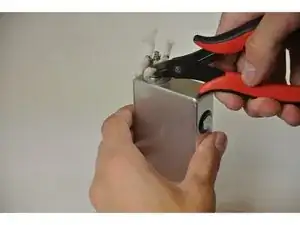
Using the wire cutters, cut cotton approximately ¼ of an inch away from outside of atomizer on each strand.
-
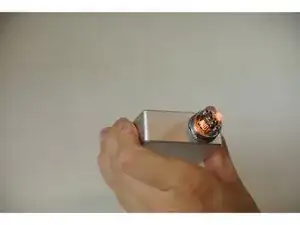
With vapes becoming very popular, this tutorial is very beneficial to those using them. By using this guide, it will save you a drive to your local vape store as well as five to ten dollars every week by building it yourself. As this is practiced more and more, the steps will become easier and more natural. We hope you find this tutorial as helpful to you as it has to us. In the event that the coils do not light up, or no vapor is produced, make sure the wires are properly connected to the screws and that the batteries are charged.
