Einleitung
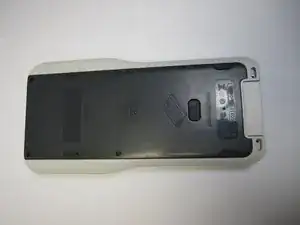
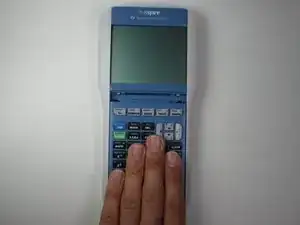
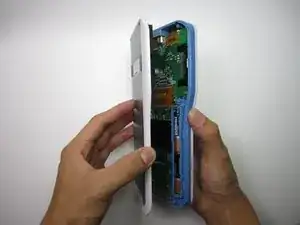
Removing the back plate will allow access to the inner circuitry of the calculator, which is necessary for other troubleshooting guides.
Werkzeuge
-
-
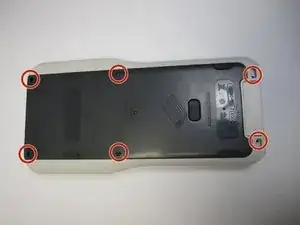
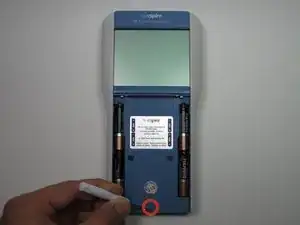
Remove the six 7.3 mm screws from the back of the calculator using a Phillips #000 screwdriver.
-
-
-
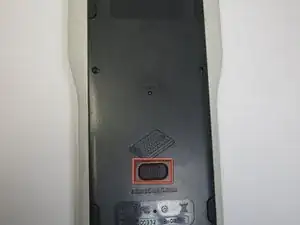
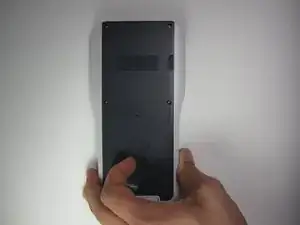
Slide the latch to the right to release the keypad.
-
Pull the keypad down at the same time.
-
-
-
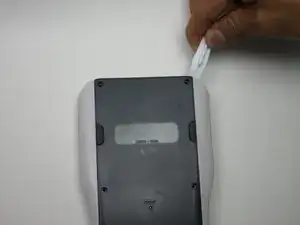
Turn the calculator over so the back plate faces up.
-
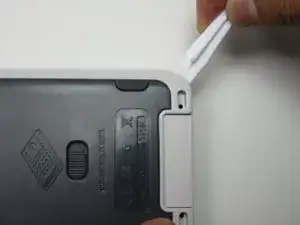
Use the iFixit Opening Tool to carefully pry the back plate out at the bottom right corner.
-
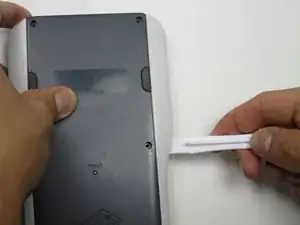
Repeat the prying step on the middle right side, moving along the perimeter of the calculator.
-
Repeat the prying step on the top right corner.
-
Abschluss
To reassemble your device, carefully push the back plate back onto the calculator. Then replace the screws back into the back plate.
