Einleitung

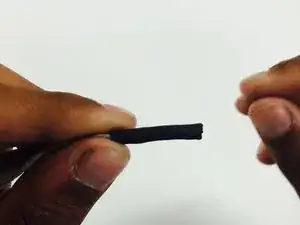
I will be teaching end users how to repair old shoe laces without having to buy new ones constantly. This easy guide will have shoelaces looking new within 15 minutes. Follow the simple five steps to improve your laces.

  1. SPmFUsSCXxJxVIAg
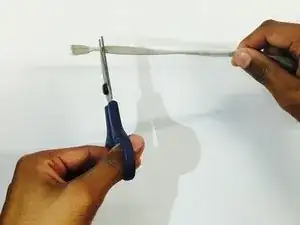
    • Cut of the excess frayed shoelace.

    You don't need to have "first" and "next" for each step

    Ryan Thomson -

  2. fFUpASEI2YIcDEUo
    fFUpASEI2YIcDEUo
    EbvnPQcgy3VGJRLY
    C2kEhHtJrLQt6NH6
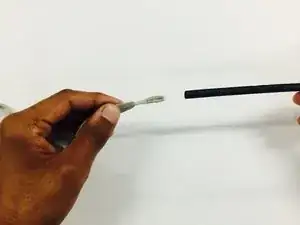
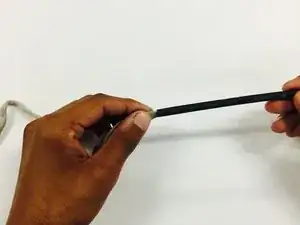
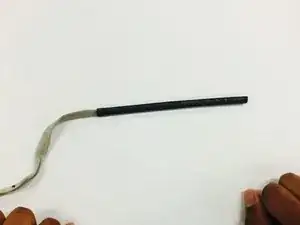
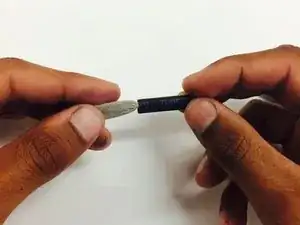
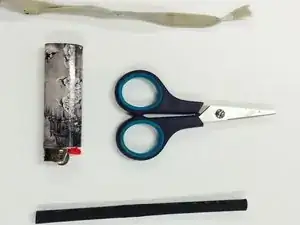
    • Slip the entire heat shrink tube over the frayed part of the lace.

    • Make sure to clump the frayed part of the lace together when inserting the tubing.

    • Do not cover too much of the lace that is not frayed with tubing as that could result in unwanted indents in the shoelace.

    How am I supposed to slip the heat shrink tube over the lace if its frayed? Like what do I do? How do I do it? Please send help

    Ryan Thomson -

  3. SkcYU4fXRbl3kQsV
    SkcYU4fXRbl3kQsV
    Ya1LsKQALTHSCQXW
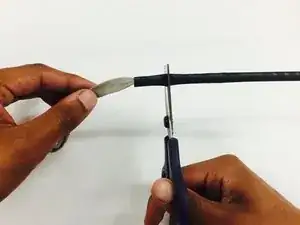
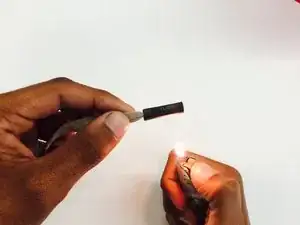
    • After slipping the tube on, grab the scissors and trim the excess tubing to the length of your satisfaction.

    • Remember not to go beyond the frayed part of the lace with tubing.

  4. DVqr2rWUrtaCXTDx
    DVqr2rWUrtaCXTDx
    WF6qKSvnFLHaARGp
    FaFUKHRwm61CEbgt
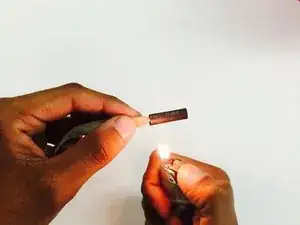
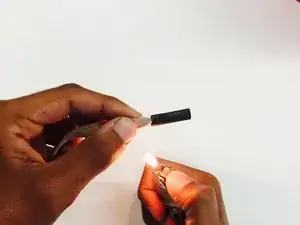
    • Now use the lighter and heat the heat shrink tube, about an inch away from the lace, until the tube becomes compressed all the way around.

    • Make sure to heat the heat shrink tube all the way around, heating the entire tube

    • When heating, always keep moving the lighter all around and not staying on one part of the tube for too long.

  5. SJJBoJvUGkvbnG6l
    • Repeat these steps on all the other frayed shoelaces.

Abschluss

When the heat shrink tube is completely shrunk to appropriate size, you are finished. Repeat steps 1-4 depending on how many frayed laces are present.
Anirudh Jain

Mitglied seit: 09/04/15

605 Reputation

0 Kommentare