Einleitung
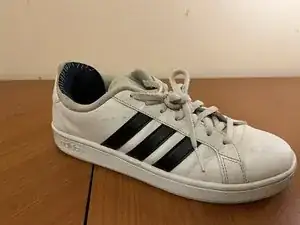
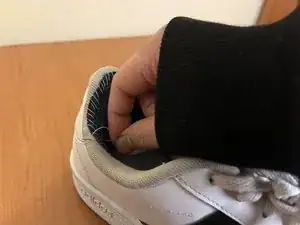
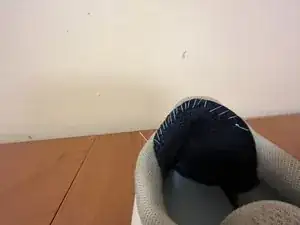
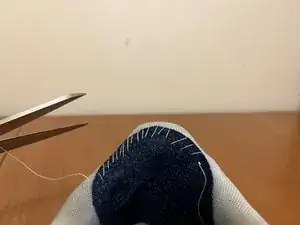
With continuous use and regular wear and tear, the heel lining on a shoe can rip apart, revealing the inner lining and heel guard. This can be an inconvenience since an exposed heel guard may cause injury or discomfort. But that doesn't mean your sneakers are doomed for the landfill!
With the help of this guide, you'll have the information necessary to repair a damaged heel lining, getting it back into working condition.
In Step 6, you will be handling a thread and needle to sew. Please refer to this guide for more through information on sewing.
Werkzeuge
-
-
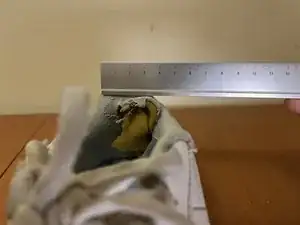
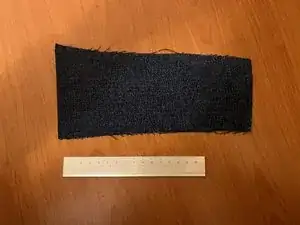
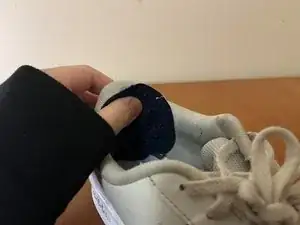
Referring to the dimensions of the damaged area, use a ruler to measure out the amount of fabric needed and cut it.
-
-
-
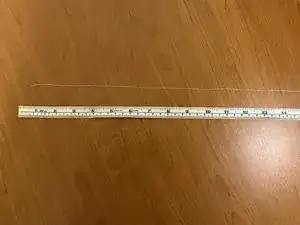
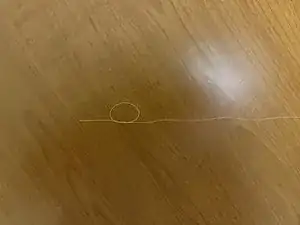
Add five centimeters to the width of the patch fabric's measurements, then cut the appropriate amount of thread.
-
-
-
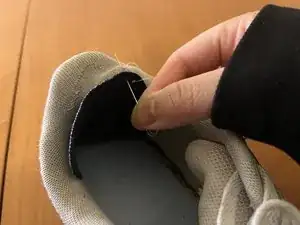
With the threaded needle, start looping the thread upwards through the fabric and top of the heel cup.
-
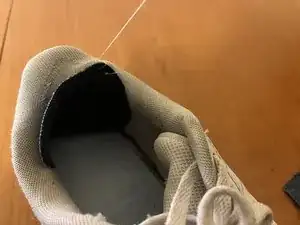
Enjoy your refreshed sneakers!
