Einleitung

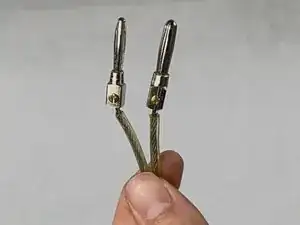
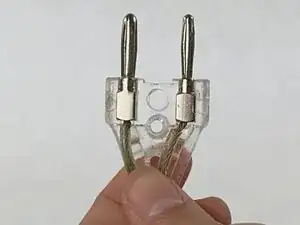
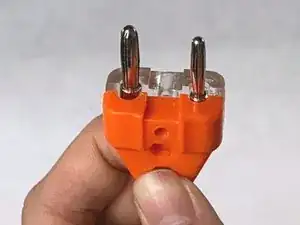
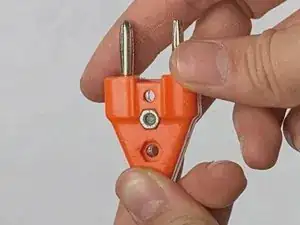
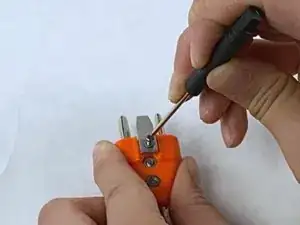
In the sport of fencing, damaged body cords cause the electrical scoring system to fail. Since functioning body cords are required for all official fencing tournaments, fencers should always have their gear in working condition.

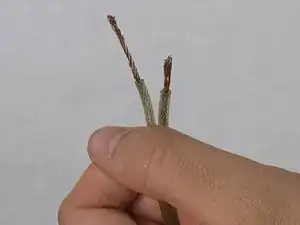
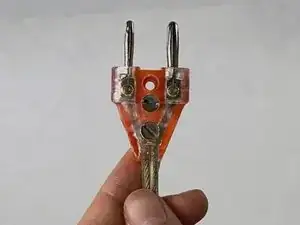
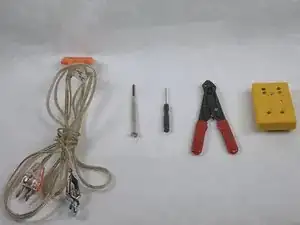
The most common type of damage to body cords is a break in the end of the wire, which is a simple fix. If the break is in the middle, you may need to buy a new cord if the remaining length is not enough. Use this guide to diagnose your body cord for foil/sabre and repair it if the damage is at the end of the wire.

  1. 2bxVnjdyDikXceIR
    2bxVnjdyDikXceIR
    v5tkMkSLHZqtOXqy
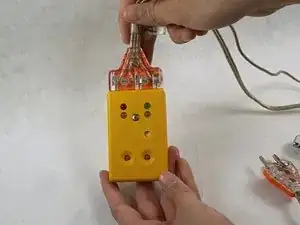
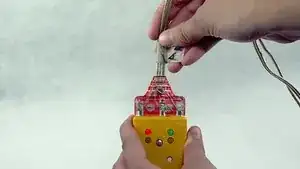
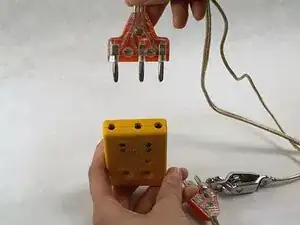
    • Insert the three-pronged end of the body cord into the testing box.

  2. HwvUBESTpVbJnyMj
    HwvUBESTpVbJnyMj
    PJLs1PeH3xYhdh1H
    wGweVThdVpkWVZSi
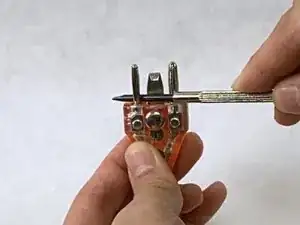
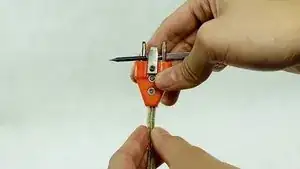
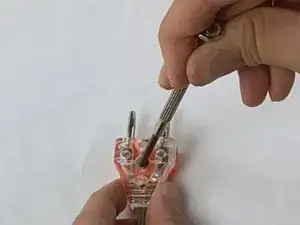
    • To test the two-pronged end, place and hold a conductive object (e.g. a screwdriver) in between both pins.

    • Make sure that the conductive object is in constant contact with both of the pins.

    • Observe the red light on the testing box. If the wires in the two-pronged end of the body cord are functional, the red light on the testing box should be steady.

  3. To test for breaks in the two-pronged wire, keep the conductive object in contact with both pins and move the cord in all directions beginning at the two-pronged end until you reach the end of the cord.
    • To test for breaks in the two-pronged wire, keep the conductive object in contact with both pins and move the cord in all directions beginning at the two-pronged end until you reach the end of the cord.

    • Keep an eye on the red light on the testing box. If you encounter a problem area in the wire, the red light will flicker or turn off.

    • Take note of the location of the break in the wire when the red light begins to flicker or turn off.

  4. 15sxt6YO5mjKmgvT
    15sxt6YO5mjKmgvT
    l4rfOGWxsSFDFi3D
    1rmj16itXgVqbVLD
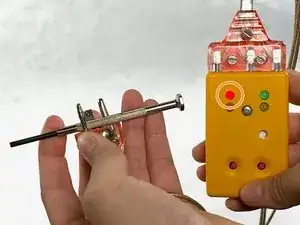
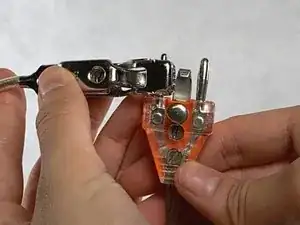
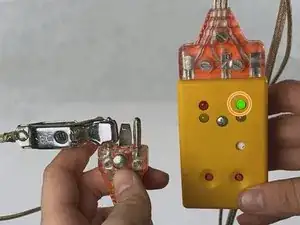
    • Attach the alligator clip to the smaller pin on the two-pronged end.

    • Observe the green light on the testing box. If the wires inside of the alligator clip are functional, the green light on the testing box should be steady. Otherwise, the green light will flicker or not turn on.

    • If the break is close to the alligator clip, you will need soldering which will not be covered in this repair guide.

  5. While keeping the alligator clip in contact with the smaller pin, move the cord in all directions beginning at the three-pronged end until you reach the end of the cord.
    • While keeping the alligator clip in contact with the smaller pin, move the cord in all directions beginning at the three-pronged end until you reach the end of the cord.

    • Keep an eye on the green light on the testing box. If you encounter a break in the wire, the green light will flicker or turn off.

    • Take note of the location of the break in the wire when the green light begins to flicker or turn off.

    • You have now completed the diagnostic procedure! The break could either be on the wire close to the end of the alligator clip or the two or three-pronged end.

    • If the break is close to the alligator clip, our guide does not cover the repair. We will cover the repair for the break close to the two-pronged end. The process for the three-pronged end follows the same process.

  6. Tfpow5RoNIqGQCZY
    Tfpow5RoNIqGQCZY
    ru2xUJZcyiFjcNek
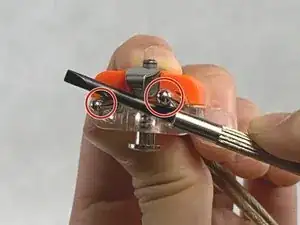
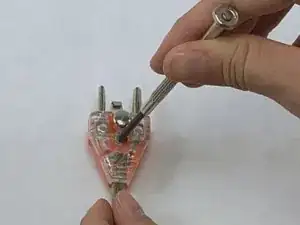
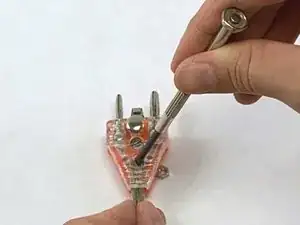
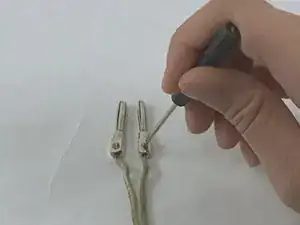
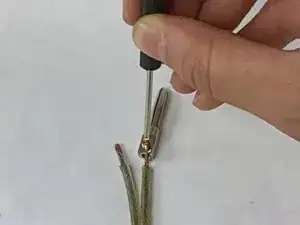
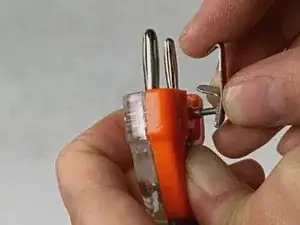
    • Use a slotted screwdriver to unscrew the screws in the plastic casing of the either the two-pronged or three-pronged end of the body cord depending on which side of the wire has the break.

    • Keep track of any washers and screws that you take out.

  7. EU1nAxbaNKm3aFZt
    EU1nAxbaNKm3aFZt
    V4iibJc2QrAgidEX
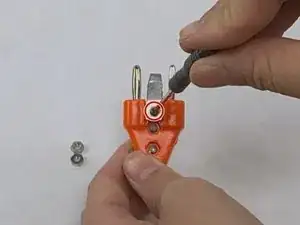
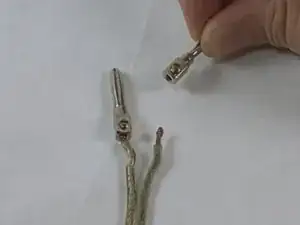
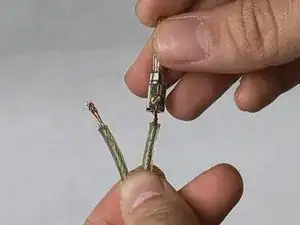
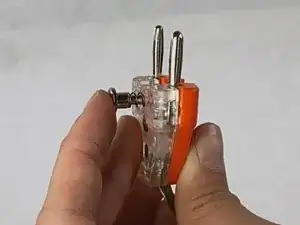
    • Unscrew the metal clip.

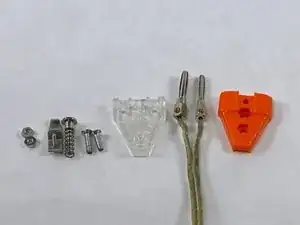
    • The end of the body cord should be disassembled as depicted.

  8. bABRPdgjSMpHRDDq
    bABRPdgjSMpHRDDq
    qwhZPyAkJS2Bjvnp
    nweRc1RGQDEIYUqu
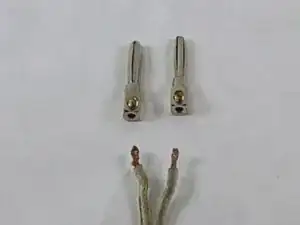
    • Partially unscrew the screws in the pins.

    • You should be able to pull off the pins from the wires easily when the screws are partially unscrewed.

    • Remove both the pins from the wires and set them aside.

    • Keep note of which wire corresponds to which pin. If you reassemble the cord with the wires in the wrong pins, the scoring system will fail.

  9. ei4vfpvOWYnDaUSd
    ei4vfpvOWYnDaUSd
    PGJN3uedL1prY1cj
    • Practice caution when using the wire stripper to avoid cutting or scraping yourself.

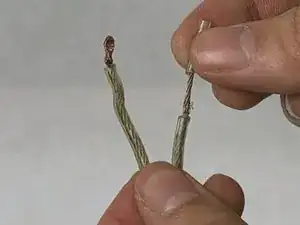
    • Use the wire stripper to strip the plastic wire insulation about one inch below the location of the break.

    • Pull the plastic wire insulation off to expose the wire and its break.

  10. LKjYOiFO2bTPBTMS
    LKjYOiFO2bTPBTMS
    jL2VPEdCXbQLOTp6
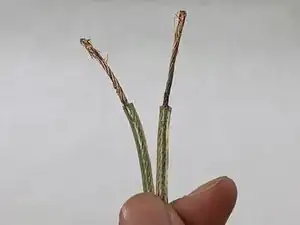
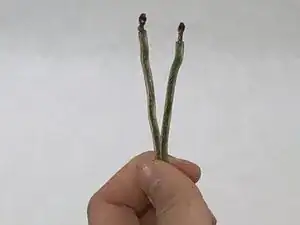
    • Repeat the above process for the second wire.

    • The length of exposed wire should be about the same across all wires.

  11. cpLsNugtE4dmXgD4
    cpLsNugtE4dmXgD4
    5XKY3tAD4CFpwhN1
    shSIVi6w5rxiyDHQ
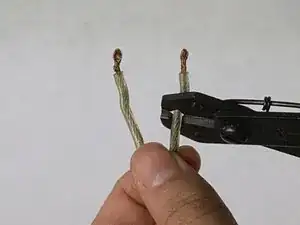
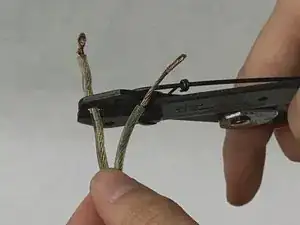
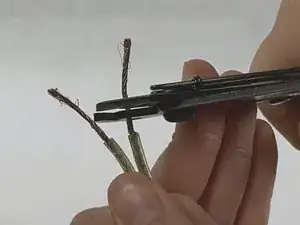
    • Cut the wire below the break while leaving about an inch of usable wire exposed.

    • Cut the second wire to make the wires approximately even in length.

  12. GZAGnqgBLjvNYTqE
    GZAGnqgBLjvNYTqE
    HBRDLJKlQ3nvEis3
    uJLboR1MNjYuyPA6
    • Slip the wires back into the pins. Make sure you put the wires back into the pins they were originally in.

    • Screw the pins back into place.

    • Make sure the pins are screwed tight enough to securely hold the wires in place.

  13. jHIunhXa6EAfcHIB
    jHIunhXa6EAfcHIB
    sEkCYNXYhhMdvdbb
    • Place the pins back into their appropriate spots in the plastic casing.

    • Cover the pins with the other half of the plastic casing.

  14. FKC23TV5SMRtGGD5
    FKC23TV5SMRtGGD5
    XIPuMIrnkLDw6JD1
    ppyJCNqngslmfmjl
    • Put the washers in place.

    • Screw the two screws for the plastic casing back into place.

  15. NYSwhnf4brEiAgqn
    NYSwhnf4brEiAgqn
    EX4R11qOL6yWQYfy
    VTsOakdEAsg36Fmq
    • Reinsert the button.

    • Reinsert the metal clip.

    • Screw the metal clip back into the button.

Abschluss

The body cord should now be fully functional! Repeat diagnostic steps using the fencing testing box to confirm the cord works.
Sarah Gaeta

Mitglied seit: 20/02/20

262 Reputation

0 Kommentare