Einleitung
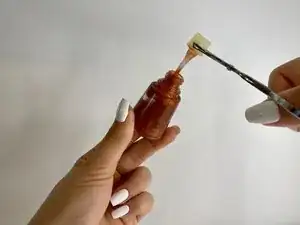
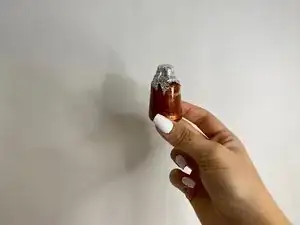
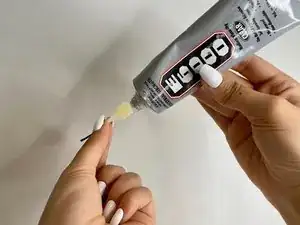
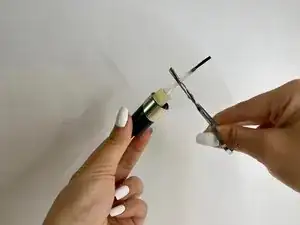
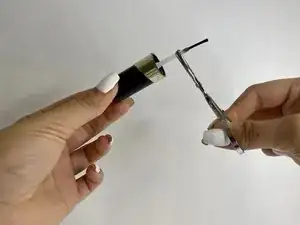
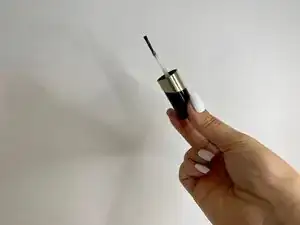
Do you own a nail polish bottle that has a broken application brush? Don’t throw it away! This seven-step guide will help you repair the brush so you can continue to use your favorite polish.
The majority of nail polish bottles are assembled in the same way, with the application brush attached to the inside of the cap of the bottle. These brushes often separate from the cap. This can make it difficult to apply nail polish or replace the brush in the bottle after use.
You can identify when a brush is beginning to come loose by checking to see if the brush’s stem is unsteady during application. Once the brush’s stem disconnects from the cap, it is time to repair it with these steps. If the brush itself is broken but still connected to the cap, you will need to replace the brush before proceeding.
The instructions below will help you quickly fix this problem at a low cost. You do not need any special skills to complete this task, but you do need the tools below. Please exercise caution when using sharp objects. Follow the safety labels on each tool before proceeding.
