Einleitung
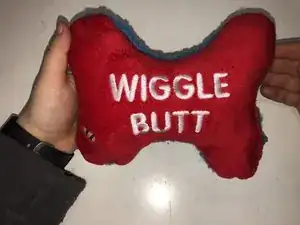
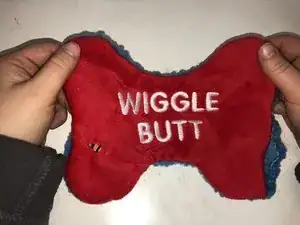
Repairing a dog toy is something anyone with a needle and thread could do at home! This quick repair will save dog owners a lot of the money they spend on dog toys and a trip to the pet store. It’s also good for the environment since there won’t be as many dog toys being thrown out, so it’s saving the environment from more garbage!
Werkzeuge
Ersatzteile
-
-
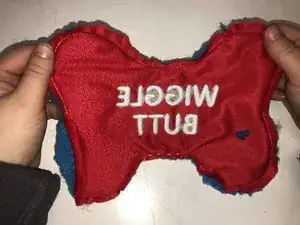
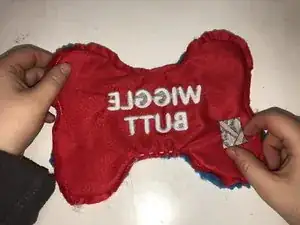
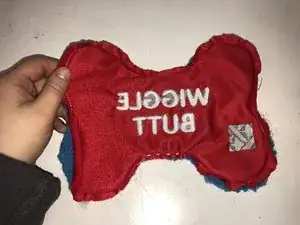
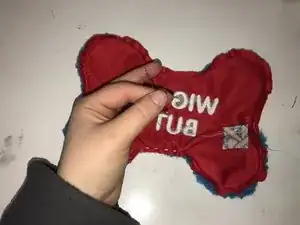
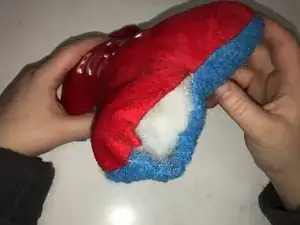
Turn the empty toy inside out through the biggest hole and inspect for other holes to repair.
-
-
-
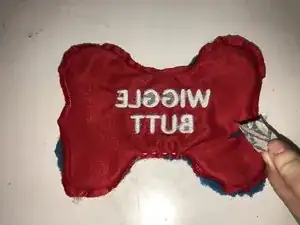
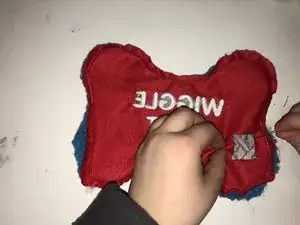
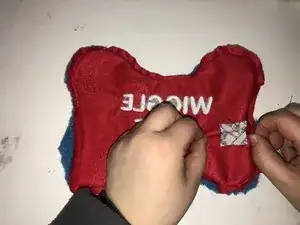
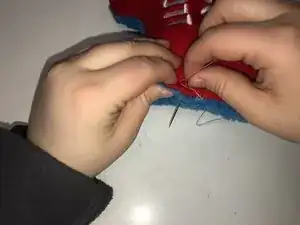
Begin sewing the patch to cover the hole.
-
To do so pinch both layers of fabric and put the needle through the other side and pull it back out of the top.
-
-
-
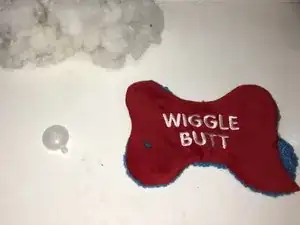
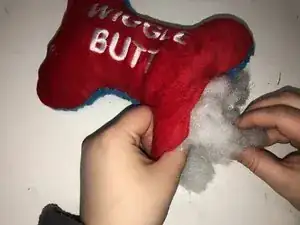
Re-stuff the toy by evenly putting the stuffing back inside.
-
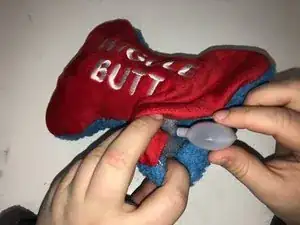
When about half of the stuffing is put back, inside insert the squeaker and continue to add stuffing.
-
-
-
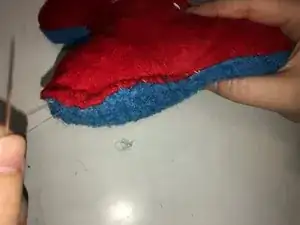
To sew the last hole pinch the fabric together and insert the needle through the top side and pull through the bottom.
-
To reassemble your device, follow these instructions in reverse order.
