Einleitung

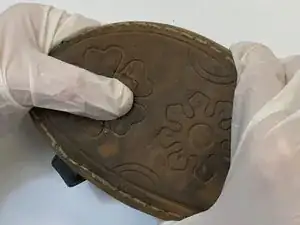
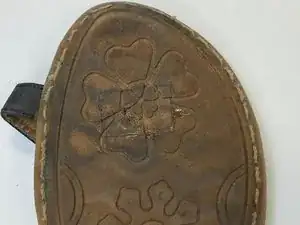
This guide will demonstrate how to re-attach a broken toe strap of a fabric sandal. This guide will begin by presenting the tools you will need to conduct this repair. Then the guide will detail the steps you will follow to repair your sandal.

These instructions are necessary to prevent excess clothing waste and save you money.

This guide requires you to handle a sharp razor blade and super glue. Be sure to keep your fingers away from these tools to prevent injury.

  1. cGMGHOLfDZlsvnrQ
    cGMGHOLfDZlsvnrQ
    HSrGOA1aZbF3HuiO
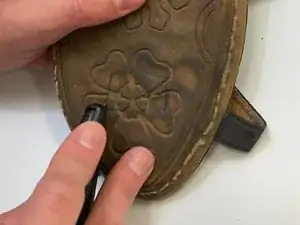
    • Draw a rectangle on the bottom of the sandal that centers the hole of the toe strap.

  2. bbiYnCffXgcAasl6
    bbiYnCffXgcAasl6
    n4XS21ZNKGV2xPXV
    qCakfiqwEN5CZgYG
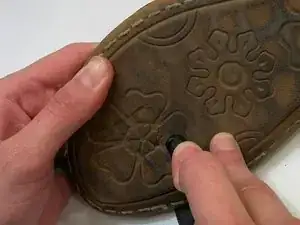
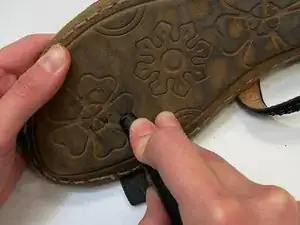
    • Slice through three connecting sides at the bottom of the rectangle using a box cutter.

    • Keep your fingers away from the box cutter to avoid injury.

    • Create shallow slices to avoid cutting through the sandal.

  3. NGKKKjWkqIIBN2Tp
    NGKKKjWkqIIBN2Tp
    y2mWa6ZoGYUPH4XR
    MuJhTLinBVcNPfDH
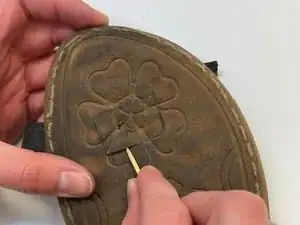
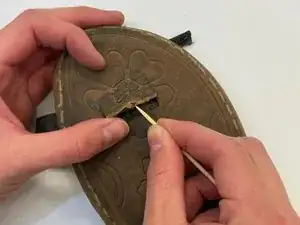
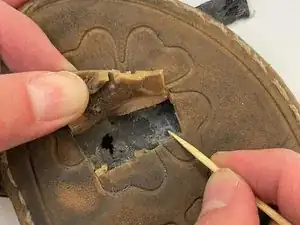
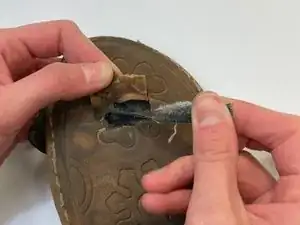
    • Insert a toothpick into the bottom slit.

    • Use the toothpick as a lever to wedge open the flap.

    • Use an extra toothpick if the first one breaks.

  4. qRX6dvHw1Vaa1BdY
    qRX6dvHw1Vaa1BdY
    AKfwPIXsPWUvyuQB
    ZDui2OCQoqWgNL1I
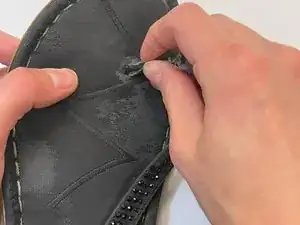
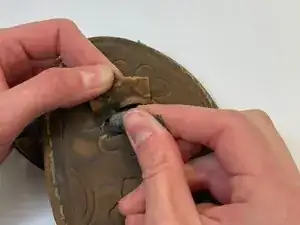
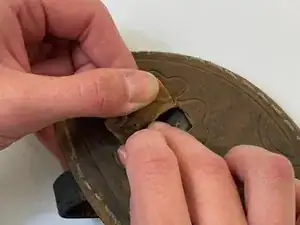
    • Slide the toe strap through the hole of the sandal until you feel resistance.

  5. 3ZlduFoucByGHMQl
    3ZlduFoucByGHMQl
    1QBwHLgV3UPC6IBS
    RElycZwvDsWEoHpj
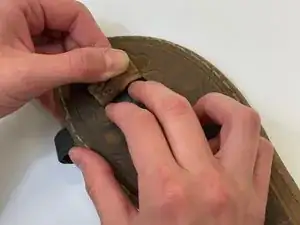
    • Flatten the toe strap against the insole of the sandal.

  6. gORAfAWq3ZTVwpCM
    gORAfAWq3ZTVwpCM
    1LBUToJMYMSPk2qT
    kwIremtWFWAoM1GF
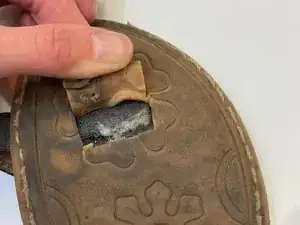
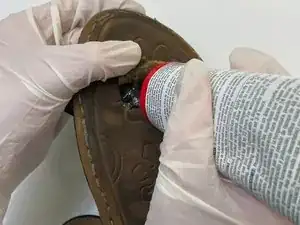
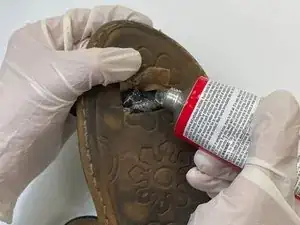
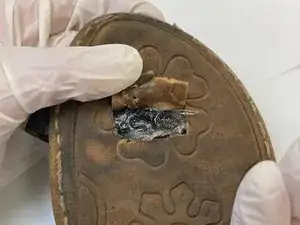
    • Apply the glue to the toe strap and inside the flap of the sandal.

    • Wear protective gloves to avoid skin irritation.

  7. 5CGpRCxEwZDvQ6Fg
    5CGpRCxEwZDvQ6Fg
    3GBHvJ3jdhGKJimI
    nZDFgMkPEI3LFd3o
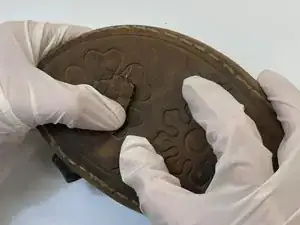
    • Close the sole flap.

    • Press the flap down until it is even with the sole of the sandal.

  8. LRDuiVf33NdppE3N
    LRDuiVf33NdppE3N
    SAH3cMlNXsCFGt2L
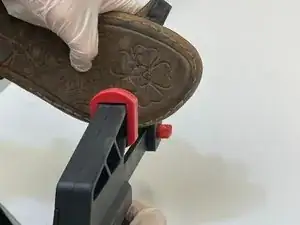
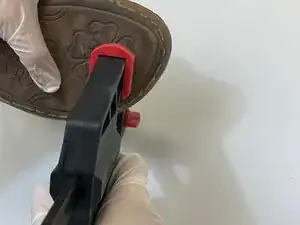
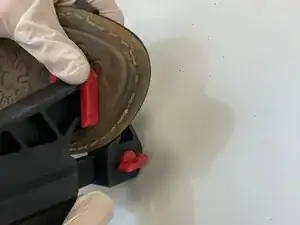
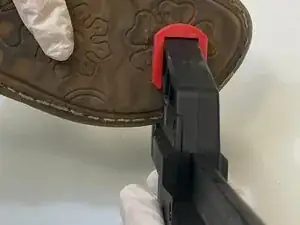
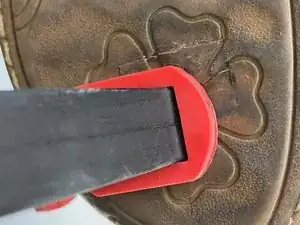
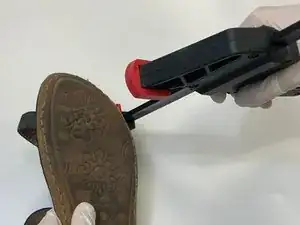
    • Use the trigger clamp to tightly press the flap against the sandal.

  9. MJCbu3MyDxTWxGr3
    MJCbu3MyDxTWxGr3
    johQAJuIyoMML4fB
    NXylDcFYnXGSF3jP
    • Tighten the trigger clamp by squeezing the trigger.

    • Leave the trigger clamp on the sandal to dry overnight.

  10. qMOMuOXhqLSXFFfI
    • Remove the trigger clamp by pressing the quick-release button.

  11. v5wbIryMqtSbypEV
    v5wbIryMqtSbypEV
    TY5TaAPnKJYpKLYO
    pb1xag4DbFj1ninn
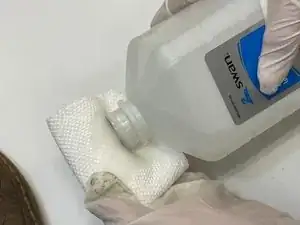
    • Pour rubbing alcohol onto a paper towel.

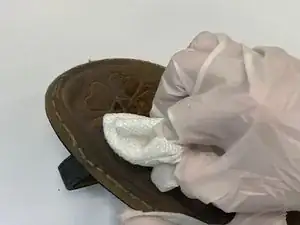
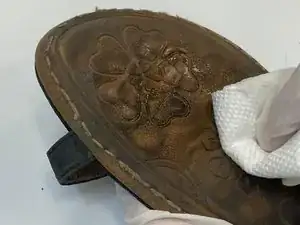
    • Rub the paper towel over the shoe to remove pencil marks and excess glue.

Abschluss

If you properly follow the instructions in this guide, your sandal will be repaired to a lasting, wearable condition.
Kulthum Lakha

Mitglied seit: 28/09/21

193 Reputation

0 Kommentare