Einleitung
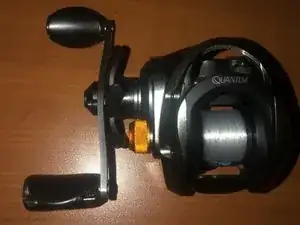
This guide will help you increase your reels performance and maintain your reels' durability. I recommend taping your line to the spool before beginning this process if your reel has line on it. This will keep your spool nice and tidy. Remember to be careful when disassembling and reassembling the fishing reel. Happy Fixing!
Werkzeuge
-
-
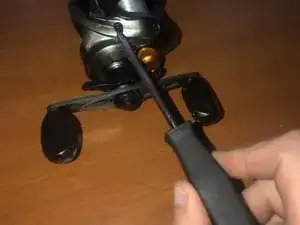
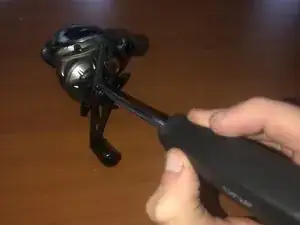
Use a flathead screwdriver to remove the screw.
-
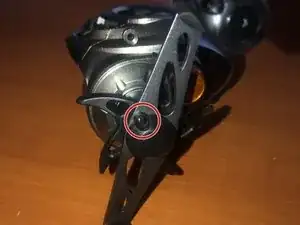
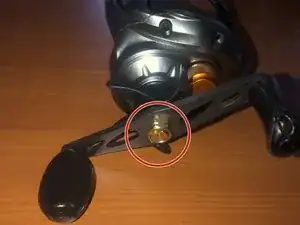
After removing the screw, remove the black cap on top of the handle of the reel.
-
-
-
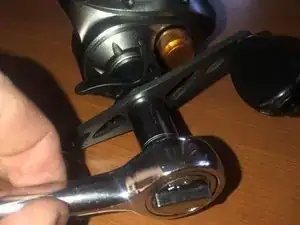
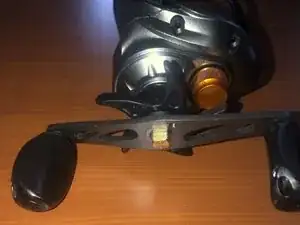
With the nut now removed, remove the handle of the reel. You may need to gently wiggle it out of place if it will not remove.
-
-
-
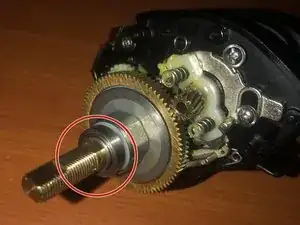
Remove this washer gently, You may also need to wiggle this piece out of place if it is stuck.
-
-
-
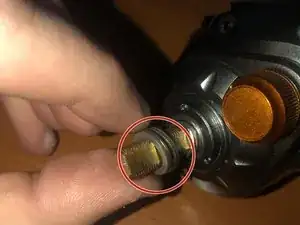
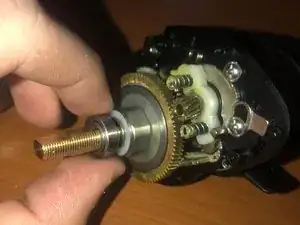
Under the removed drag dial should be 4 metal washers. Simply pull them off the gold bolt.
-
-
-
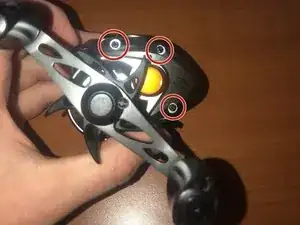
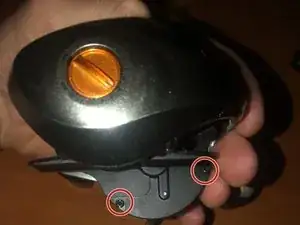
After removing the two screws, remove the handle sides side plate of the reel. You may need to wiggle it off in order to remove it.
-
-
-
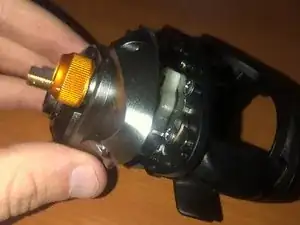
With the side plate removed, take out the existing washer. It should be easy, but if not wiggle it free.
-
-
-
Now flip to the break side of the reel. This is the opposite side of the handle.
-
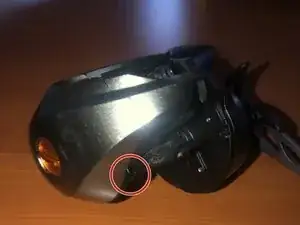
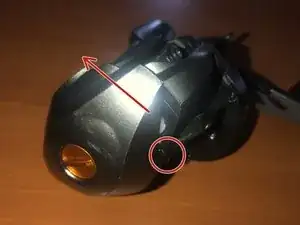
Push this button and twist upward in order to remove the side plate. Remember to push and twist simultaneously.
-
-
-
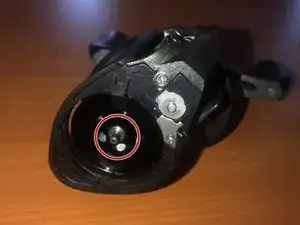
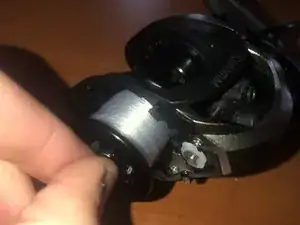
Remove the spool. It may take a little wiggle in order for it to line up with the casing around it and come out.
-
-
-
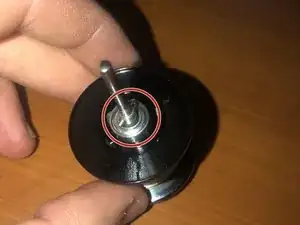
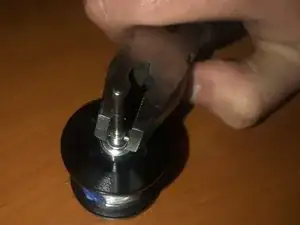
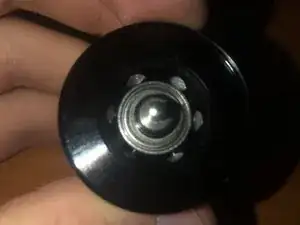
Use a pair of pliers to remove the pin. There should be a big and small side of the pin. Remove the pin pushing from the smaller side in order to not strip the casing it sits in. It may take a little force, but try to be as gentle as possible.
-
After removing the pin pull out the bearing and replace it with a new one.
-
-
-
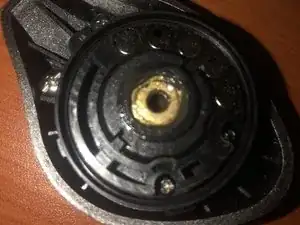
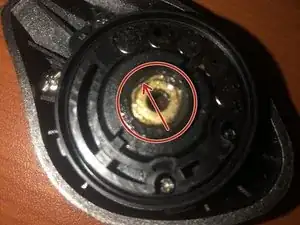
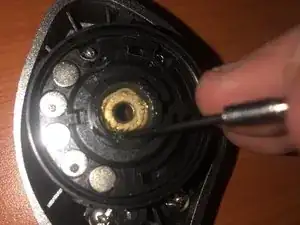
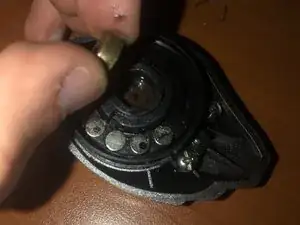
Use a small flathead screwdriver to put tension on the spring and remove it. Remember to be very delicate removing the spring in order to not break or bend the spring.
-
To reassemble your device, follow these instructions in reverse order. Remember to take your time, be very delicate, and be sure to assemble the device with all of the required pieces in order.
