Einleitung
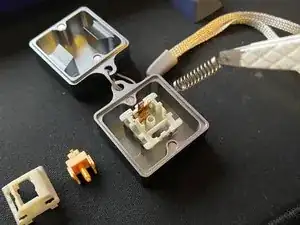
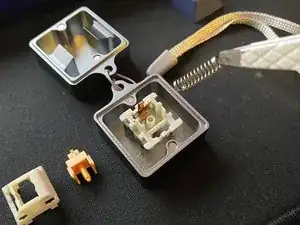
Even though keyboard switches are made to last longer than your average office keyboard, switch springs wear out over time, and you may notice a diminished typing experience. This guide demonstrates how to replace the switch springs in a KBD67 Lite R3 keyboard that is hot-swappable, although this process will be similar for most mechanical keyboards. The switches being used to demonstrate the replacement in this guide are the Glorious Pandas by Glorious Gaming.
Werkzeuge
-
-
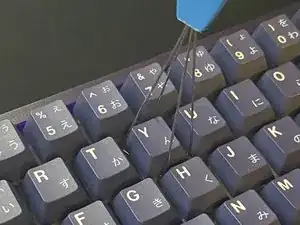
Align the keycap puller to the keycap.
-
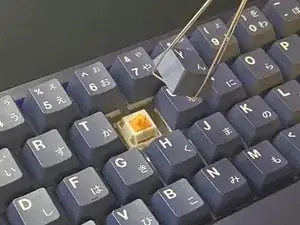
Gently pull vertically on the keycap to remove it, exposing the key switch.
-
-
-
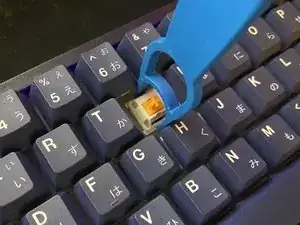
Align the key switch puller with the key switch that you're removing.
-
Pull the key switch out of the keyboard.
-
-
-
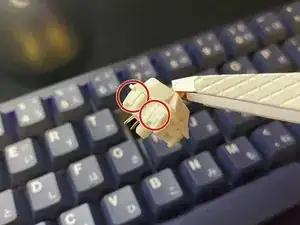
Locate the side of the switch that has latches.
-
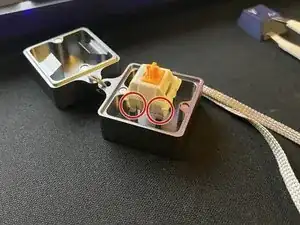
Place the side of the switch with latches on top of the key switch opener legs.
-
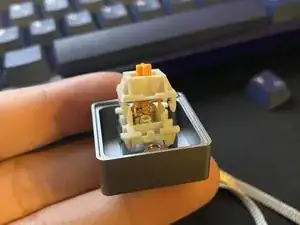
Apply gentle force pushing the switch down on the switch opener to open up the switch.
-
-
-
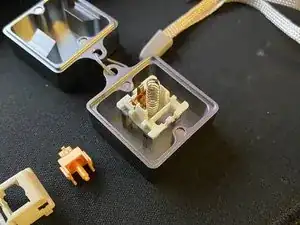
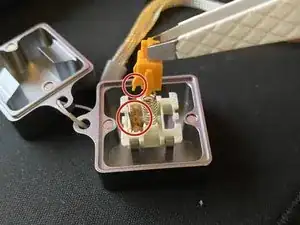
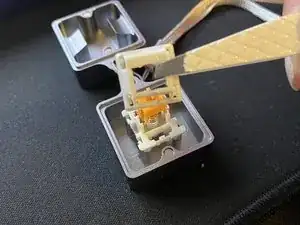
Remove the top housing and stem to reveal the switch spring.
-
Remove the switch spring and proceed to replace it with another spring of your choice.
-
-
-
Locate the side of the switch that has legs, then place the switch on top of the spring. with the legs facing the metal plate.
-
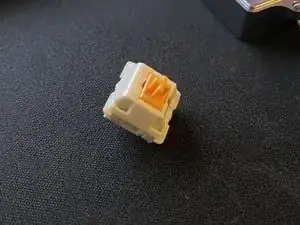
Push the top and bottom housing together to assemble the switch.
-
-
-
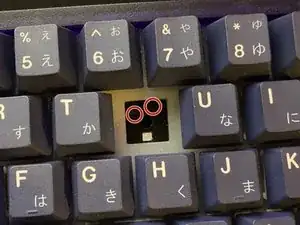
Locate the switch pin holes on your keyboard.
-
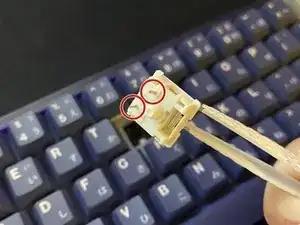
Locate the pins on your key switch and line it up with the keyboard pin holes.
-
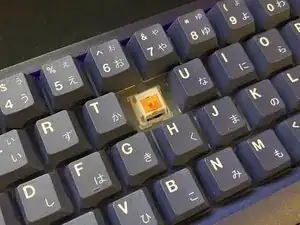
Apply gentle force pushing down until it clicks onto place.
-
-
-
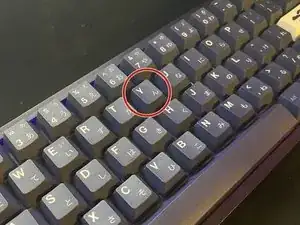
Put the key cap back onto the switch.
-
Test the keyboard input and ensure that everything is functioning correctly.
-
To reassemble your device, follow these instructions in reverse order.
Ein Kommentar
Frank you did an amazing job on this one. I always wondered how to replace a keyboard key and finally you provided a perfect guide. Your introduction covers everything one needs to know including the parts required - thank you for the where to buy links. Talking about the guide it's clear and precise - all steps are documented well with those amazing parts focused pictures. Language is easy to read and understand. After reading your guide I feel more confident now to replace the key or the spring within.
