Einleitung
Use this guide to replace a burnt or damaged brake light in your 2010 Toyota Venza.
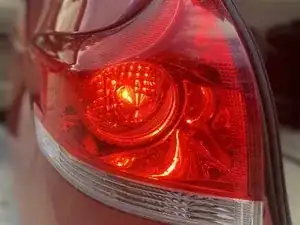
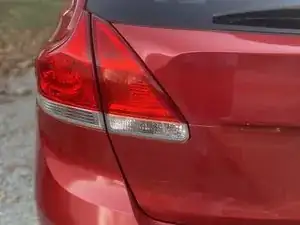
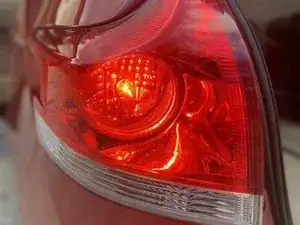
A working brake light is extremely important to ensure that there is accurate communication while on the road with other drivers. Functional brake lights alert others that you are slowing down or stopping.
Before using this guide, be sure to test your lights by having another individual stand behind your vehicle while you press on the brake. This will let you know which side, or if both, need to be replaced.
Prior to beginning this process, it is highly recommended to wear new, disposable latex gloves when installing any incandescent bulb. The oils from our skin deposited onto the bulb can reduce its lifespan.
Werkzeuge
Ersatzteile
-
-
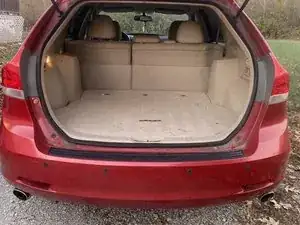
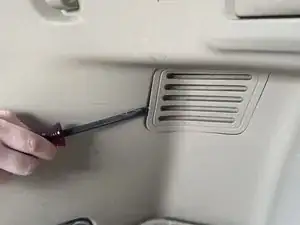
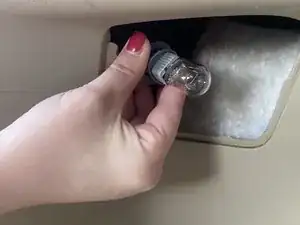
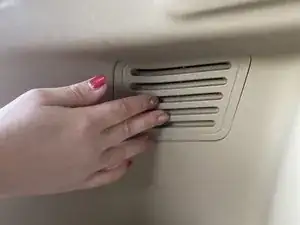
Carefully reach your arm into the vent and locate the back of the socket.
-
Turn the socket counterclockwise to loosen it.
-
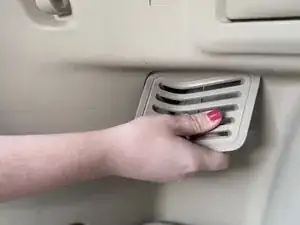
When loose, pull it out into view.
-
-
-
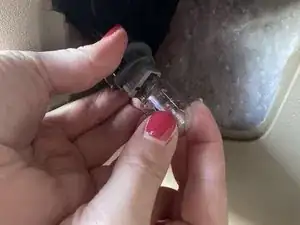
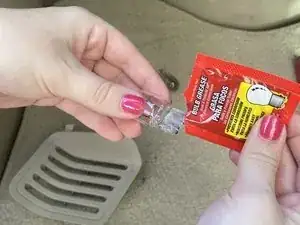
Gently pull on the base of the bulb to loosen it from the socket.
-
When loose, remove the bulb from the socket.
-
-
-
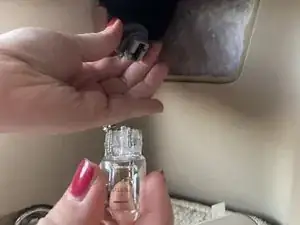
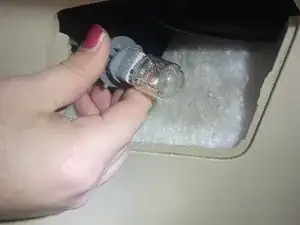
Return bulb to the socket by gently pushing the base of bulb into the empty socket until it clicks in.
-
-
-
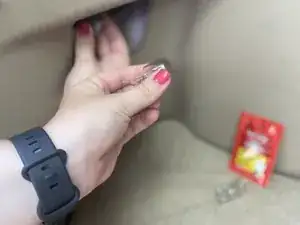
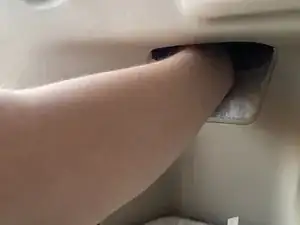
Reach your arm into the vent and locate the socket’s hole.
-
Replace the bulb and socket by screwing clockwise to tighten it.
-
-
-
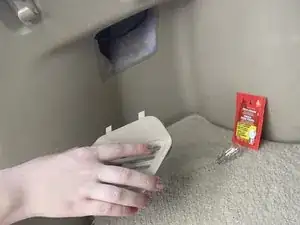
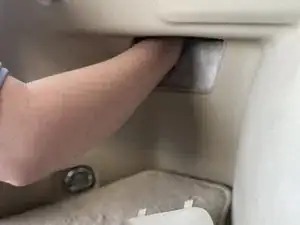
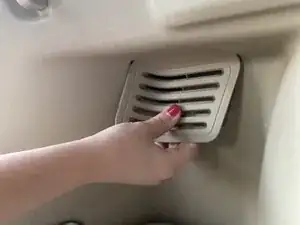
Replace the vent into the wall of the trunk.
-
You will know that the vent is properly closed when it “pops” into place.
-
To replace your brake light on the other side, follow these same instructions. Otherwise, safe travels!