Einleitung
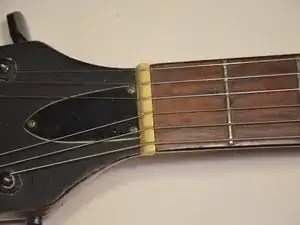
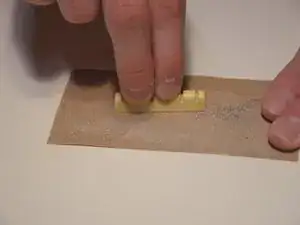
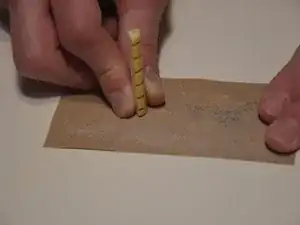
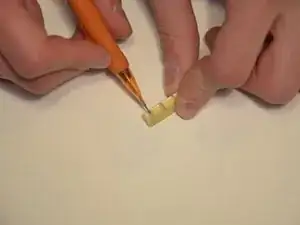
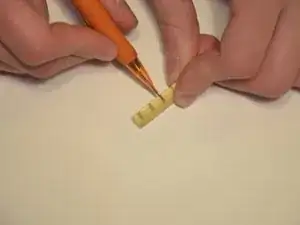
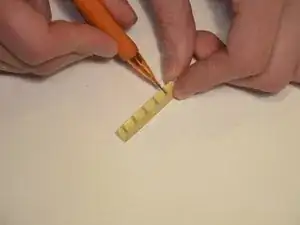
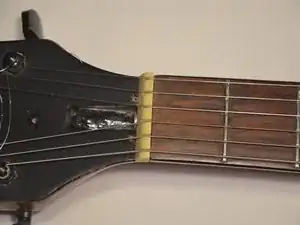
This is a tutorial on the replacement of a guitar nut. For people not familiar with this type of replacement I advise you to use caution and follow the steps in order.
The replacement procedure does not seem difficult on paper but if you attempt to use shortcuts more issues could arise. Please note, this replacement requires you to remove (or move aside) guitar strings several times, to avoid clutter the guide does not explain how to remove strings.
Werkzeuge
Ersatzteile
-
-
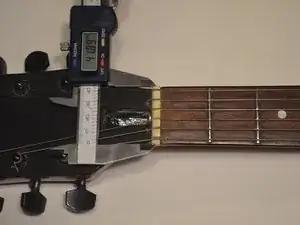
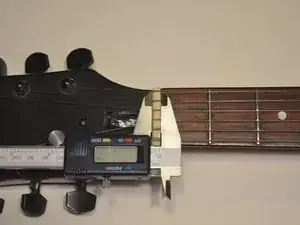
Use a micrometer to measure the length, width, and depth of the guitar nut.
-
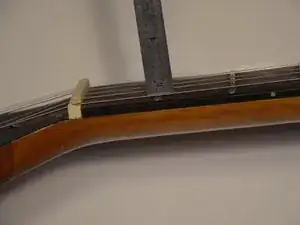
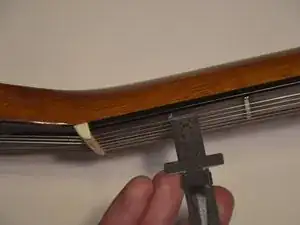
Use a ruler to measure the string height compared to the first fret.
-
-
-
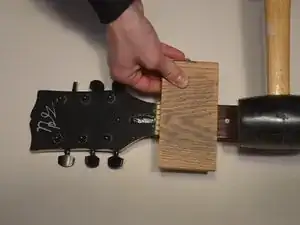
Remove the original nut by striking it with a hammer or mallet.
-
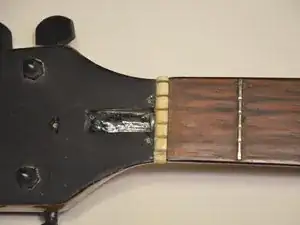
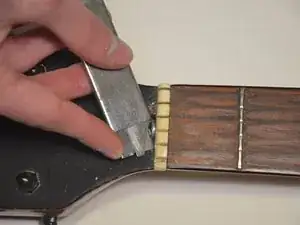
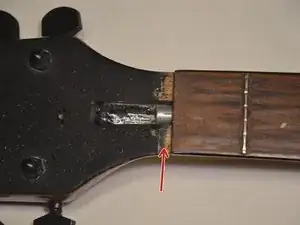
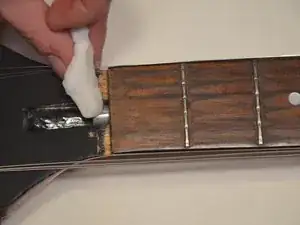
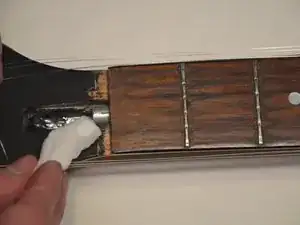
Inspect the location where the nut was removed. Use sandpaper to flatten the location if necessary.
-
-
-
Place the replacement nut onto the guitar.
-
Restring your guitar or move the strings back into place.
-
-
-
Restring your guitar or move the strings back into place. Tighten the string immediately afterwards to secure the nut.
-
Make sure the strings are tuned and the nut is in its proper place before claiming to be finished. It is important that the guitar nut becomes glued to the guitar properly. Be certain that the guitar nut is in place before, during, and after tuning the guitar.
