Einleitung
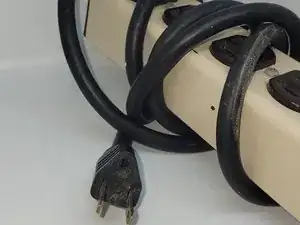
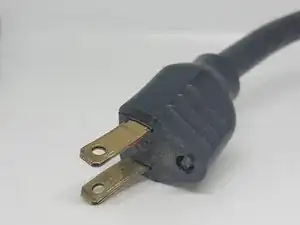
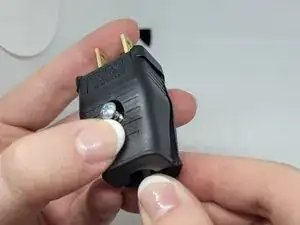
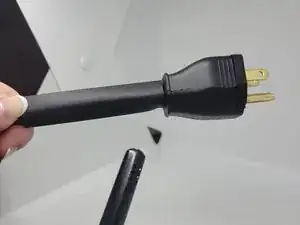
With this guide you will learn how to restore a power strip by replacing its plug. For this guide we'll be specifically using ‘Construction Material Group’s Temporary Power Tap Model Number 6m15-6’ power strip. This plug in particular is missing the grounding pin which is used to prevent electrocution. Besides that, the ‘neutral’ and ‘hot’ pins are bent. All of these factors could create a recipe for disaster. With this guide we plan to help you replace the original prong with a new one making your power plug safer to use.
Remember to disconnect the power strip from the electrical source before starting any restoration. Also, it is recommended to work in a non-metal surface.
Werkzeuge
Ersatzteile
-
-
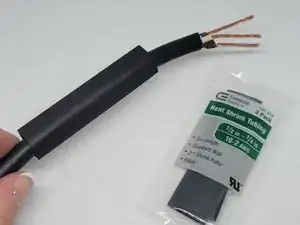
Before attempting to work with the wires, insert the cord into a piece of heat shrink tubing. This will help to safely seal the wires later.
-
-
-
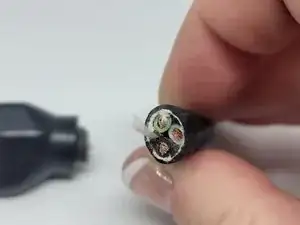
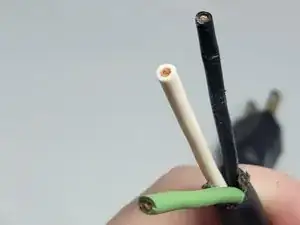
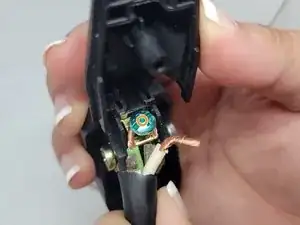
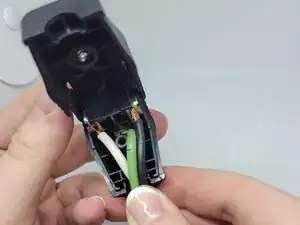
Examine the 3 wires inside. You should see green, white, and black. Snip off any stray wires over a trash can.
-
-
-
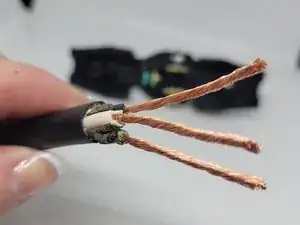
Strip back about 1/2 inch of the Wire with the wire strippers.
-
Braid the wires by gently twisting each strand so they stay with their same color wires.
-
-
-
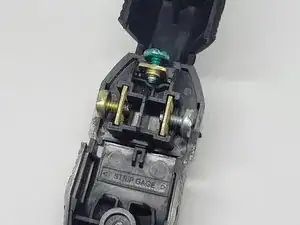
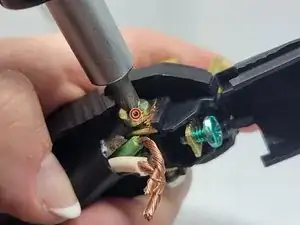
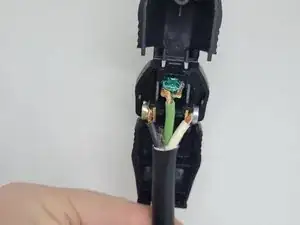
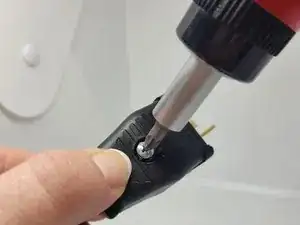
Pair the black wire to the gold or dark colored screw. Once twisted around the screw clockwise, tighten it.
-
Pair the green wire to the green colored screw. Once twisted around the screw clockwise tighten it.
-
Pair the white wire to the silver or light colored screw. Once twisted around the screw clockwise, tighten it.
-
-
-
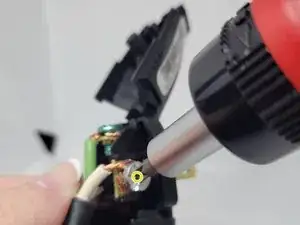
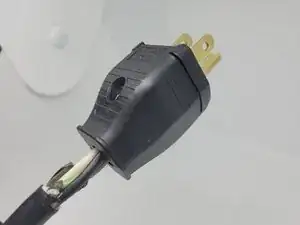
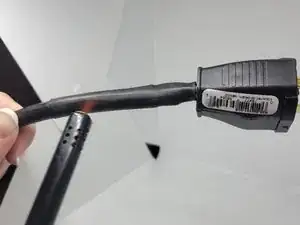
Seal the Heat Shrink Tubing by holding the flame of a lighter directly on the tubing, moving it back and forth until the tubing molds itself to the wires.
-
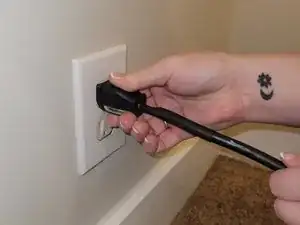
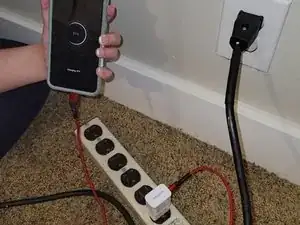
Connect to the wall and enjoy your restored power strip.
