Einleitung
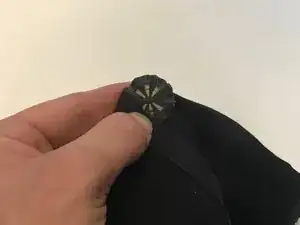
If your golf shoes are having turf-gripping problems that have to do with worn or dirty golf shoe spikes, use this guide to restore your spikes to proper working condition.
It is important for all golfers to have clean golf shoe spikes. Having poorly cleansed golf shoe spikes can hinder the performance of the player and stop a them from competing to the best of their ability. If your spikes are clean, your traction on the ground won’t be a concern and the only thing you will need to focus on is swinging the golf club.
Before using this guide, make sure that the reason that your shoes are not properly gripping is due to soiled spikes. Some shoes lose grip because dirt/mud is covering the shoe. If this is the case, you will have to clean more than just the spikes.
This guide includes work with some potentially sharp components. When handling these tools, make sure to do so with caution and with hand protection, like a glove.
Werkzeuge
-
-
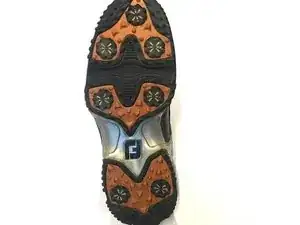
Take one of the golf shoes and place it so that the bottom of the shoe is facing upwards.
-
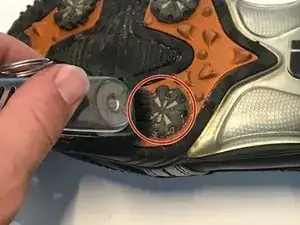
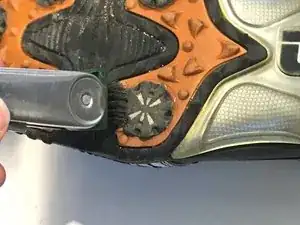
Use the Golf Utility Brush to remove any sort of dirt and debris from each individual golf shoe spike.
-
-
-
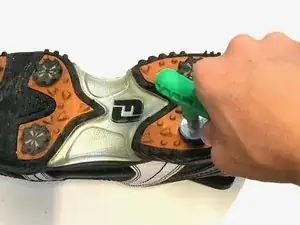
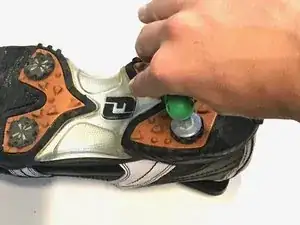
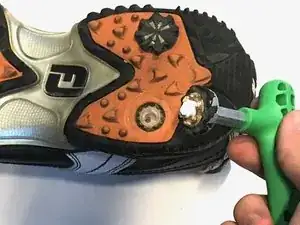
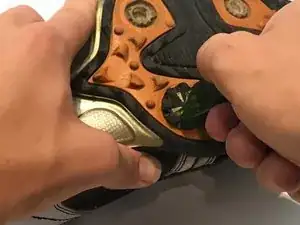
Remove each golf shoe spike using the Softspikes Ripper Wrench by placing the wrench in the grooves of the spike and turning it counterclockwise.
-
-
-
Using the Golf Utility Brush, clean the dirt and debris from the notch where the spike originally was. Repeat with all spike notches. This will make it easier to reattach the spikes later on.
-
-
-
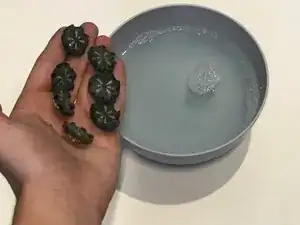
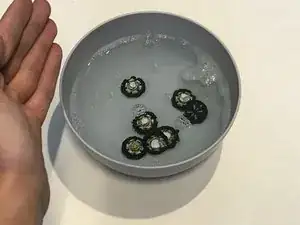
Place the spikes into a bowl containing two cups of water and four drops of dish soap.
-
Let the golf spikes soak in the bowl for 10 minutes before removing them.
-
-
-
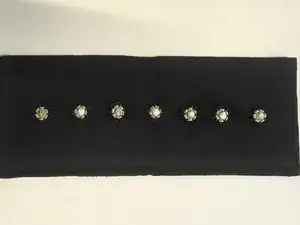
Lay each of the spikes out on a towel.
-
Use the Golf Utility Brush to clean the loosened dirt and debris from the side of the golf spike where the screw-in portion is.
-
Flip the golf spike over to the gripped side and scrub away any dirt remnants so that the golf spike is as clean as possible.
-
-
-
Dry each golf spike with a towel by wrapping the towel around the golf spike and gently rubbing it in between your thumb and forefinger.
-
-
-
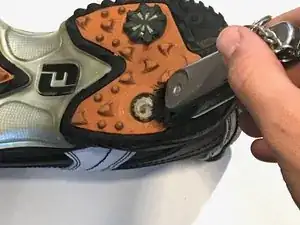
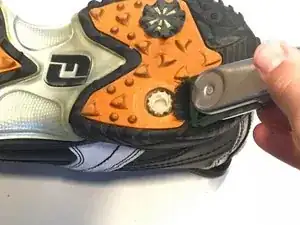
Reattach each of the golf spikes using the 2-Prong Insertion Wrench.
-
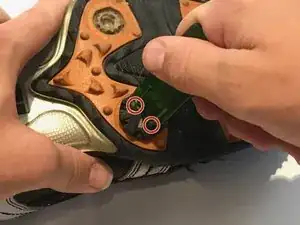
The wrench fits into two holes on the bottom of the spike. Turn the spike clockwise until you hear three clicks, signaling the golf spike is properly inserted. Refer to the image if there is any confusion.
-
Once all of the spikes are reinserted, repeat the whole process with the second shoe.
Ein Kommentar
Is there anyway to fix the insert the spike fits into? I keep losing spikes daily
