Einleitung
When a canvas is left aside to collect dust, painted with an old design, or rough on the edges, you don’t have to throw it away. Just make some adjustments to the entire canvas with an easy fix. This is a repair that will reduce canvas waste and make it look brand new.
Werkzeuge
-
-
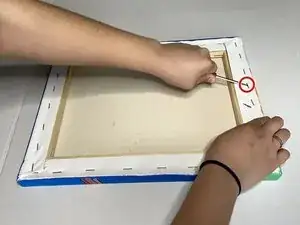
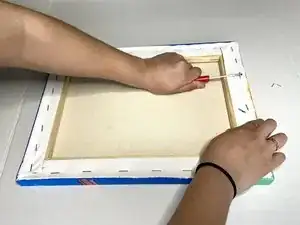
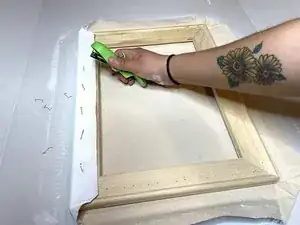
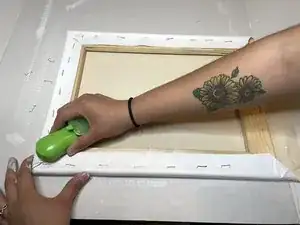
Insert a spudger beneath a staple and pry upwards to remove it.
-
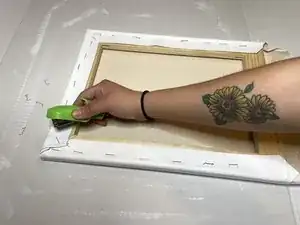
Repeat for the remaining staples.
-
-
-
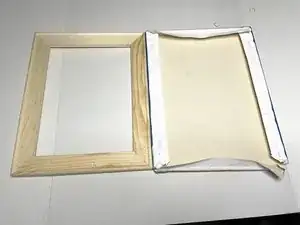
Remove the canvas and place the wood frame aside
-
Lay out the used canvas flat on a clean surface.
-
Wipe the canvas down with a damp cloth.
-
-
-
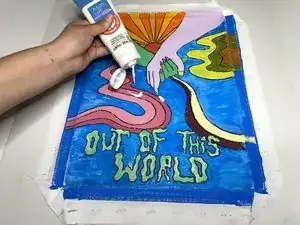
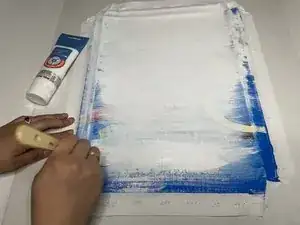
Add an even layer of white acrylic paint on the entire canvas.
-
Use a paintbrush to evenly spread the paint on the canvas.
-
-
-
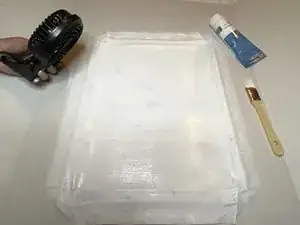
To make the drying process faster, use a portable fan or hairdryer.
-
Continue to paint even layers until the canvas is covered evenly.
-
-
-
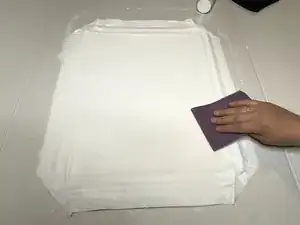
After the paint is completely dry, lightly sand down any noticeable bumps to get a smooth finish on the canvas.
-
-
-
Grab the wood frame and fold one side of the canvas to its original state.
-
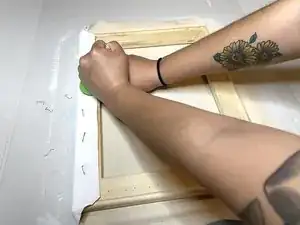
Tightly secure the canvas and firmly set the stapler on the area that needs a staple.
-
With a steady and secure fist, firmly press on the top of the stapler.
-
Continue this process all around the canvas.
-
-
-
Tightly fold the corners of the canvas and secure it with a final staple keeping it in place.
-
