Einleitung
This guide will show you how to string (or restring broken strings) on a tennis racket (or any racquet sport racket).
Before using this guide, you should choose the desired string tension. For most rackets, the recommended string tension is printed on the racquets, which is somewhere between the range of 50 to 70 lbs. Within the range, players can customize the amount of tension depending on the preference of playing style. Tight strings provide more touch and accuracy with less rebound ability. On the other hand, loose strings provide more spin on the ball with higher rebound ability. Using different types of strings can also affect the performance of playing. Choosing the suitable string type is also important before restringing the tennis racquets.
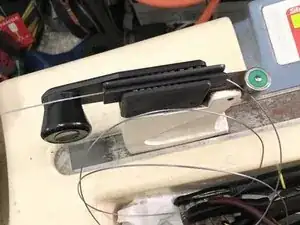
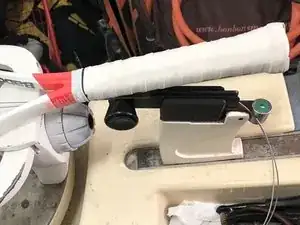
If you play tennis very often, it is relatively convenient to have your own stringing machine at home instead of paying restringing fees. The Gamma X-2 is a common tabletop model, which includes a 2-point mounting system and drop weight tension.
Werkzeuge
-
-
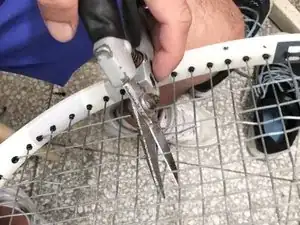
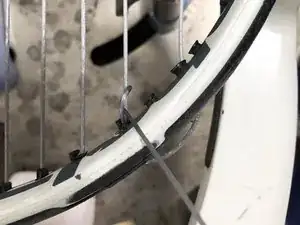
Cut the old strings from the tennis racket using a pair of utility scissors and remove them.
-
-
-
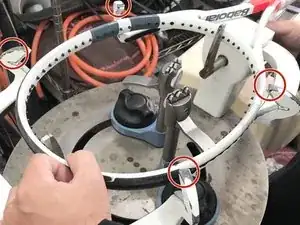
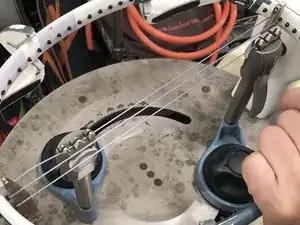
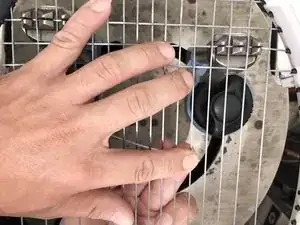
Place the frame into a stringing machine by screwing in the four main screws and pulling the racket tight.
-
-
-
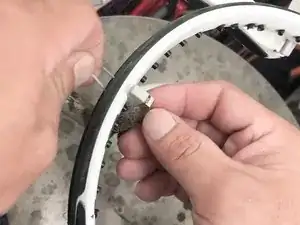
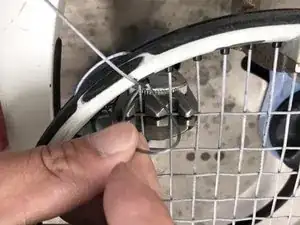
Insert the main vertical string into the head of the racket, and thread it down to the neck of the racket and back to the head.
-
Pull and tighten the first main string into a tension rod.
-
-
-
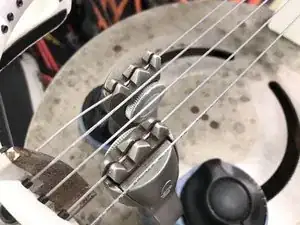
Secure and tighten the end of the string by attaching it to the clamp and moving the rod into the horizontal position.
-
Fix the second string utilizing the second clamp and release the first string.
-
Continue threading the main strings and clamping the strings until all holes have been strung.
-
-
-
Knot the main string after you have secured all the main strings.
-
Release the tension rod and cut off the remaining string.
-
-
-
Insert the horizontal cross strings from the left to the right and back to the left.
-
Secure and tighten the end of the string by attaching it to the clamp and moving the rod into the vertical position.
-
Fix the second string utilizing the second clamp and release the first string.
-
Continue threading the cross strings and clamping the strings until all holes have been strung by applying the stringing pattern.
-
-
-
Knot all of the cross strings after you have secured them.
-
Release the tension rod and cut off the remaining string.
-
To reassemble your device, follow these instructions in reverse order.
