Einleitung
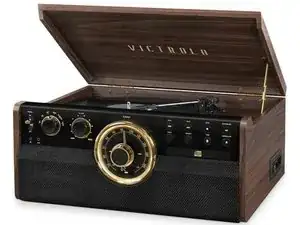
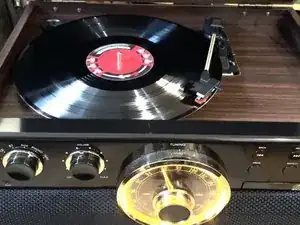
Empire record player would not turn on. Here are some steps to get inside and first things to look at. Unplug power cord from outlet before proceeding!
-
-
First, before you forget to do it later, unplug the power cord from outlet
-
Turntable platter is held in place by a retaining clip around the spindle. I used two sets of pliers to remove the clip. One set of pliers holds clip in place so it does not rotate, the other set levers it off the spindle.
-
-
-
Lift platter up an inch or so, until you can see or feel the belt.
-
Take tension of belt off motor and lift platter straight up. Belt has slack now but will shrink back to roughly the size of the drum under the platter.
-
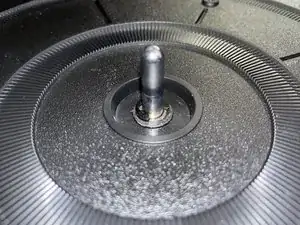
Note location of small clear plastic washer (see 2nd picture) It may be stuck to underside of platter with grease - mentioning so you don't knock it off the platter later and wonder where it came from.
-
-
-
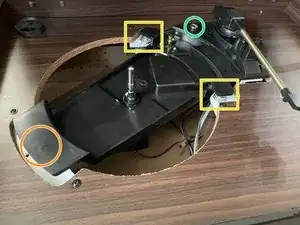
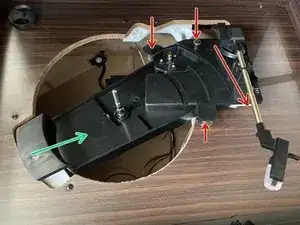
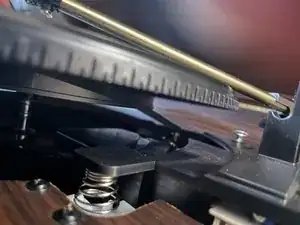
On the underside of the turntable mechanism there are two rods (green and orange circles) with metal clips and two springs (yellow squares).
-
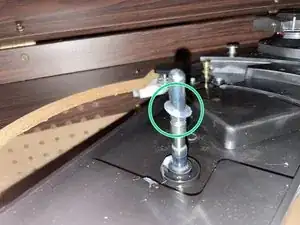
Loosen the set screw (green circle) as much as possible (flush with platform) to give more room to maneuver the whole mechanism.
-
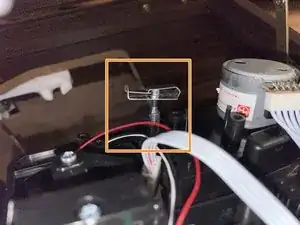
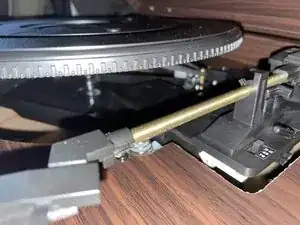
For your curiosity, see the last picture for what the clips look like. Maneuvering the whole mechanism like I describe in the next step is preferable to deforming & removing the clip so that you could lift the whole mechanism straight up.
-
-
-
Push down on back part of mechanism near arm, compressing back screw.
-
Lift up mechanism near arm.
-
Slide mechanism towards front of player and lift/wiggle up slightly to get the rear set screw out of its plastic retaining clip/support.
-
Then slide floating turntable mechanism to the right to get it off the left retaining rod/clip combo.
-
There is one main cable bundle connecting floating turntable mechanism to body of player. You should be able to rotate the mechanism 180 degrees, lifting the left side up and over to the right without straining any cords. Your mileage may vary, they did use twist-ties in here after all...
-
-
-
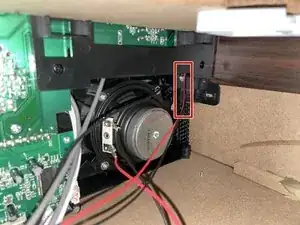
This cable bundle connector was fairly easy to remove in my product. Squeeze retaining clip on side and wiggle from side to side (red cable to white cable)
-
If you are not moving the player around a lot, or you tape down or otherwise keep mechanism in place, you don't need to do this. But if the cable comes out easily I recommend it, the box is annoying to work inside of.
-
-
-
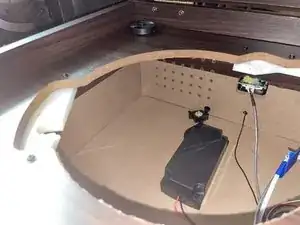
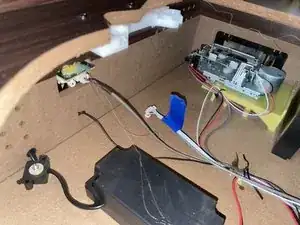
Take a bunch of pictures. Even of the same object but different angles. You can just delete them later when (if) you don't need them.
-
-
-
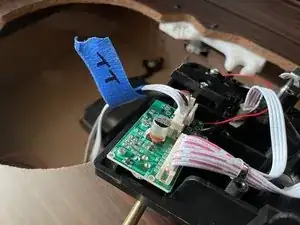
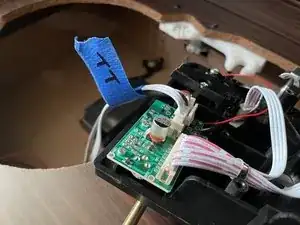
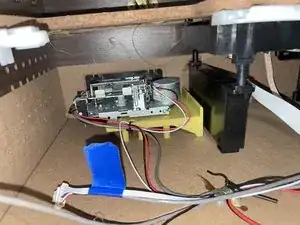
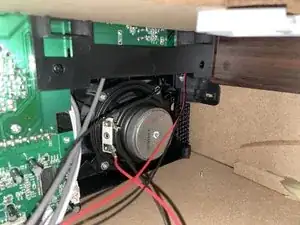
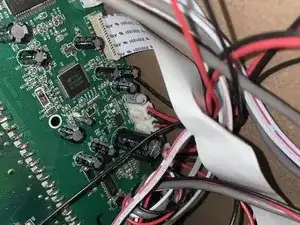
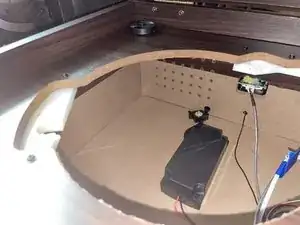
More pictures of internals. Note the twist-tie around wires and ribbon cable. Oof. Did not test CD player but didn’t see any breaks
-
-
-
The player was not turning on when set to any mode, so first decided to test power switch.
-
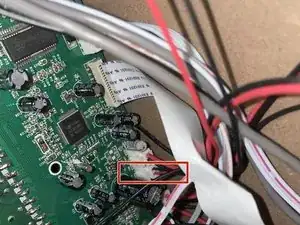
Trace cables from switch and remove connector from board
-
Place multimeter on two leads of connector. Check for continuity and you should have none. Then flip switch and you should have continuity.
-
If you don't, well that's probably going to be a bad time. It looks like you can remove the faceplate of the player by removing the small black screw inside the top of the case and on the bottom. I did not have to, so did not. Good luck. Update this guide if you do!
-
-
-
(Player should still be unplugged from power at this point) Inspect cable for any nicks or abrasions etc.
-
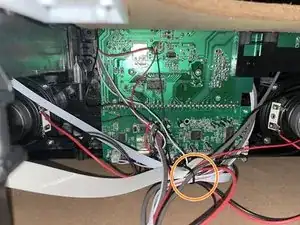
Remove power connector. This is actually also pretty annoying. Used short pliers to squeeze clip (but not too hard) and wiggle connector out. Start light and increase so you don't deform or break connector. Or if you do I guess you could just use a twist-tie or hot glue like they did on the rest of this (Ok don't really)
-
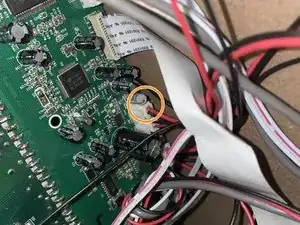
Inspect connector. When I removed it I notice the red cable lead was not seated fully in the connector. (In the orange circle, you can see some metal of the red lead connector vs none on the black lead's connector.)
-
I push the lead back in and it clicked in. I could not then easily remove it. So it looks like it came loose from the factory and worked its way loose after a few uses.
-
Plug power cord in to wall, and test connector with multimeter. I had 6.5V DC power, but your mileage may vary. I'd at least bet on it being DC, but this thing... eh.
-
If you get 6.5V DC (or what you think is a reasonable reading), then unplug the unit's power cord form the wall. Then plug connector back in to circuit board.
-
If you didn't find any problems, well keep looking around and good luck.
-
-
-
Most steps can be performed in reverse, but you have two options for replacing platter and drive belt.
-
Option 1: You can place the floating mechanism back on the player (angling it over and in, to place it on plastic retaining clips). You must then place the belt on the motor.
-
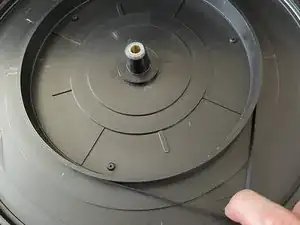
You can do this by holding the belt out from platter drum as pictured.
-
Then rest the platter on the very top of spindle with a slight angle so it doesn't slide down. This should give you room to place belt on motor.
-
Option 2: You can place the platter back on the floating mechanism when it is loose from player. This lets you more easily attach the drive belt, but is harder to get floating mechanism back in place. (I didn't actually do it this way, so it may not even be possible with required angler and size of platter I just realized...)
-
-
-
Test that it actually powers on and that FM radio works.
-
And test whatever other mediums you have at hand.
-
To reassemble your device, follow these instructions in reverse order.
