Einleitung
The first part of this guide will simply help you figure out first of all which type of RAM you need to buy for your computer, because you want to make sure you buy RAM with the same size and speed as the current RAM you already have.
The second part of this guide will detail how to install the new RAM into your M5A97 LE R2.0 motherboard.
Most computer cases require a small screwdriver or any small screwdriver set to get them open. If you do not have one already, then there is a link to one here: https://www.amazon.ca/gp/product/B01N9BB...
The actual upgrade procedure should not take you more than 15 minutes to perform and is easy to do!
Werkzeuge
-
-
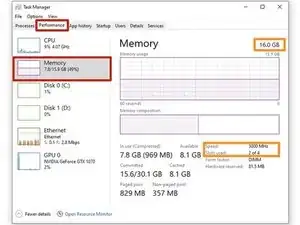
To find out what RAM you have in your computer already: press 'control + alt + delete' on your computer while its running, go to the ‘Performance’ bar at the top, select ‘Memory’, and it will display the amount of RAM slots your RAM is using, the speed, and size of the RAM as well.
-
For example, my computer says I have 2 out of 4 slots being used with a speed of 3000 Mhz (the computer will display 3000 Mhz if it’s a 3200 Mhz stick of RAM), and 16 GB of RAM in total. This means I have two 8 GB DDR4 3200 Mhz sticks of RAM in my computer. If I would like to upgrade, I would need to buy another stick of RAM that is the same type.
-
-
-
Once you have bought your new stick(s) of RAM and are ready to install it into your computer, select a safe location where you can ground yourself (not on a carpet, preferably hardwood or a flat surface) to perform the fix.
-
-
-
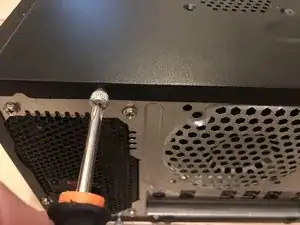
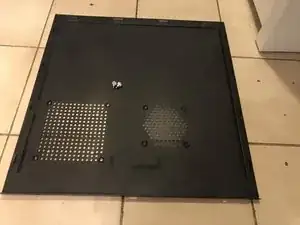
Remove the two case screws with a Phillips #1 screwdriver.
-
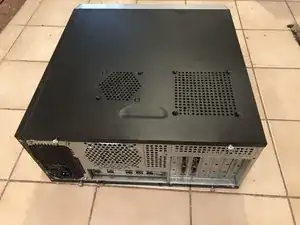
Remove the side panel of the computer.
-
-
-
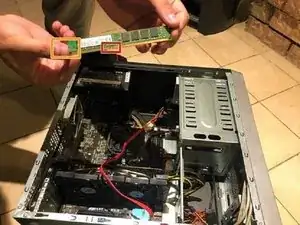
Take the RAM out of the package, handling only the edges so as not to damage it. Be sure not to touch any of the gold pins on the bottom edge as well.
-
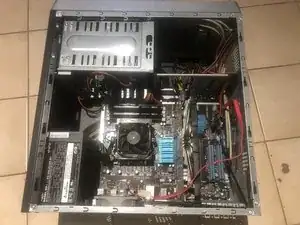
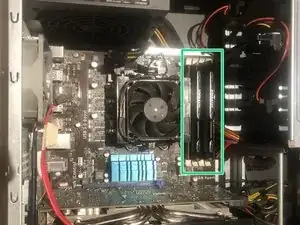
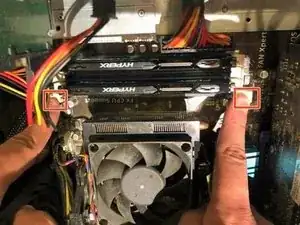
The RAM slots can be found beside the fan. They are highlighted in a light blue – dark blue pattern, and you will already likely see one or two sticks already installed in the slot(s) so you won’t miss it.
-
-
-
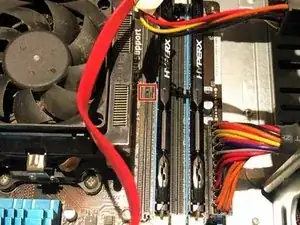
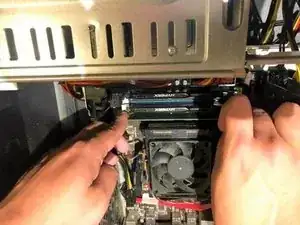
Open the side clamps on the edges of the slot you plan to install RAM in.
-
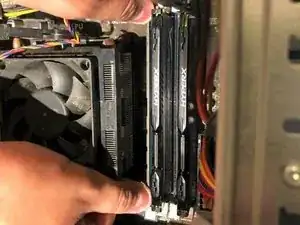
Position the RAM and slowly slide it into the slot. Push it firmly into the slot until it is secure, then close the side clamps around it.
-
To reassemble your device, follow these instructions in reverse order.

how do i know my ram type if it is ddr4 or drr3
Mohamed Tessouh -