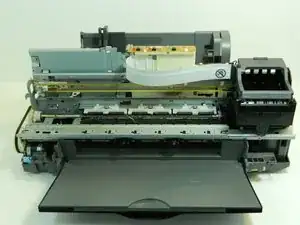
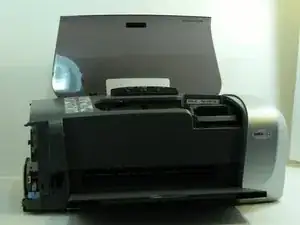
Einleitung
Before you begin...
- Your hands will get messy during this procedure. Therefore, it is highly recommended that you wear disposable gloves.
Werkzeuge
Ersatzteile
-
-
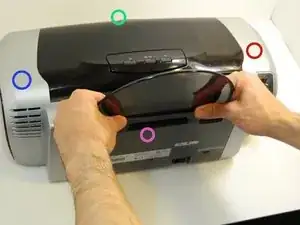
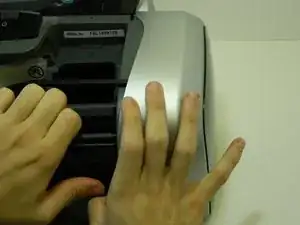
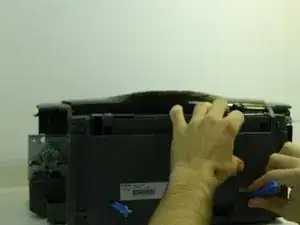
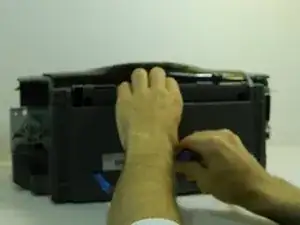
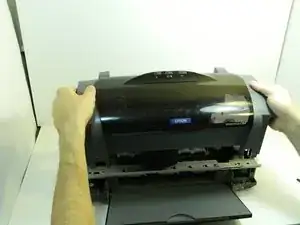
Turn the printer around so the printer's front is facing away from you. Then, remove the rounded black panel from the paper guide by lifting it straight up.
-
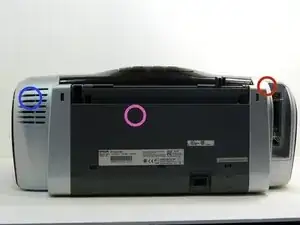
Left Panel
-
Right Panel
-
Printer Front
-
Back Panel
-
-
-
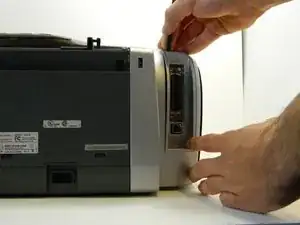
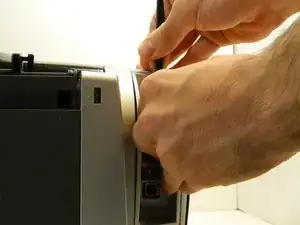
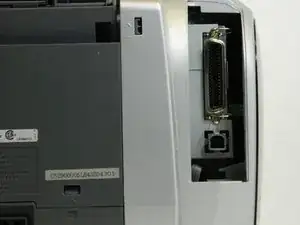
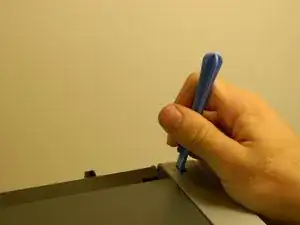
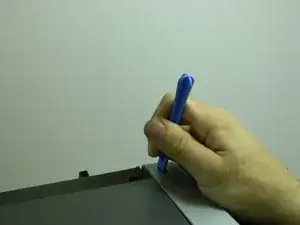
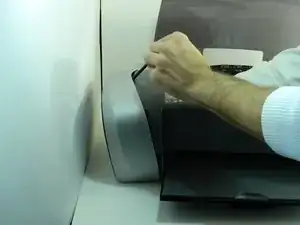
Wedge the flat end of the spudger between the top of the “Parallel” cover and the right panel, and gently pry the upper edge cover away. Completely remove the cover by hand if necessary. The Parallel and USB ports should be exposed.
-
-
-
Next, turn the printer so that it's laying on its front side.
-
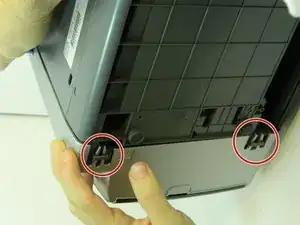
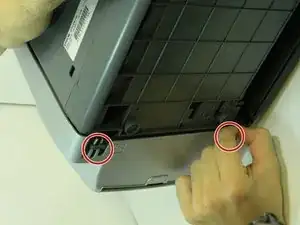
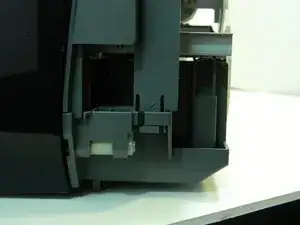
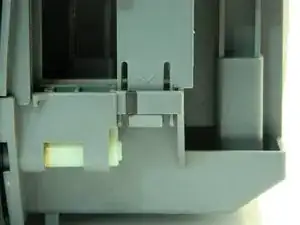
Locate the two plastic prongs on the bottom of the right panel.
-
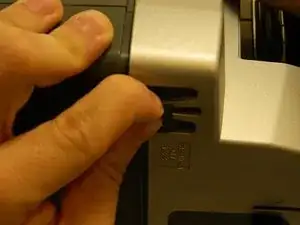
Gently pinch the prongs together and push them with your fingers through the clips until they are free.
-
-
-
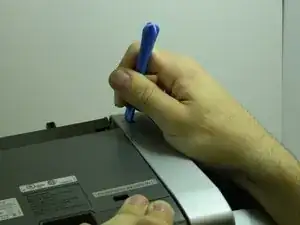
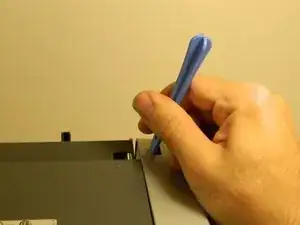
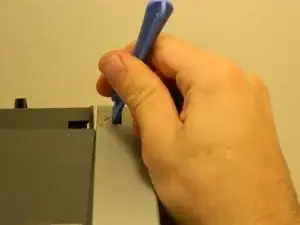
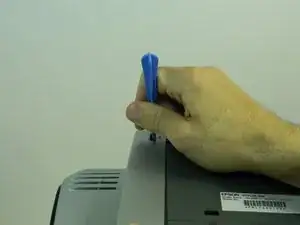
Wedge a wide-tipped blue plastic opening tool inside the gray tab on the upper left-hand corner of the right panel, next to the arrow.
-
-
-
Set the printer back down on its bottom.
-
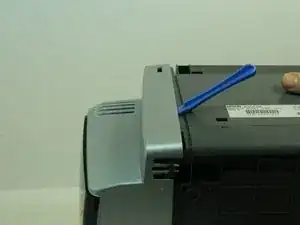
Wedge one of the blue plastic separators between the back of the right panel and the rest of the printer’s housing to keep it separated.
-
-
-
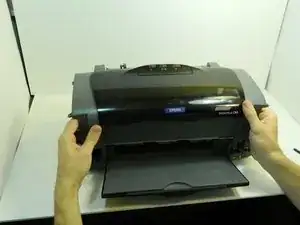
Turn the printer around so the front is facing toward you.
-
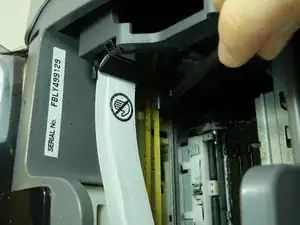
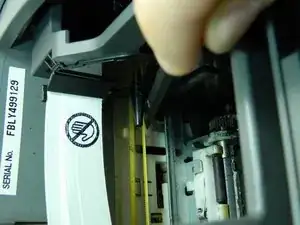
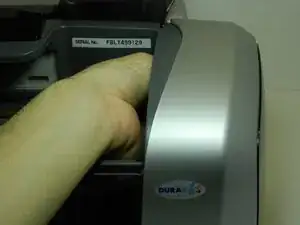
Open the printer’s cover, place your hand inside the right panel and unclip it from the rest of the printer with your thumb and forefinger.
-
-
-
Wedge a blue plastic separator between the plastic housing and the rest of the right panel and push the panel out from the inside to free it.
-
-
-
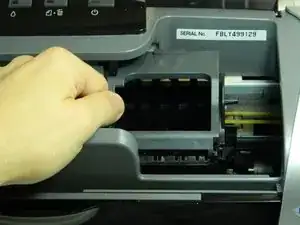
Use the flat end of the spudger to push the white button next to the ink cartridge carrier.
-
-
-
Gently slide the ink cartridge carrier by hand to the left to gain access to the inside of the left panel.
-
-
-
Turn the printer so that it's on its front side again. Now there are two sets of prongs to undo for the left panel. Repeat step #2 for each set of prongs.
-
-
-
Wedge a blue plastic separator in the gray tab on the upper right-hand corner of the left panel.
-
Unclip the panel from inside the printer, and remove it.
-
-
-
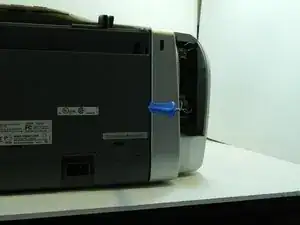
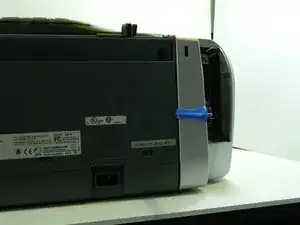
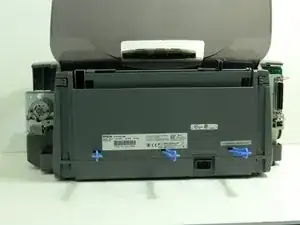
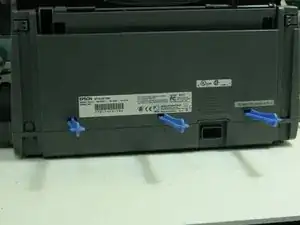
Turn the printer around so the front is facing away. Use three wide-tip blue plastic opening tools and place them inside the notches on the back panel of the printer.
-
-
-
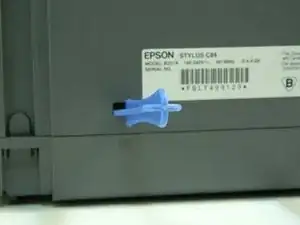
Turn the printer around so the front is facing you and gently push up on each tab of the front plastic panel, above the arrows. Make sure the prongs are detached from the clips.
-
-
-
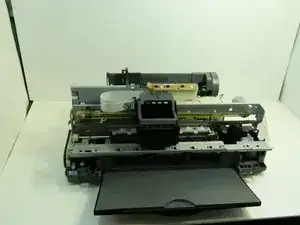
Gently pull the plastic housing upward to remove the back panel and reveal the inner components of the printer.
-
-
-
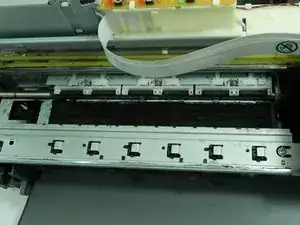
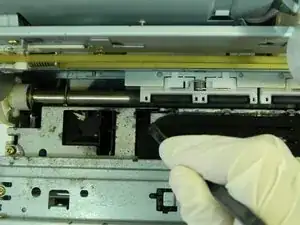
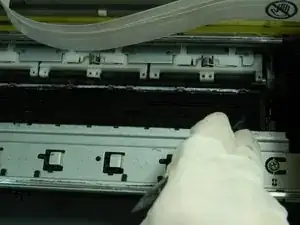
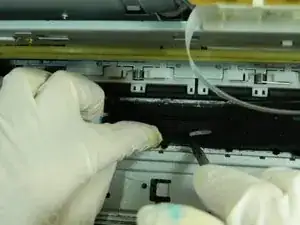
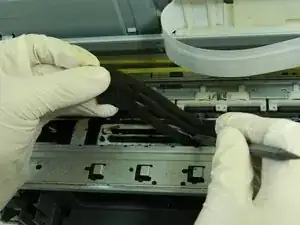
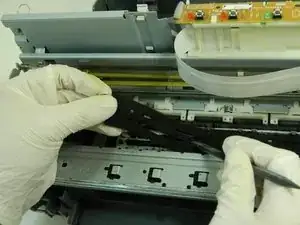
Use the spudger to pry the right-hand corner of the porous pad from underneath the right edge of the metal housing.
-
-
-
Once the pad's corner is free, remove the rest of the pad from the housing by hand. Pinch the upper-right hand corner and carefully peel the pad away from the housing
-
-
-
Take the porous pad to a sink, and turn on the faucet until warm water comes out. Hold the edges of the pad with both hands and rinse the inked porous pad with a gentle flow of warm water.
-
-
-
When the water flowing through the pad is clear, turn the faucet off. Shake the wet pad over the sink to remove any excess water.
-
-
-
Place the wet pad on two clean, dry paper towels. Let the pad air dry from 45 minutes to 1 hour.
-
-
-
Replace your dirty disposable gloves with a pair of new, clean ones as you prepare to re-insert the pad.
-
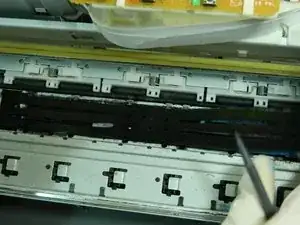
To re-insert the clean, dry porous pad, place it back in the printer housing, and line up the holes on the black plastic base with the holes in the pad. Use the spudger to tuck in the pad underneath the metal lips. Use the spudger to make sure the pad is flush with the metal lips of the housing, and the plastic prongs in the base stick out.
Ein Kommentar
Great tutorial, thanks for it. Those plastic casings are so hard to open, I wish they'd make them with screws :)
