Einleitung
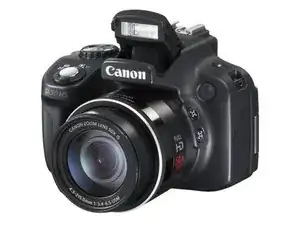
This guide covers cleaning ice cream, sand or other debris from the zoom button of a Cannon superzoom camera. This guide should apply equally to the SX50 SX50 SX60 SX510 SX520 and similar models.
Werkzeuge
-
-
The rocker buttons on a Cannon superzoom camera are susceptible to debris entering the cracks. This debris travels down into the body of the camera where it can interfere with smooth operation. This guide will cover removal and cleaning of the buttons.
-
-
-
Remove the battery before starting.
-
Screw management is key to a successful repair. I like using a series of bowls for each side or component of the camera, with scraps of paper to document anything unusual such as an extra long screw.
-
You'll need a small cross head screwdriver, and preferably a magnet stuck to the screwdriver to assist in picking up screws.
-
Optionally a silicon grease and lubricant can be used at the last step.
-
-
-
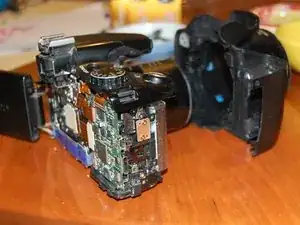
The camera shell opens easily enough., and all screw heads are visible. The front shell slides straight out, the sides just come off. Nothing needs to be forced, pried, or unglued.
-
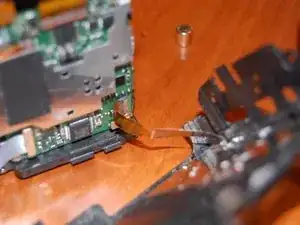
The only tricky part is the back case, which has a fragile ribbon connector. Unlatch this, carefully, and slide the ribbon out.
-
-
-
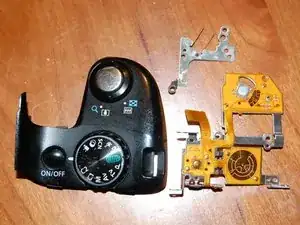
This is your goal: disassemble the switch parts, wash them thoroughly in clean water, and dry thoroughly.
-
Optionally, use a silicon grease on the plastic and rubber parts, and a polyphenyl ether (PPE) lubricant on the gold contacts. If you don't have a PPE lubricant a very very light coating of a light lubricating oil also works. This step is optional.
-
Now, reassemble in reverse order and try it out.
2 Kommentare
I see 3 images but where are the instructions? what screws do I remove? where are they located? who is Bryce nesbitt anyway?
nixtur -
Bryce Nesbitt is an awesome iFixit contributor. You remove every screw: as it says above they are all visible from the outside.


