Einleitung
This guide can teach you how to repair/remove a paper jam for the Epson Stylus Photo 820. No tools are necessary for this operation, and no working knowledge of the printer is needed.
-
-
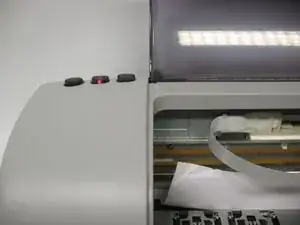
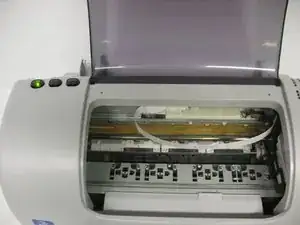
If a paper jam is detected, the middle button will display a red light.
-
Press the red button. This will cause the printer to try to automatically correct the issue.
-
If this works, proceed to step 4. Otherwise, proceed to step 2.
-
-
-
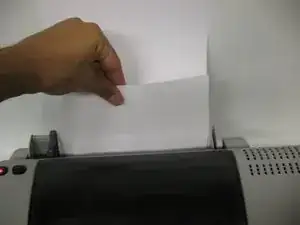
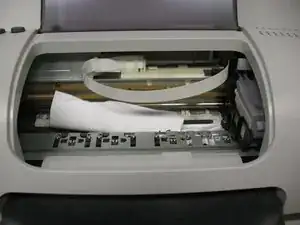
The first step in repair is to attempt to remove the paper jam by pulling it out through the top.
-
Pull the paper slowly, and as straight as possible.
-
If this does not work, proceed to step 3.
-
-
-
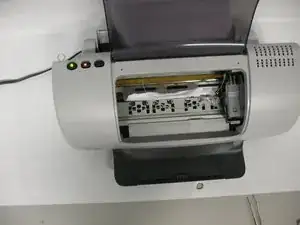
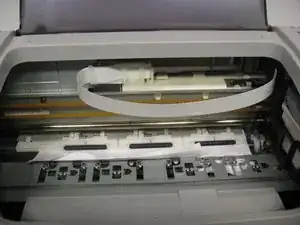
Assuming the paper will not come out of the top, assess the paper jam.
-
If the print cartridge is in the way, gently push it to the side.
-
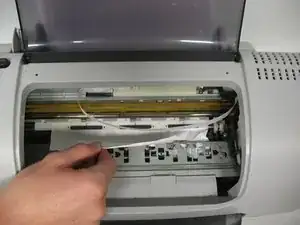
Try to get the full edge of the paper above the metal grating.
-
Gently pull the paper out the of the open hatch.
-
-
-
If the paper jam was corrected during step 1, the red light should have turned off, leaving only a green light.
-
If steps 2 or 3 corrected the problem, you will need to press the red button again.
-
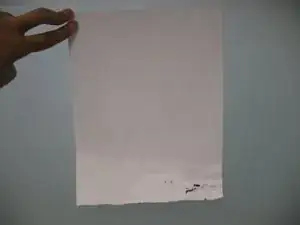
This may cause another sheet of paper to be pulled through. Do not be alarmed.
-
This should cause the red light to go out.
-
