Einleitung
Espresso machines need to be descaled regularly to remove mineral buildup. After I had owned the Gaggia for 2 years, with regular (every 6 weeks) descaling, the machine was struggling to pump enough water to make a decent cup of espresso. Sydney does not have a much mineralization in the water, but there were was significant buildup. Here I document how I fixed the problem by pulling the machine apart, cleaning it and replacing the rubber gaskets.
Werkzeuge
-
-
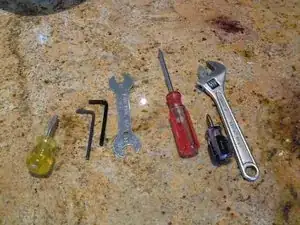
Here are the tools you need (from left):
-
1 flathead screwdriver
-
2 allen keys / allen wrenches, one small, one larger
-
13mm thin spanner / wrench
-
2 #1 Philips head screw drivers (one short, one long).
-
One adjustable spanner / wrench
-
-
-
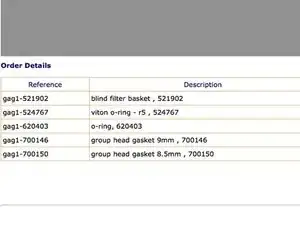
Parts from coffeeparts.com (in 2009). Today coffeeparts.com.au still sells parts for Gaggia Espresso machines, but I no longer live in Australia so I don't buy from them.
-
-
-
First, unplug the espresso machine's power cord.
-
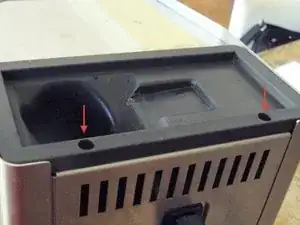
The top of the machine is removed by removing two Phillips head screws (see the red arrows for the location).
-
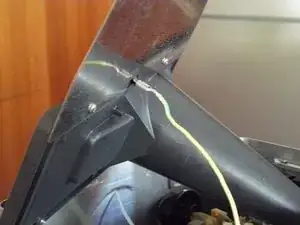
Be careful - there is a ground wire running to the coffee cup warmer.
-
-
-
The next step is to carefully remove the ground wire from the cup warmer. Pull the metal clip, not the plastic wire cover.
-
You can now remove the top of the machine.
-
-
-
The next steps are to disconnect the electrical connections (the wiring harness).
-
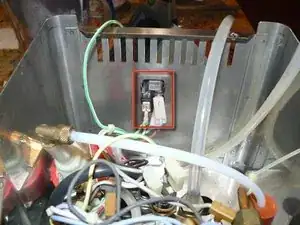
Start with the connections at the rear of the machine. The earth wire (yellow/green) is on the left.
-
Use a marker to label the two power wires - it will make it easier to reassemble later. Be sure to pull on the plastic clip rather than the cable.
-
-
-
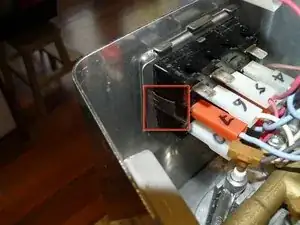
To remove the cables from the front switch, it's easier to start by pushing the switch through the front of the machine.
-
Push on the clips on either side of the switch block and gently push it through.
-
-
-
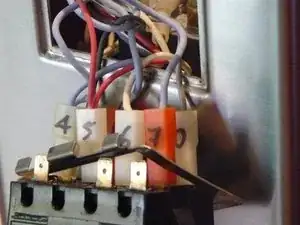
Make sure you label each connector. It's possible to use the wiring diagram if you forget, but much easier if use labels.
-
-
-
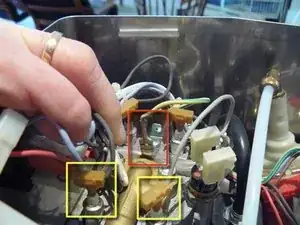
There's an earth wire attached to the top of the pump that should be removed as well, marked with a red box in the picture.
-
You DO NOT need to remove the heating unit connectors (two of them are marked with yellow boxes in the picture).
-
-
-
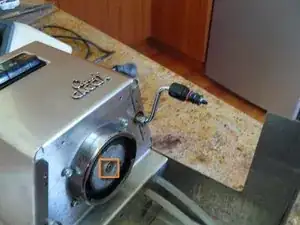
It's a good idea to remove the shower screen now if you have not already done so. It's held on by a single Philips head screw as shown.
-
If you have some descaler solution handy, leave the screw and the shower screen soaking in it while you work.
-
-
-
Remove the pump assembly by releasing the two Philips head screws on either side of the pump. Move the pump to the right, out of the way, for the next step.
-
(TODO: photo)
-
-
-
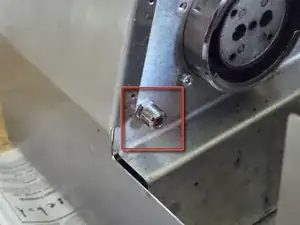
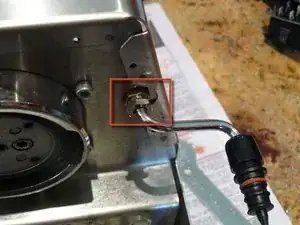
Now we disconnect the tubing that leads to the overflow pipe. Locate the external overflow pipe connector.
-
-
-
Use a 13mm spanner / wrench to hold the inside part still while you loosen the external connector.
-
This step is much easier if you move the pump out of the way first (see step 9).
-
-
-
Remove the milk frothing attachment by unscrewing the bolt that holds it in place.
-
Gently pull the attachment away from the machine.
-
-
-
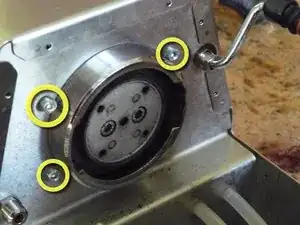
Remove the four bolts holding the boiler assembly into the case of the machine. You'll need the smaller of the allen keys / wrenches for this. (the diagram only shows three of the bolts, the fourth is obscured).
-
-
-
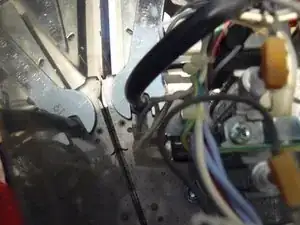
Gently lift the pump and the boiler assembly out of the base of the machine. If anything is stuck, check the previous steps to make sure you didn't miss anything.
-
There may be some fluid draining from the boiler at this point, so make sure you are prepared for it!
-
To reassemble your device, follow these instructions in reverse order.
3 Kommentare
Name should be changed to "how to take apart Gaggia Classic Espresso Machine" - there is no information on maintenance or descaling.
Alex -
Looks like step 8 mentions a part that should be descaled. The intro also calls out general cleaning and gasket replacement. In general, descaling just means soaking most of the parts that look funky or can be clogged, especially filters, pipes, and hoses. =)
Correct. A full video showing how to descale everything, including the boiler, is here:
