Einleitung
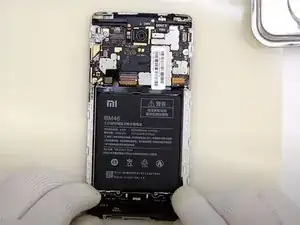
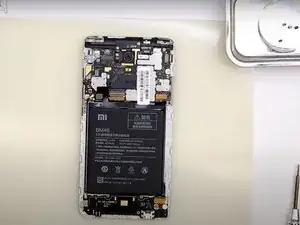
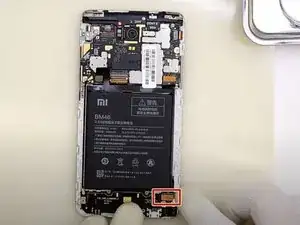
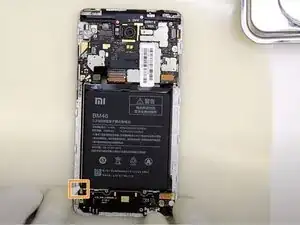
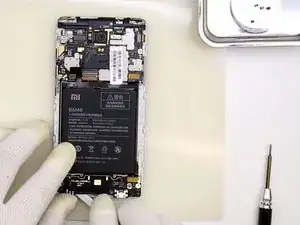
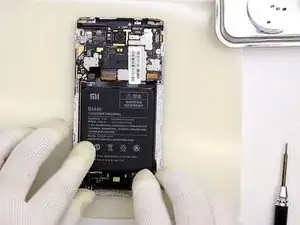
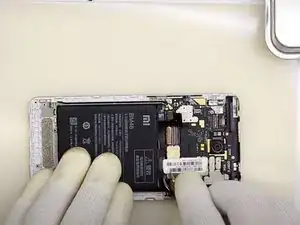
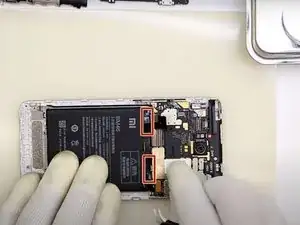
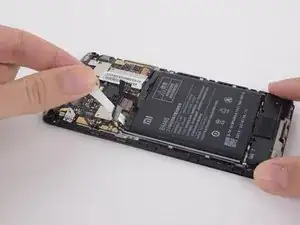
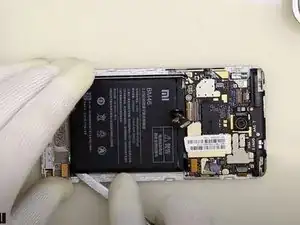
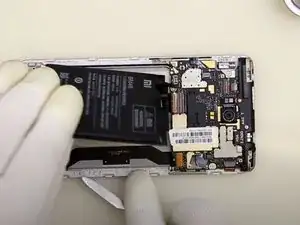
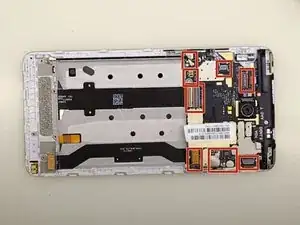
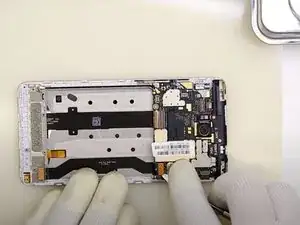
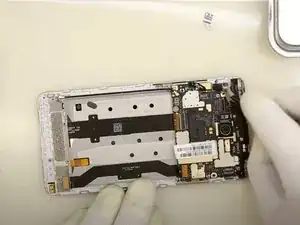
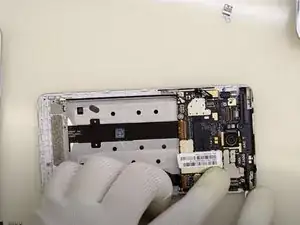
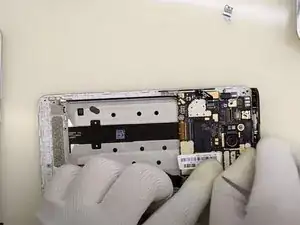
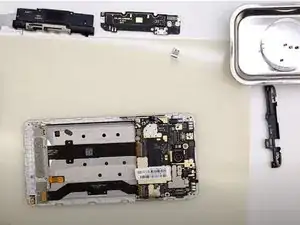
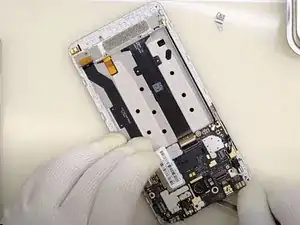
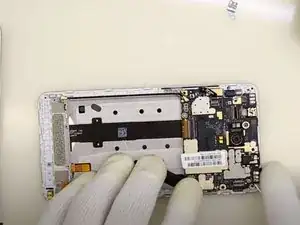
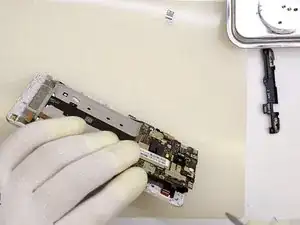
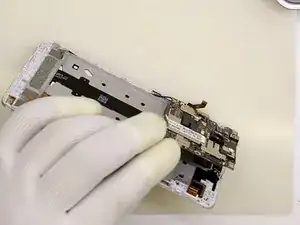
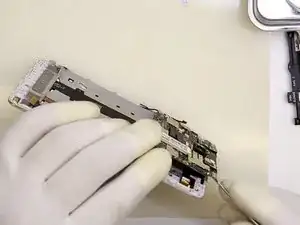
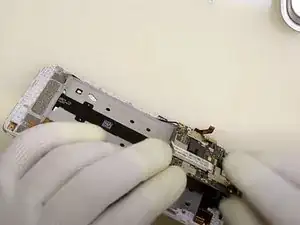
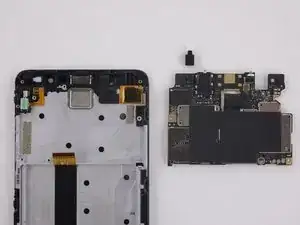
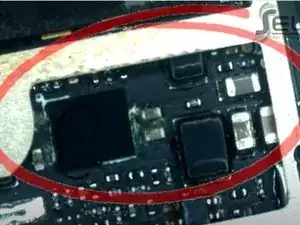
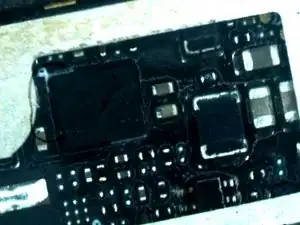
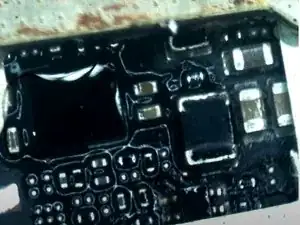
This guide will show you how to resolve problems with your Xiaomi Redmi Note 3 phone after it experiences water damage. When a Xiaomi Redmi Note 3’s logic board becomes damaged by water, it may require a new logic board. Users can also replace a specific component on the logic board without replacing the whole component. It may be enough to simply clean and reflow the motherboard.
Alternatively, see this YouTube video on repairing your Xiaomi Redmi Note 3 after it experiences water damage.
Werkzeuge
-
-
Insert and gently push the SIM card ejector tool (or an unfolded paperclip) into the small hole on the left side of the phone's top edge.
-
Press gently to eject the SIM tray
-
Remove the SIM card tray from the device.
-
-
-
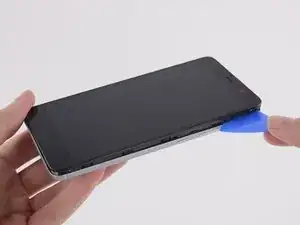
Insert a putty knife or opening tool into the seam between the phone's back cover and front cover.
-
Run the opening tool along the seam to loosen the back cover.
-
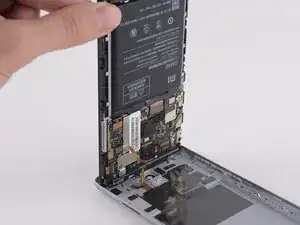
Open the back cover slightly so that you can see the flex cable connected between both halves of the phone.
-
-
-
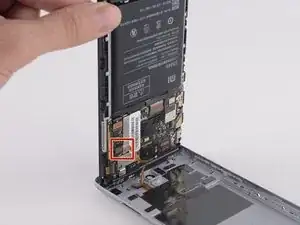
Disconnect the flex cable using the flat end of a spudger or a pair of tweezers.
-
Remove the phone's back cover.
-
-
-
Use a Phillips screwdriver to remove the five screws in the plastic covering at the bottom of the device.
-
-
-
Insert the flat end of a spudger under the plastic assembly cover at the bottom of the device.
-
Pry upwards with the spudger to lift the assembly cover.
-
Remove the assembly cover.
-
-
-
Use the flat end of a spudger to disconnect the battery flex cable from the lower assembly.
-
Use the flat end of a spudger to disconnect the ribbon cable on the left-hand side of the device.
-
-
-
Insert the flat end of a spudger under the assembly at the bottom of the device near the right-hand corner.
-
Pry upwards with the spudger to release the right-hand corner of the assembly.
-
Insert the flat end of a spudger under the assembly at the bottom of the device near the left-hand corner.
-
Pry upwards with the spudger to release the left-hand corner of the assembly.
-
Use your fingers to remove the assembly.
-
-
-
Peel back the barcode sticker so that it is disconnected from the battery.
-
Use your fingers to grasp the black battery adhesive tab and pull outwards firmly until the entire adhesive strip is released.
-
Repeat for the second battery adhesive strip.
-
-
-
Insert the flat end of a spudger underneath the battery.
-
Use your fingers to remove the battery.
-
-
-
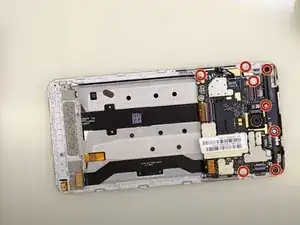
Use a Phillips #00 screwdriver to remove the eight screws fastening the motherboard to the phone's interior.
-
-
-
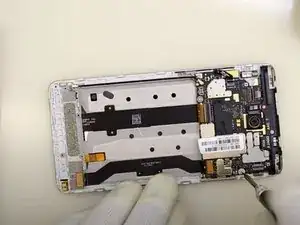
Slide an opening tool underneath the plastic assembly covering the upper portion of the motherboard.
-
Use your fingers or the opening tool to remove the plastic covering.
-
-
-
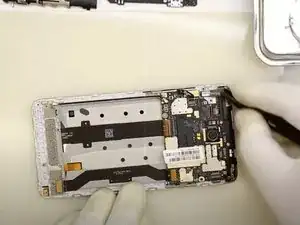
Slide an opening tool or the flat end of a spudger underneath the motherboard.
-
Pry upwards to loosen the motherboard from the phone's front cover.
-
-
-
Gently lift the motherboard from its slot.
-
Use the flat end of a spudger to disconnect the cable from the bottom of the motherboard.
-
-
-
Visually inspect the phone's motherboard for any corrosion.
-
Apply a small amount of flux to the corroded parts of the motherboard using a brush.
-
Wipe away any corrosion using a soft brush.
-
-
-
Place a heat shield over the other parts of the motherboard to avoid overheating.
-
Heat the affected area with a heat gun to reflow the solder.
-
To reassemble your device, follow these instructions in reverse order.
