Einleitung
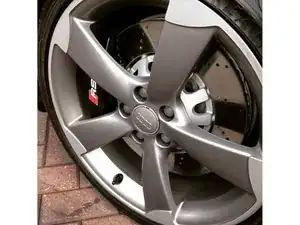
This full upgrade kit is produced by RB Performance Brakes and includes upgraded stainless piston cups with heat chamfers as well as optional high heat silicon dust boots due to this vehicle being used on the track. The stainless piston cups run much cooler than the stock aluminum pistons and are a needed for Audi RS calipers as heat is the worst enemy of this system.
Check us out at www.nolimitsracing.com
-
-
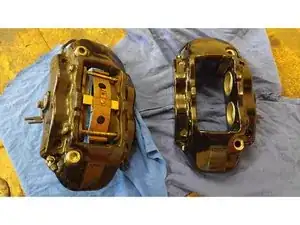
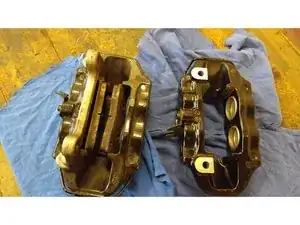
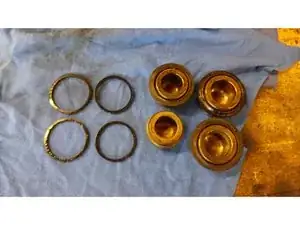
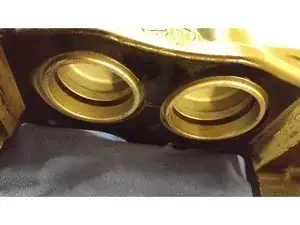
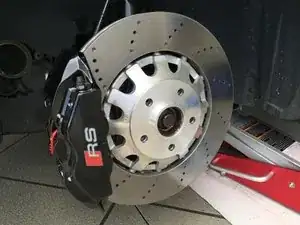
Get the brakes off the car and tear them down. These Brembo calipers were from an Audi RS but most all 4 piston versions are the same. You want your caliper to go from looking like the one on the left to the one on the right.
-
To do this, remove the bleeder screws, have an air line with a blow gun attachment, and get yourself a section of 2x4.
-
Remove the pads via a punch & small hammer to remove the brake pads retention pins.
-
Once the pads are removed and everything is out of the way, place the 2x4 section where the pads were.
-
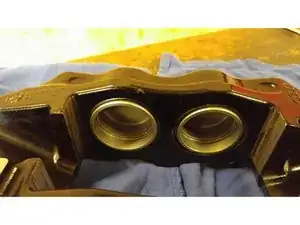
Blow air into each side of bleeder sections and the piston cups will blow out. Hopefully the dust shields will come out with them.
-
This is all very self explanatory, but if you are stumped, you probably shouldn't be messing with your brakes.
-
-
-
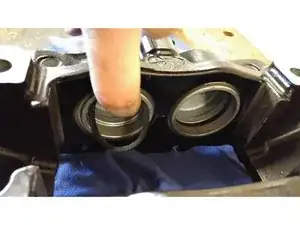
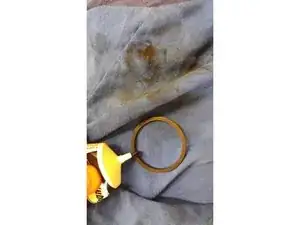
So, once all the piston cups are out with the dust shields, remove the inner piston seals with a dental pick.
-
Your calipers should now be fully stripped
-
-
-
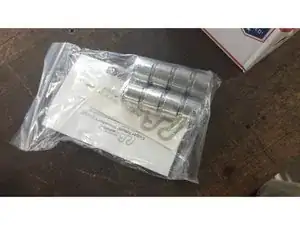
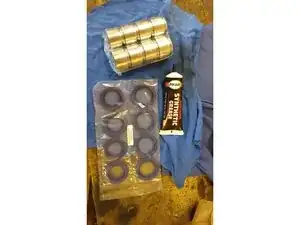
Open up the box supplied by RB Performance Brakes consisting of the seals, stainless pistons, and uprated dust seals.
-
Make sure everything is there and that you have a clean surface to put everything on. The high temp dust seals are very sensitive to the chemicals in brake fluid and cannot come into contact with them. There is no blow by from the inner seals, so once sealed, you are safe.
-
Have some brake assembly lube ready to put everything together.
-
-
-
The inner seals are cleverly placed inside of the new dust boots...get them out.
-
Put some assembly lube on the seals and put them in place.
-
-
-
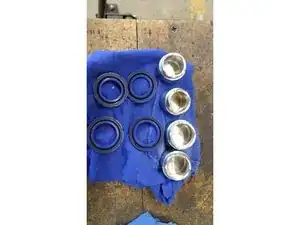
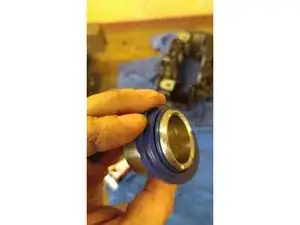
Pull the dust boots over the new pistons. Ensure proper fitment without any twists or snags in the silicon.
-
Put a bit of assembly lube on the piston and slowly but firmly insert the piston into the proper hole until seated all the way in. The pistons are different sizes on this model, so be aware of the difference and placement in the proper area.
-
Once seated properly, ensure the dust seals are seated down into the channels to block out any brake dust from impeding the piston movement.
-
-
-
Reinstall the brake bleeder valves and the dust caps
-
Install your brake pads and hardware reverse of how you removed.
-
Put the calipers back on the car over the rotors properly and reinstall your brake lines
-
ONCE EVERYTHING IS BACK TOGETHER, PUMP YOUR BRAKES UNTIL THE PEDAL IS FIRM BEFORE YOU TRY TO GO ANYWHERE. (I've seen too many people take off before checking everything and it not ending well)
-
Bleed the brake system appropriately to ensure proper brake operation.
-
Break everything in properly and drive like a madman when the situation is appropriate!
-
To reassemble your device, follow these instructions in reverse order.
2 Kommentare
On my Brembos there is a slot near the outside for a much thinner seal but the seal is not there.
Should I be concerned or is this just optional?
thanks for a great post.
paul
It is model dependent. These are for a select model that is used on the Audi TTRS and RS3. Not sure what car you are working with.
